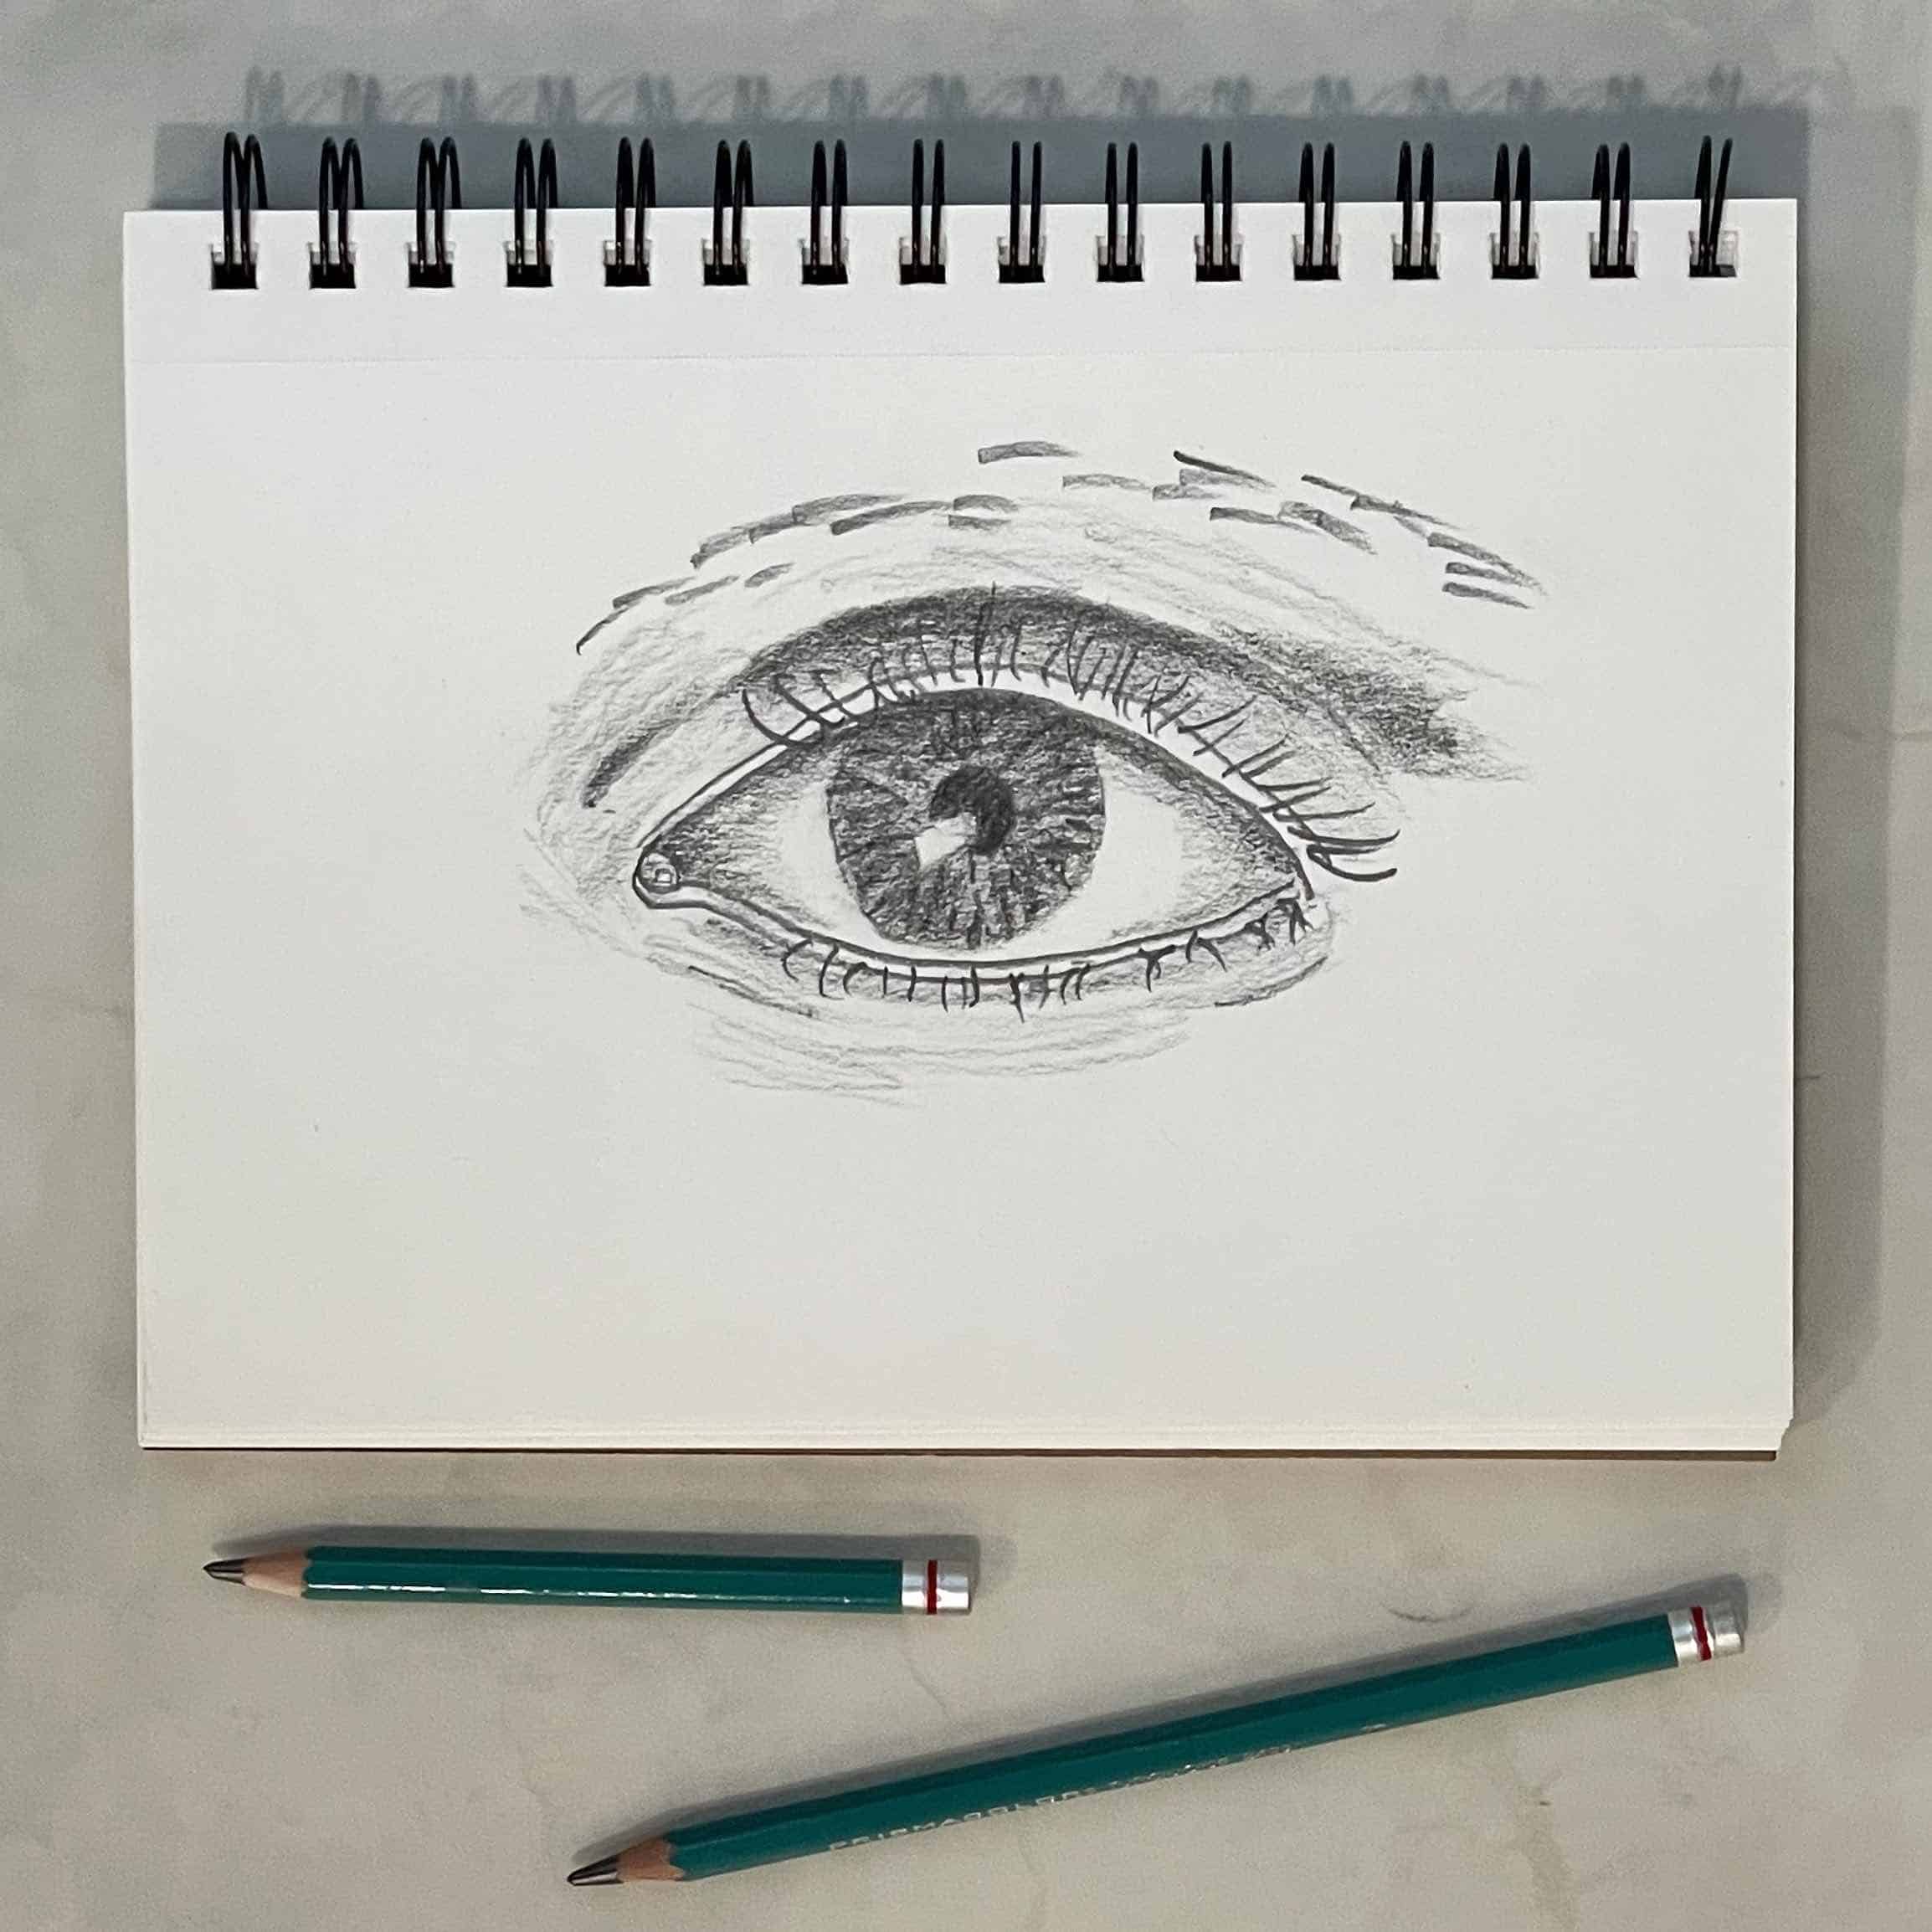
Learn how to sketch a simple eye with this step-by-step drawing tutorial. Create a realistic eye for beginners in this online drawing class.
Drawing and shading eyes in pencil can be easy with just a little bit of practice. Follow along in this art lesson to learn the basic steps of sketching an eye.
Jump to:
Many people find that facial features, like eyes, are one of the hardest things to draw. However, the whole process is not that difficult when you break it down.
From the eyebrow to the eyelashes and everything in between, sketching an eye is fairly simple. It may take a few tries to get right, so just keep practicing!
Materials
- Paper - drawing or sketching will work best (I am using 5.5 by 8.5 sketchbook paper, 60lbs/89g/m)
- Pencil - a soft pencil (6B, 7B, 8B, or 9B) and a hard pencil (HB, F, 2B, or 3B ) work well for this drawing, but you can use whatever you have on hand
Video Tutorial
Transcript
Read TranscriptArt Lesson
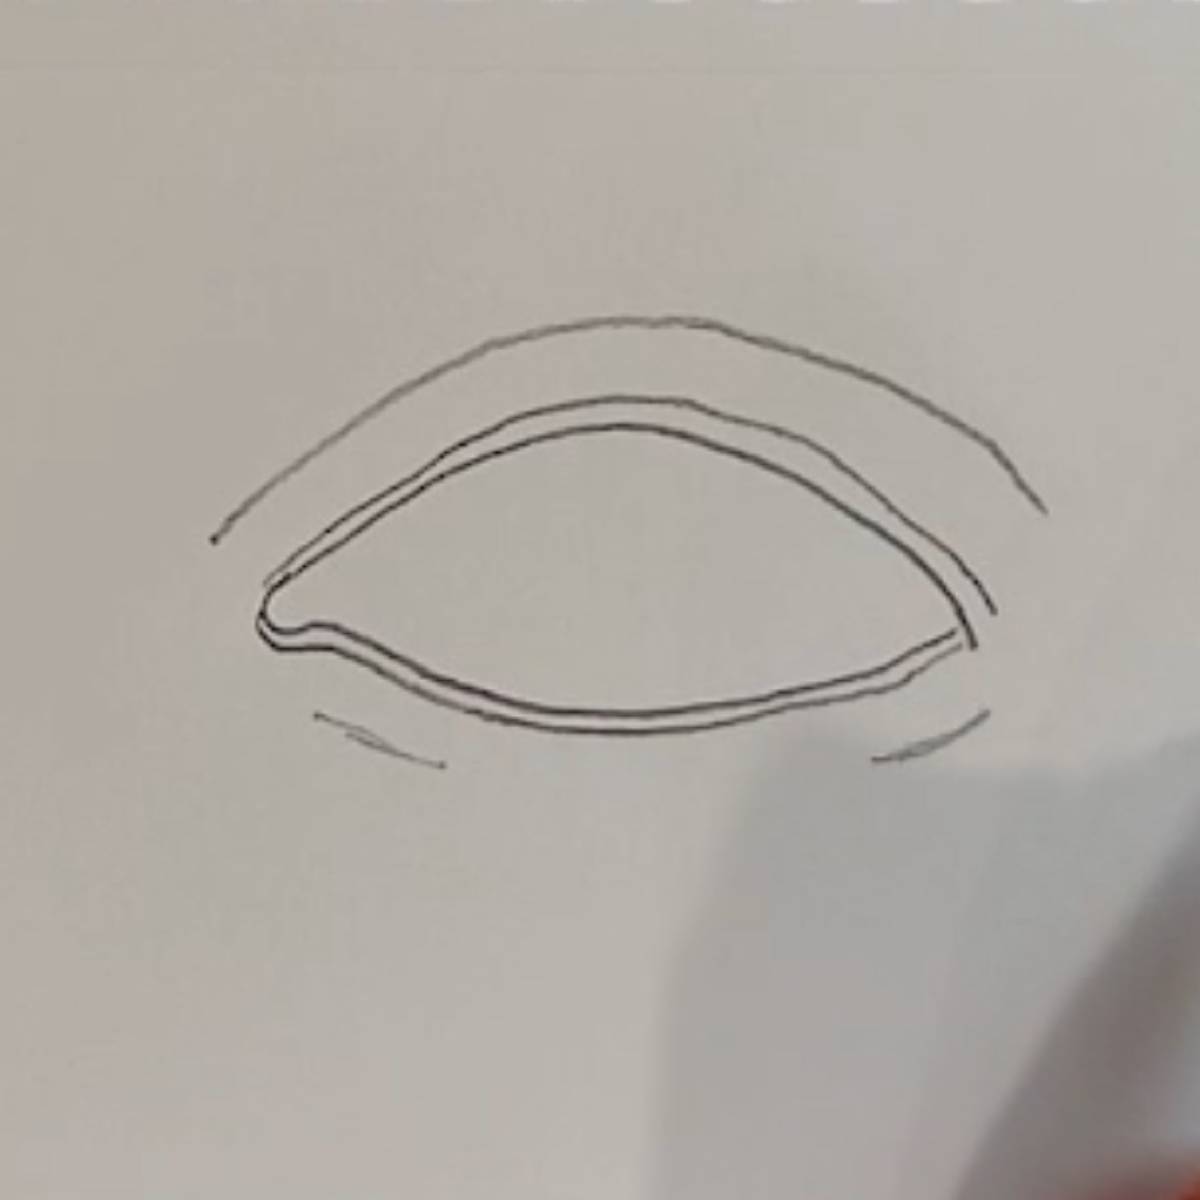
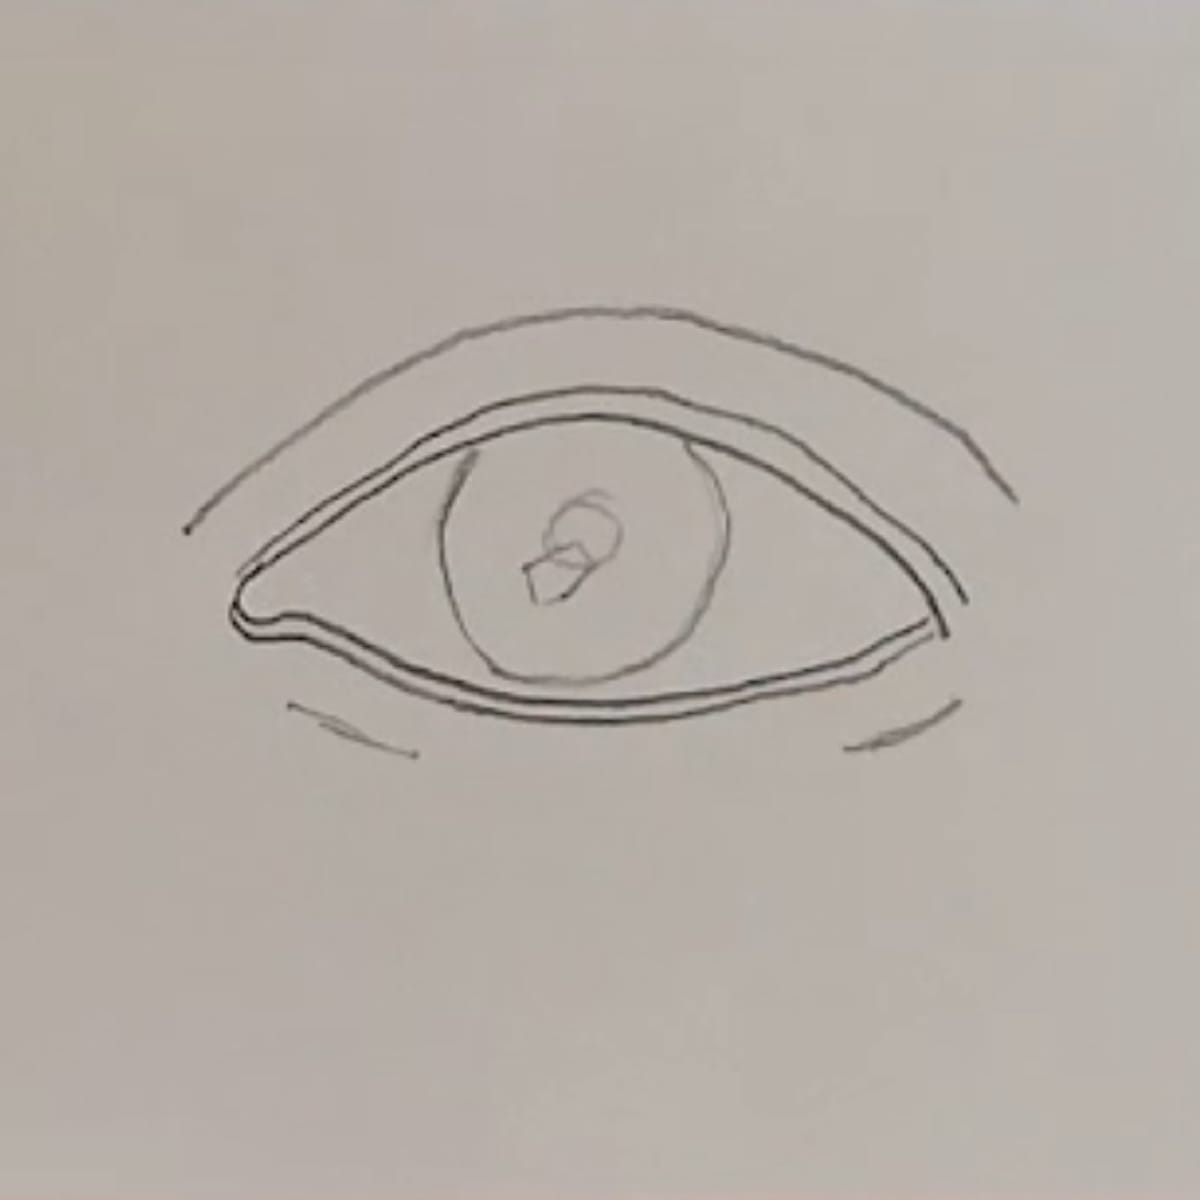
- Sketch in the basic outline of the eye. Leave a little dip on the inner edge where the tear duct is.
- Draw another line outside both the upper and lower lids for the edge of the eyelids. Add a line above the eye where the eyelid folds back and a few lines below the eye.
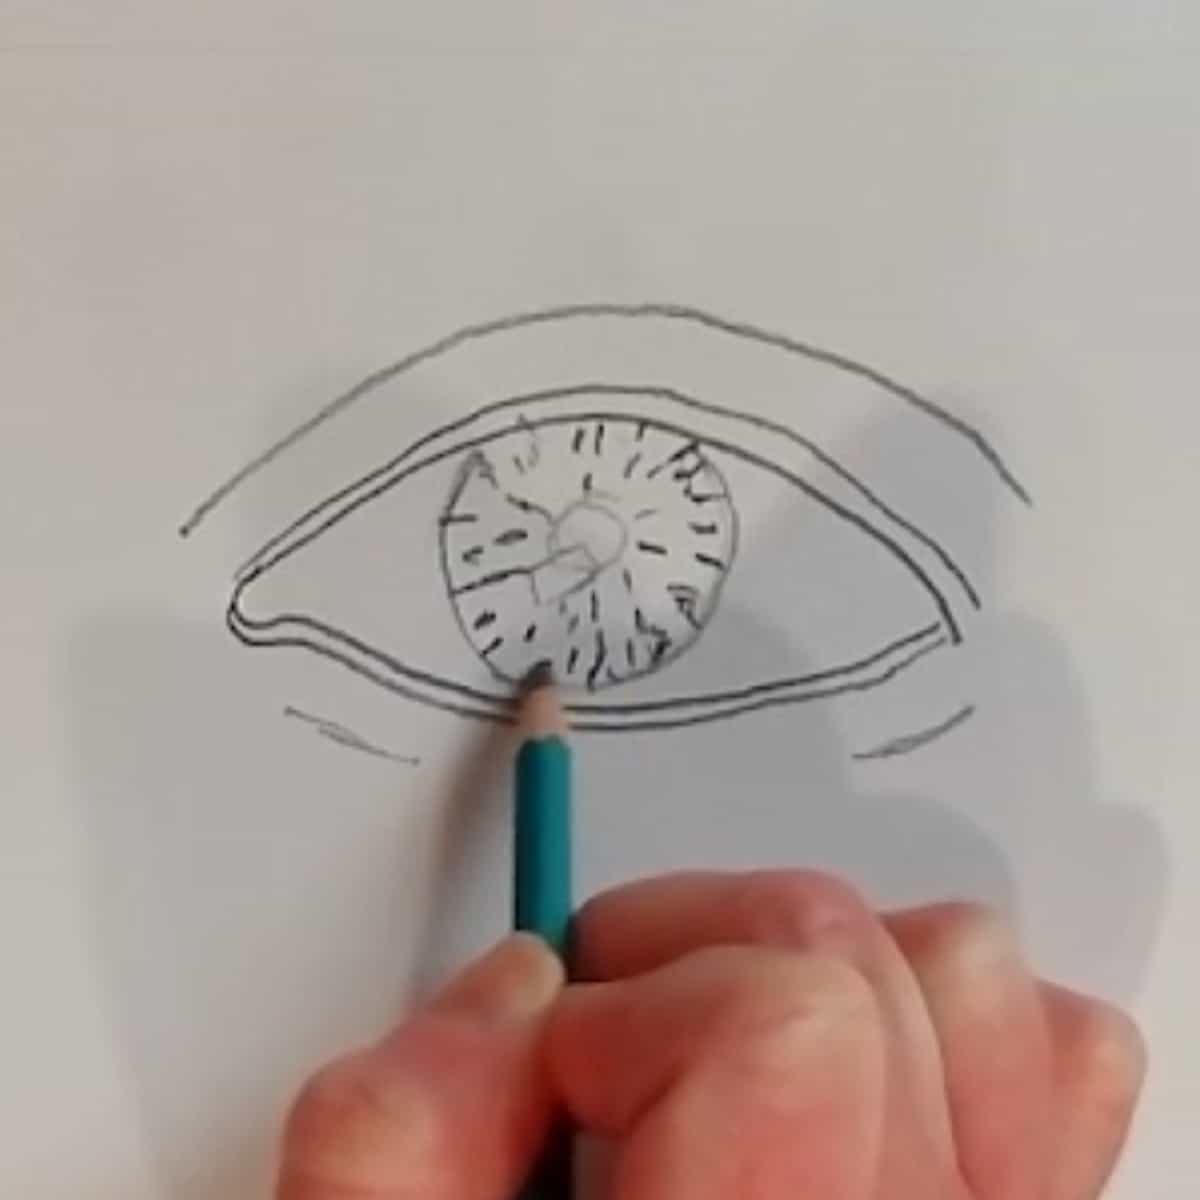
- Draw in the iris, pupil, and a small highlight. You can put the highlight wherever you want in the eye but I like mine where it is crossing both the pupil and the iris.
- Look at your overall drawing and make any adjustments to the shape before moving on to the detail and shading.
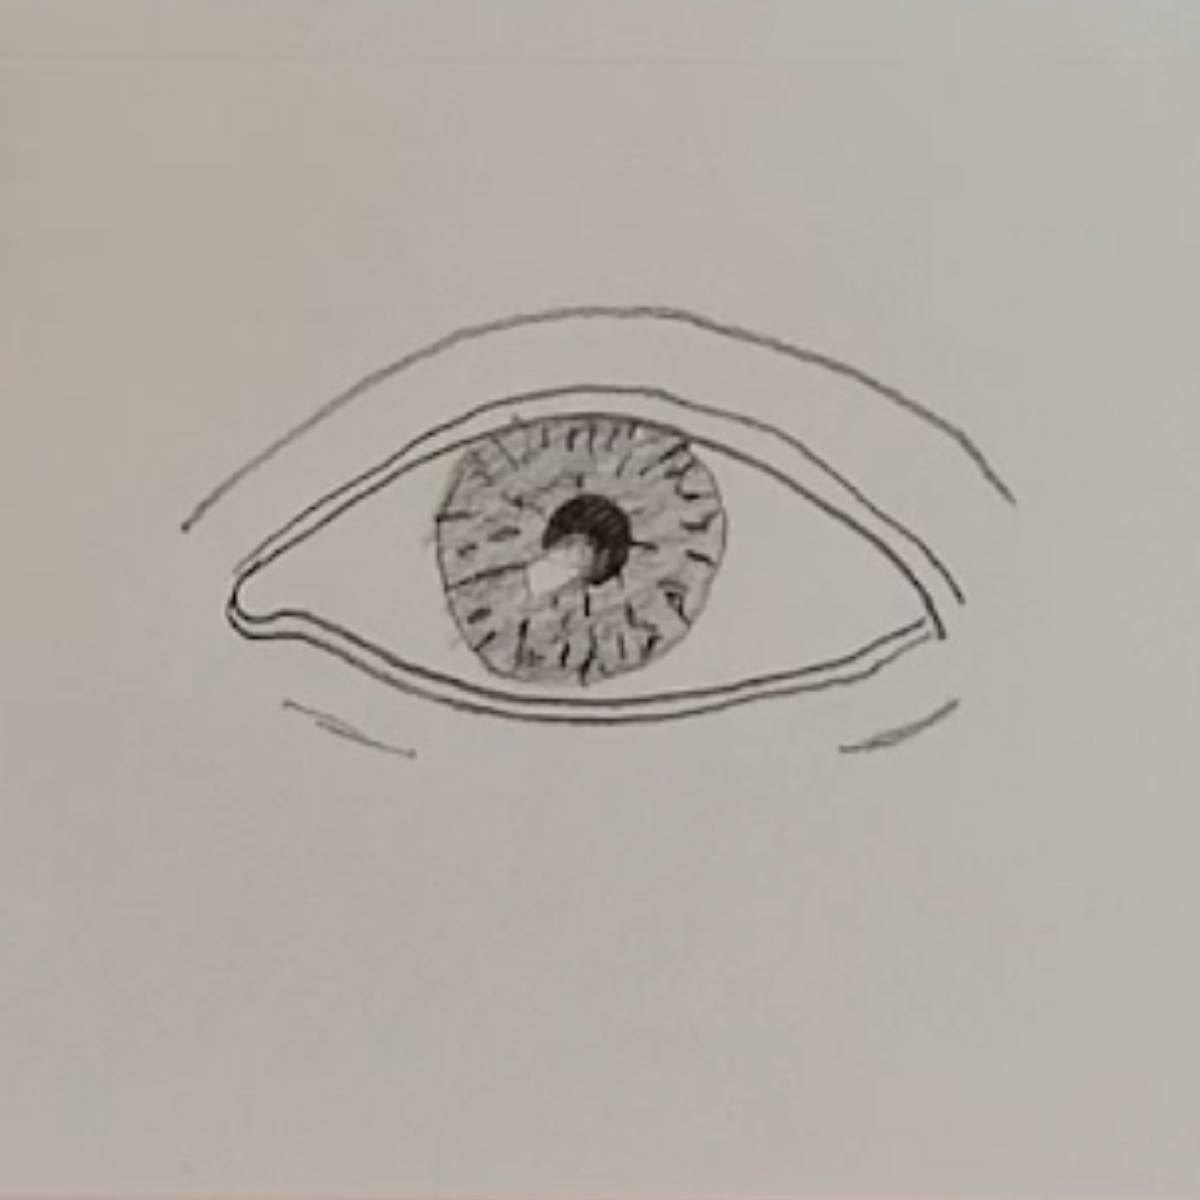
- Within the iris, sketch in some short lines radiating out from the pupil. Shade in the eye, making sure to leave that highlight white.
- Darken the pupil. It will be one of the darkest areas in your drawing.
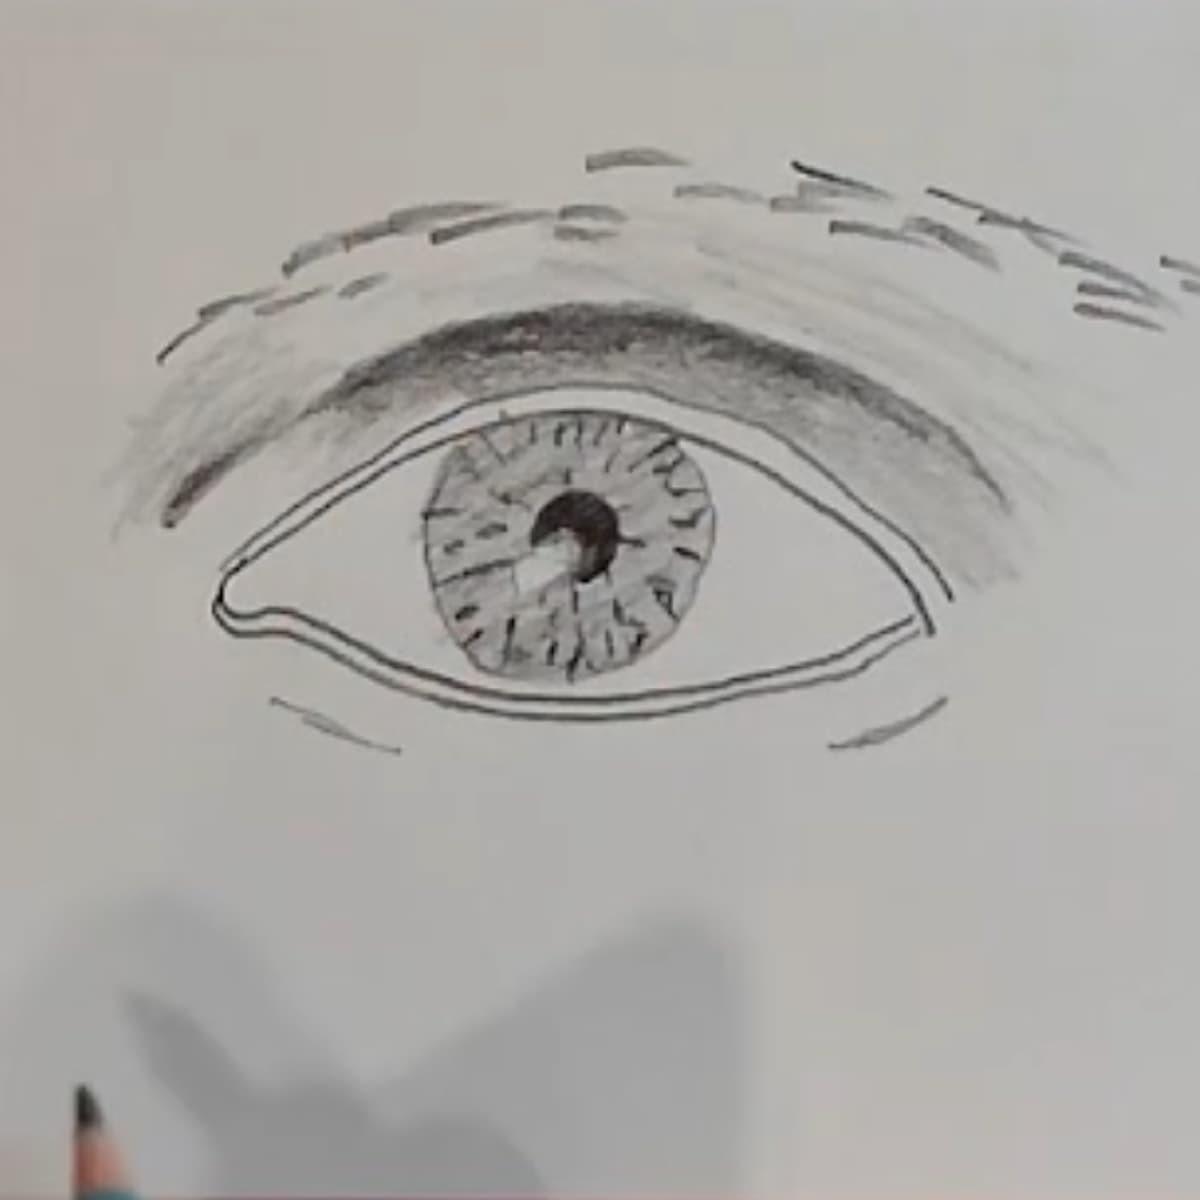
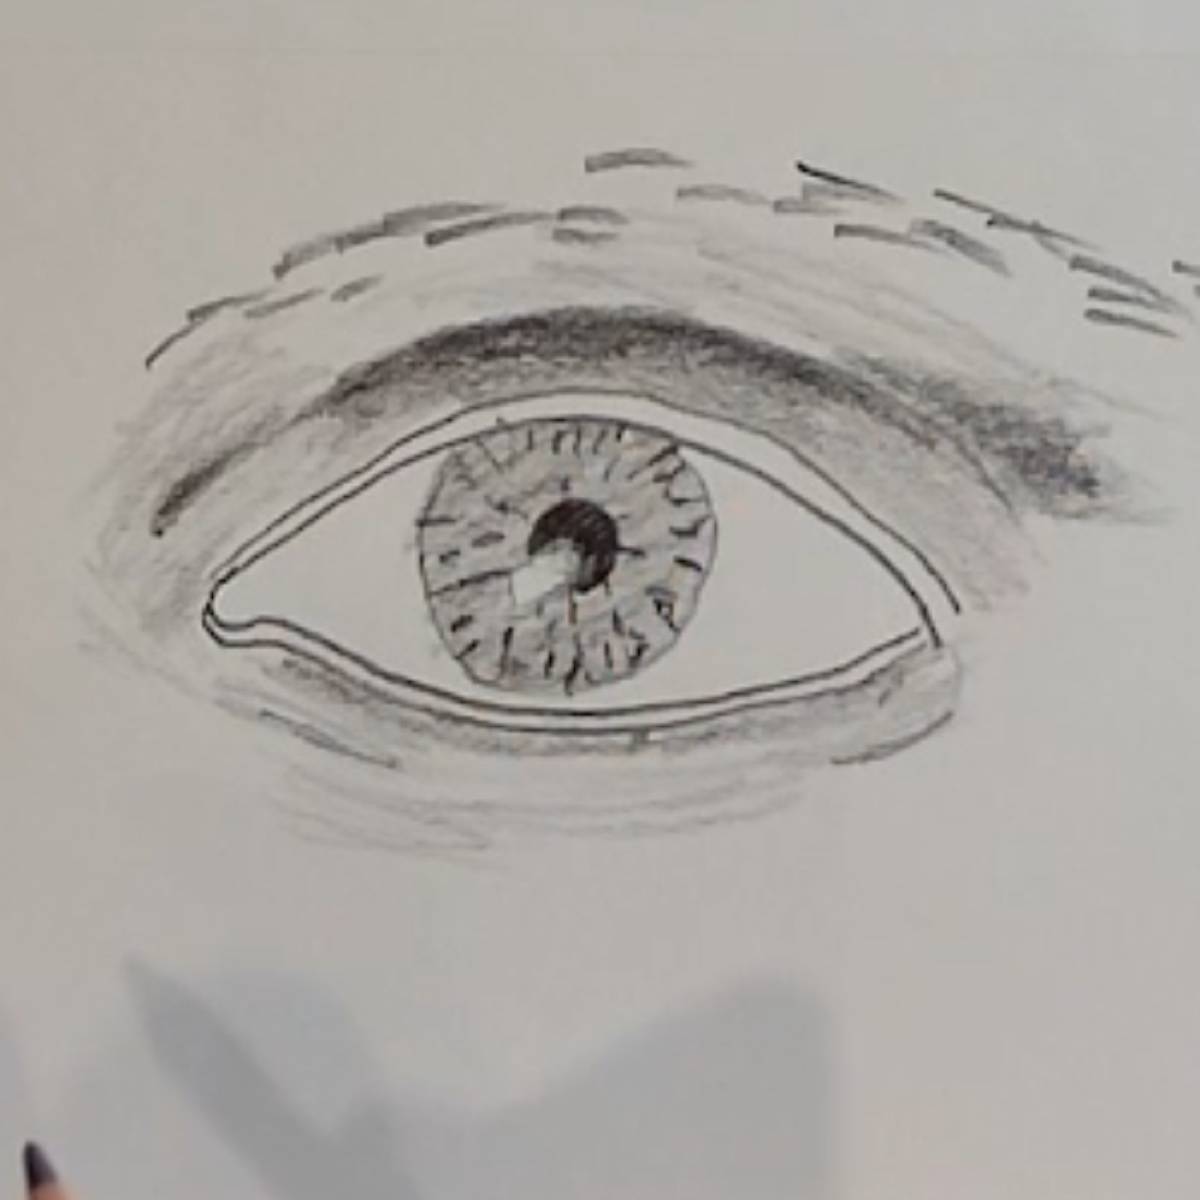
- Shade in the fold above the eye. Draw in a few lines for the eyebrow. Add a little bit of shading below the eyebrow and on the side.
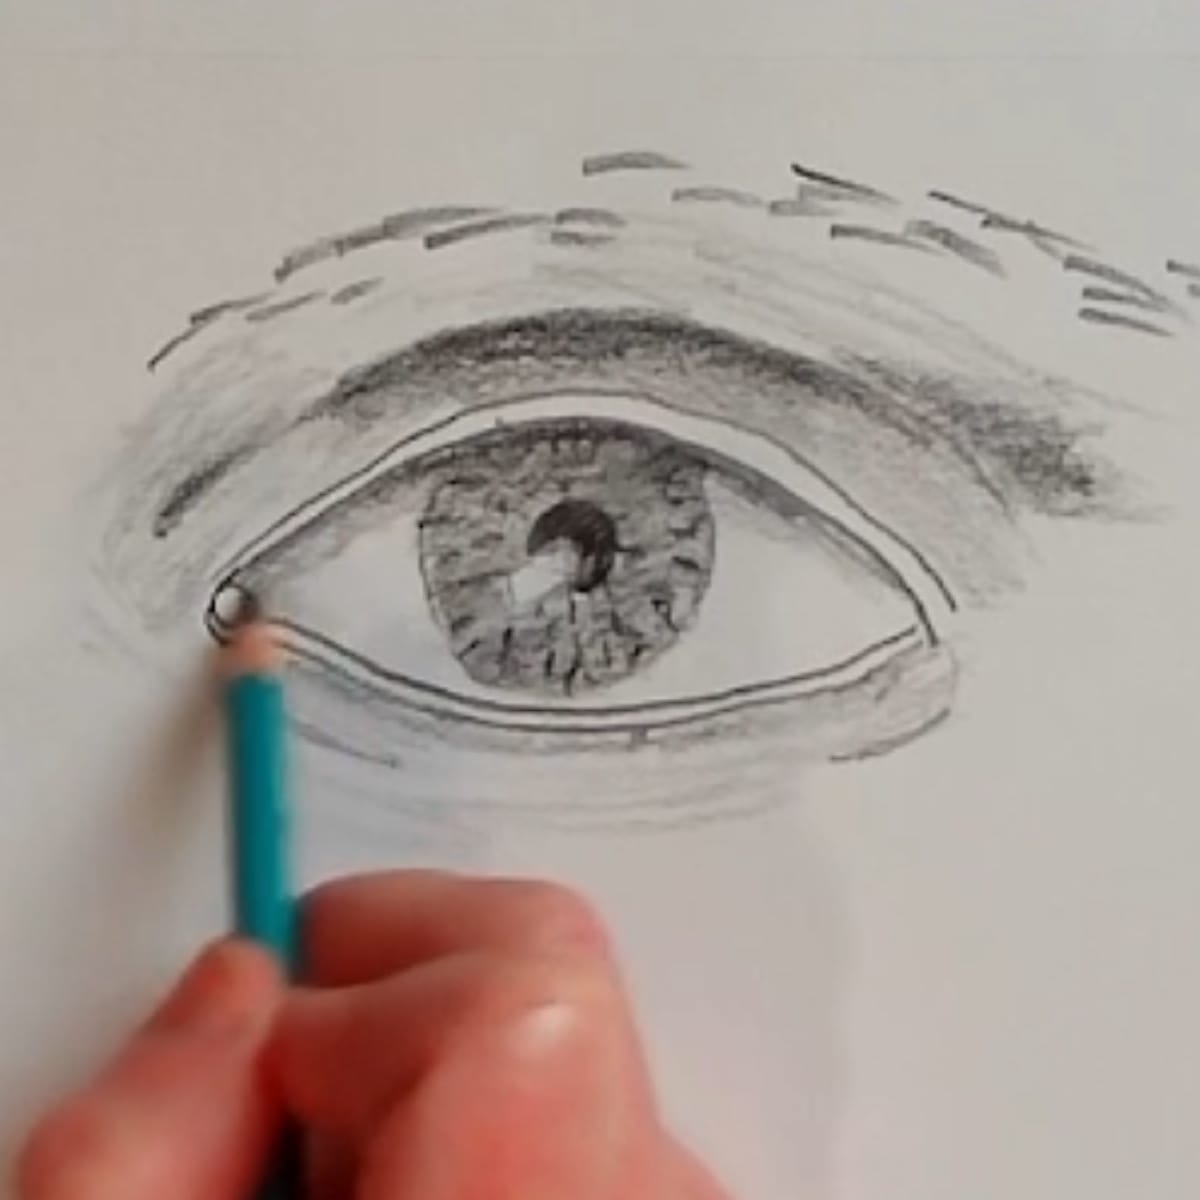
- Lightly shade in the shadow that the upper lid casts a slight shadow on the eye. Sketch in the tear duct in the inner corner.
- The eye is a sphere so the outside gets a little bit of shading as the sides curve back.
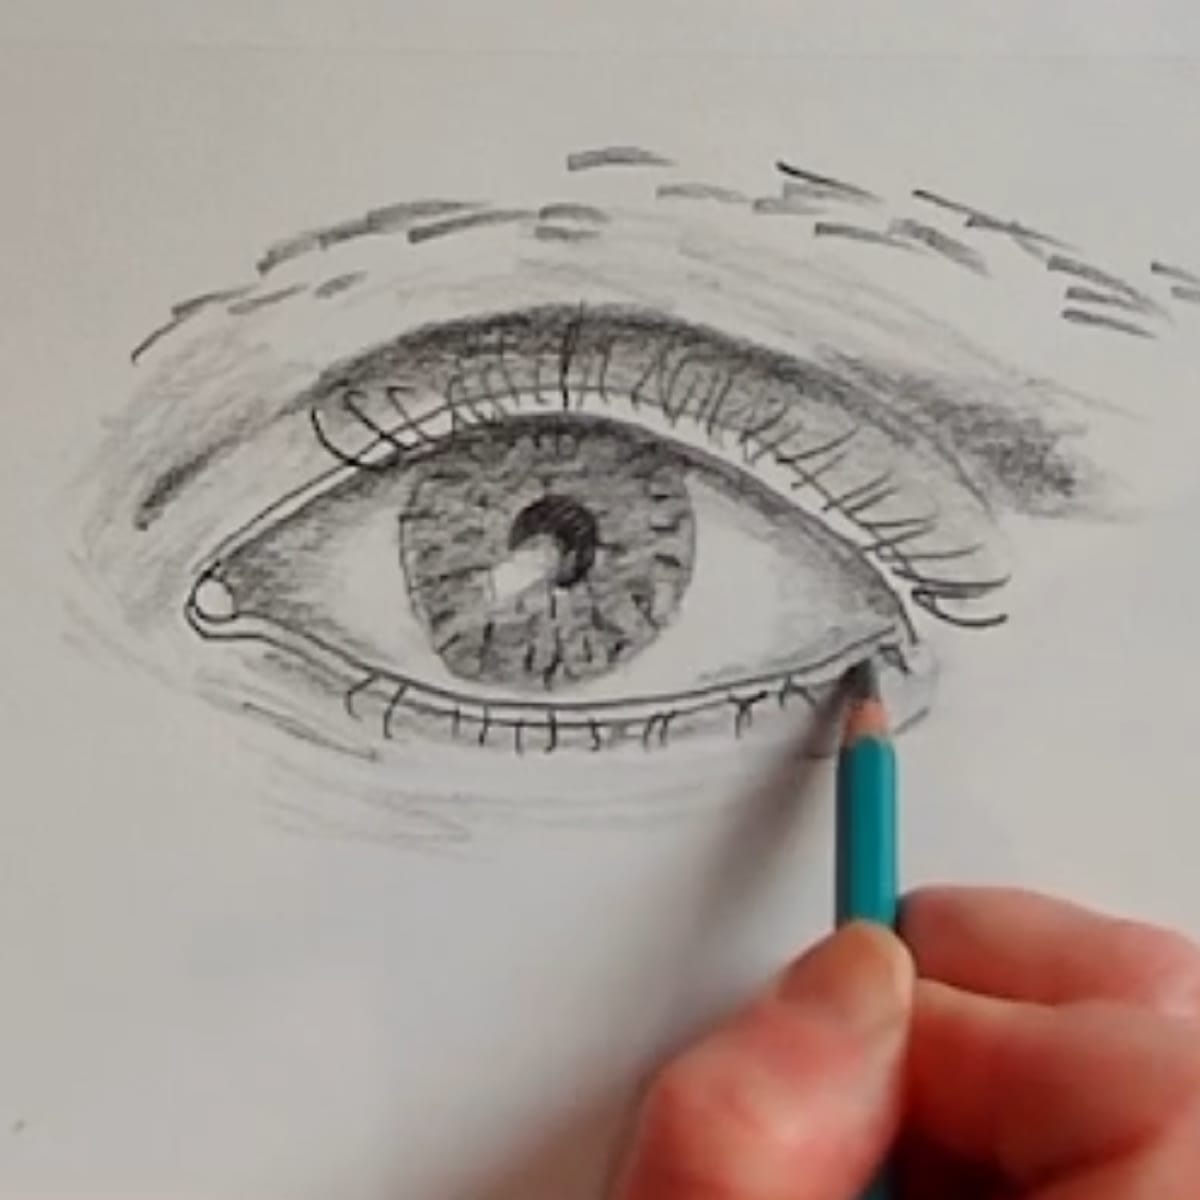
- Draw in the eyelashes on the upper and lower lids with a soft pencil. They come out at different directions and different lengths. Keep them a bit irregular.
Variations
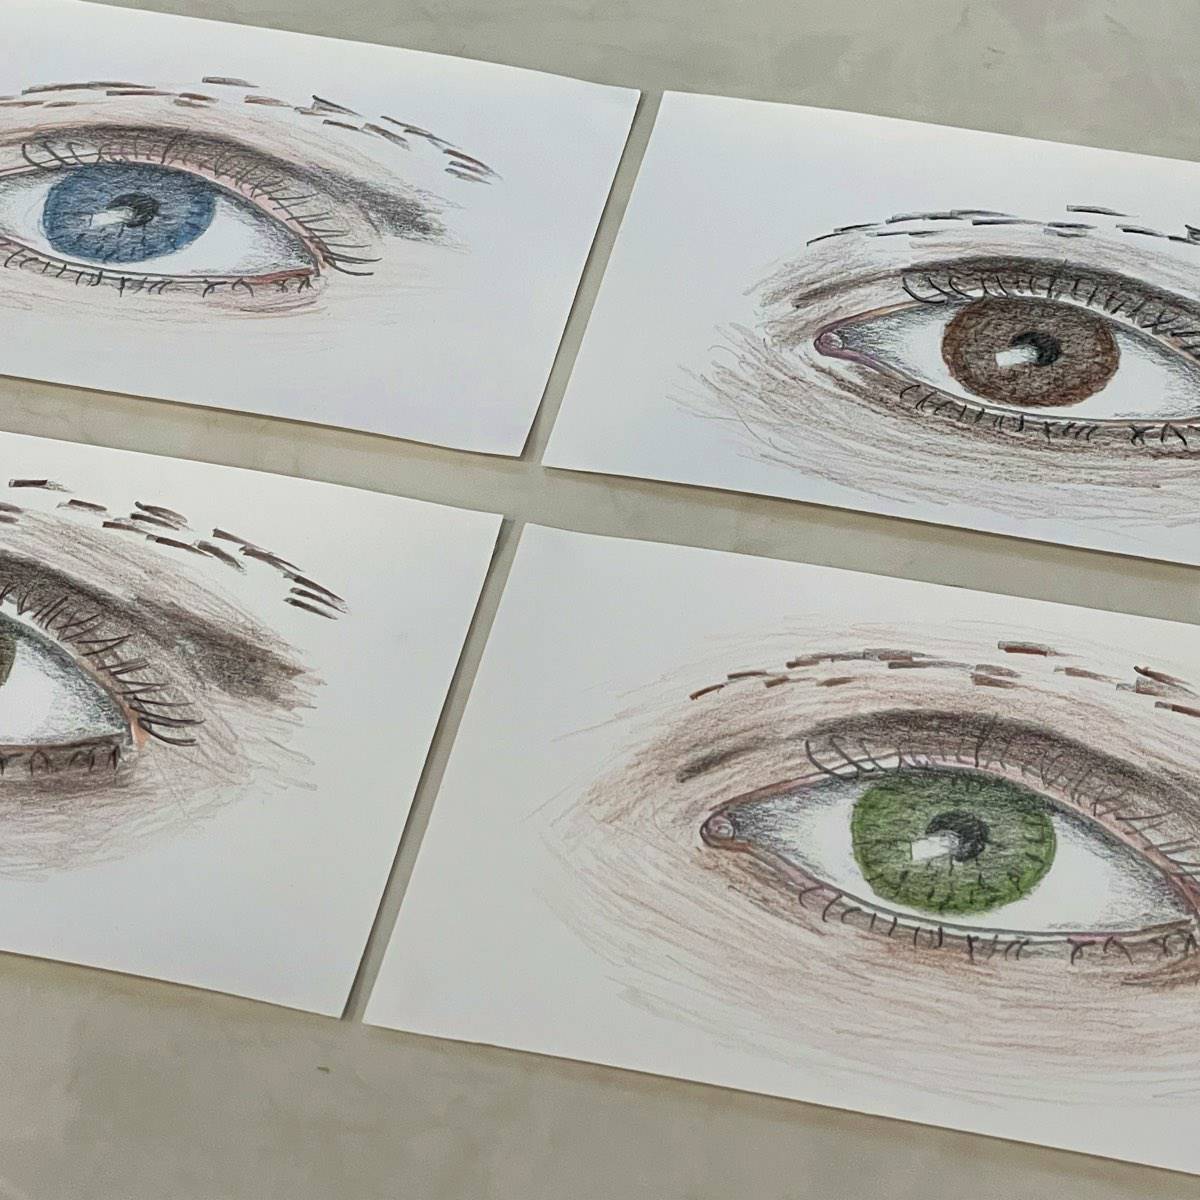
- Add watercolor or gouache paint to your sketch for a bit of color.
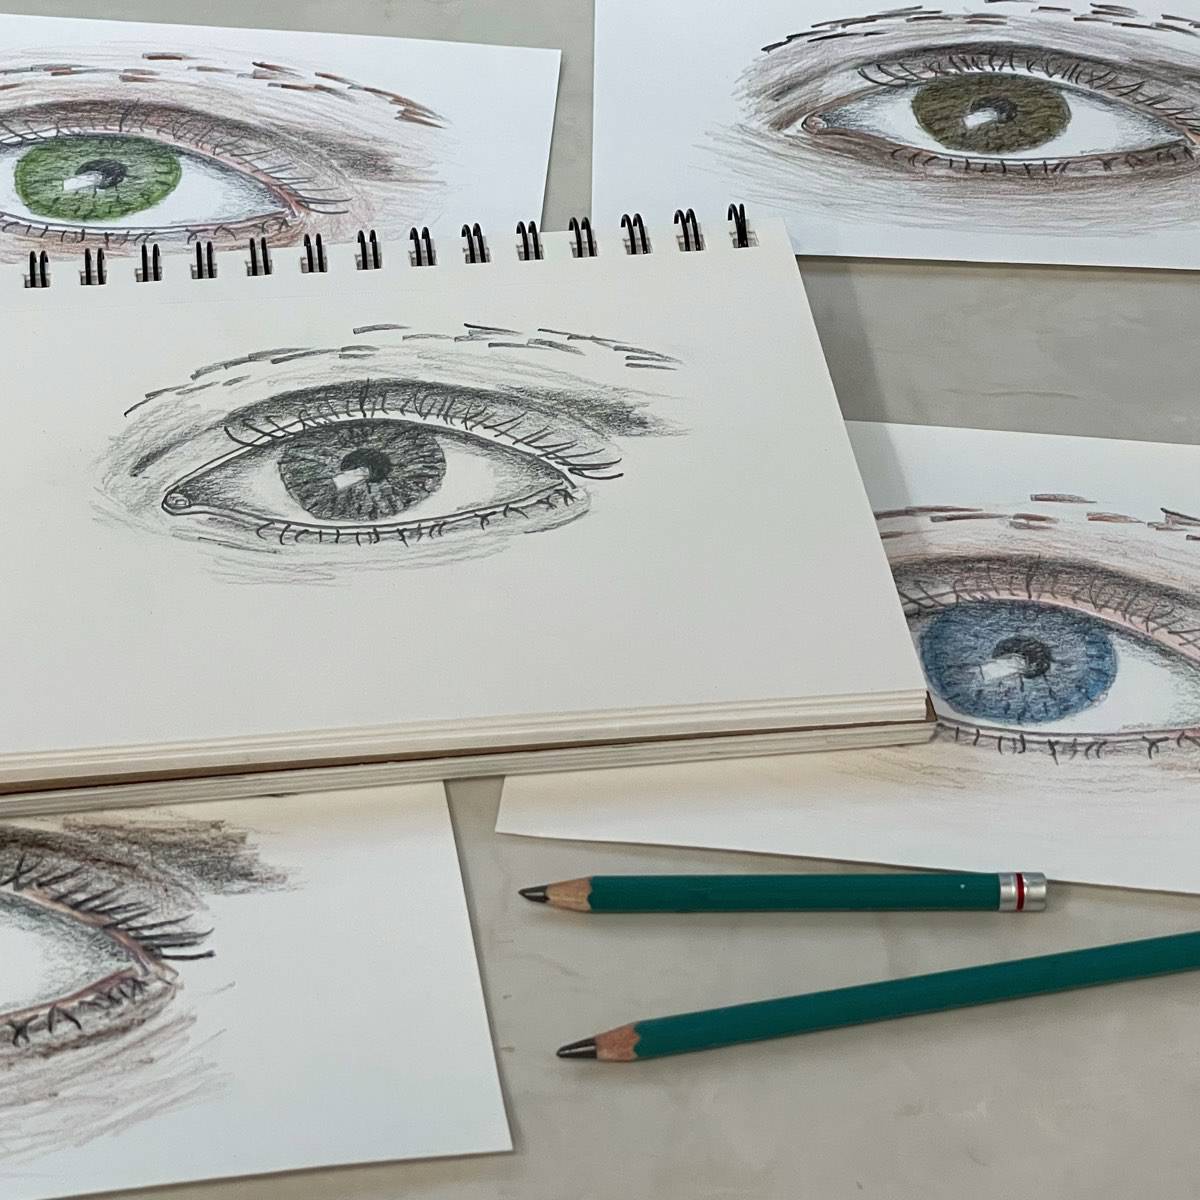
- Draw an eye with a variety of colored pencils.
- Sketch an eye with charcoal, pen and ink, soft pastels or oil pastels.
- Sketch two eyes together.
Tips and tricks
- When shading, start a little bit lighter and gradually get darker. It makes it easier to get nice easy soft transitions between your lights and darks.
- Take your time with all the steps.
- If you're drawing eyes on a figure or portrait you don't need to add quite so much detail.
- You can always touch up with an eraser as you're working.
- Use a soft paintbrush to sweep away eraser dust so you don’t smudge your drawing.
Directions
How to Sketch a Simple Eye Step-by-step Drawing Tutorial
Equipment
- Paper - drawing or sketching will work best (I am using 5.5 by 8.5 sketchbook paper, 60lbs/89g/m)
- Pencil - a soft pencil (6B, 7B, 8B, or 9B) and a hard pencil (HB, F, 2B, or 3B ) work well for this drawing, but you can use whatever you have on hand
Instructions
- Sketch in the basic outline of the eye. Leave a little dip on the inner edge where the tear duct is.
- Draw another line outside both the upper and lower lids for the edge of the eyelids. Add a line above the eye where the eyelid folds back and a few lines below the eye.
- Draw in the iris, pupil, and a small highlight. You can put the highlight wherever you want in the eye but I like mine where it is crossing both the pupil and the iris.
- Look at your overall drawing and make any adjustments to the shape before moving on to the detail and shading.
- Within the iris, sketch in some short lines radiating out from the pupil. Shade in the eye, making sure to leave that highlight white.
- Darken the pupil. It will be one of the darkest areas in your drawing.
- Shade in the fold above the eye. Draw in a few lines for the eyebrow. Add a little bit of shading below the eyebrow and on the side.
- Lightly shade in the shadow that the upper lid casts a slight shadow on the eye. Sketch in the tear duct in the inner corner.
- The eye is a sphere so the outside gets a little bit of shading as the sides curve back.
- Draw in the eyelashes on the upper and lower lids with a soft pencil. They come out at different directions and different lengths. Keep them a bit irregular.
Notes

For More Practice
- Draw your own eye while looking in a mirror.
- Practice blind contour drawings of an eye. Do this by looking at a picture (or model) of an eye and slowly drawing the outside edge without lifting your pencil, but don’t look at your hand or drawing until you are done.
- Practice gestural drawings of an eye. These should be quick, 30-second sketches. Aim to capture the overall drawing without spending too much time on one specific area.
- Draw an animal’s eye. Think about how it is different from the human eye.
- Large photo references of eyes can often be found in fashion or beauty magazines.
Frequently Asked Questions
Sketch in the basic outline of the eye. Leave a dip on the inner edge for the tear duct. Draw a line outside both the upper and lower lids for the edge of the eyelids. Add a line above the eye where the eyelid folds back and a few lines below the eye.
Draw in the iris, pupil, and a small highlight. Look at your overall drawing and make any adjustments to the shape before moving on to the detail and shading. Add some lines in the iris then shade in the eye, making sure to leave that highlight white. Darken the pupil.
Draw in the eyelashes on the upper and lower lids with a soft pencil. Add them one at a time starting at the edge go the lid and sketching out.
Push harder when you begin the stroke and then lighter as you go out to make them thicker at the base. They come out in different directions and different lengths. Keep them a bit irregular.
Shade in the fold above the eye. Add a little bit of shading below the eyebrow and on the side. Lightly shade in the shadow that the upper lid casts a slight shadow on the eye.
The eye is a sphere so the outside gets a little bit of shading as the sides curve back. When shading, start a little bit lighter and gradually get darker. It makes it easier to get nice easy soft transitions between your lights and darks.
You also might like
- How to draw a 3D Sphere
- How to shade a sketch using crosshatching
- Different types of artist pencils and how to use them
Please leave your questions, comments, and ratings below!
Leave a Reply