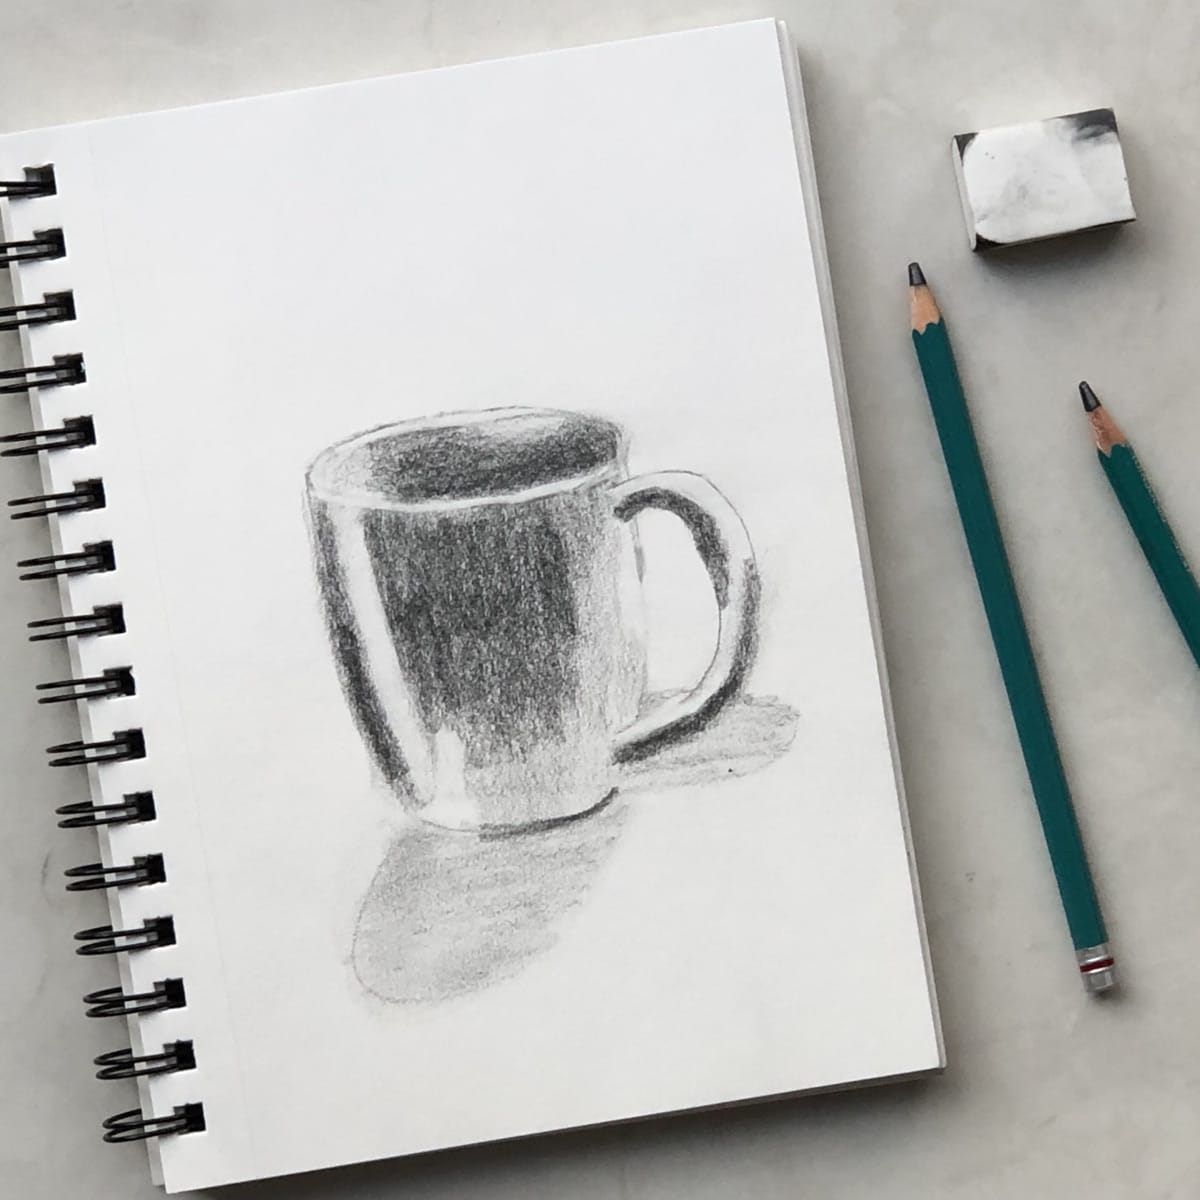
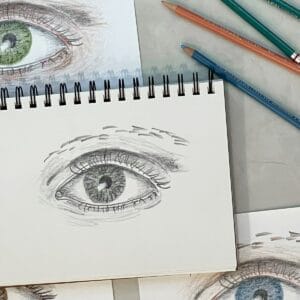
Learn how to draw a coffee mug (cup sketch) beginning drawings in this simple step-by-step art tutorial. In this art lesson, sketch an easy coffee mug and shade it in with a pencil.
In this online art school, draw a coffee mug or coffee cup quickly from start to finish along with the video tutorial. College art classes often spend many hours studying and drawing coffee mugs and other still lives.
Jump to:
Learning how to draw a coffee mug is great practice in using your drawing skills and art techniques. Learning the basics of how to draw a cup can also be transferred over to creating more advanced drawings and artwork.
I encourage you to take the time to really learn the skills to see and draw a coffee mug correctly.
Don’t be surprised if your drawing is not perfect at first. Mine certainly wasn’t (I practiced drawing a mug about 20 times for this video!) Just keep practicing.
Materials
The materials that you need for this lesson include:
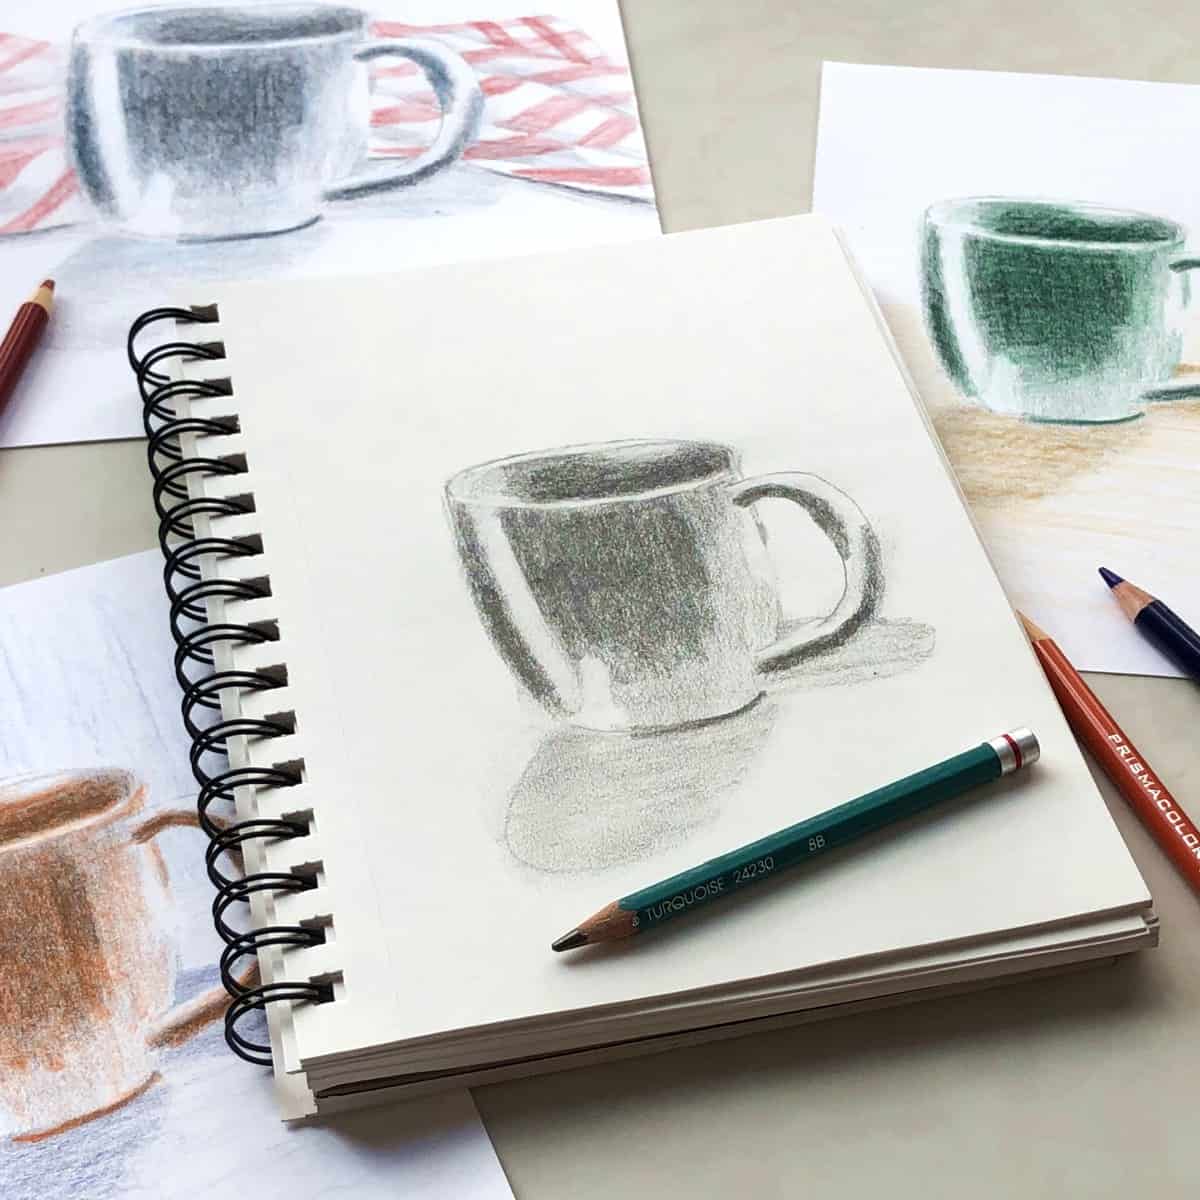
- Paper (Drawing paper is best but you can use whatever you have available. I am using a 5.5 x 8.5-inch spiral-bound sketchbook with 60 lb paper)
- Pencil - use a soft pencil for the shading (I am using a 7B) or just use whatever pencil you have
- Eraser - white vinyl or kneaded (a new eraser with sharp corners will work the best, or a kneaded eraser that you can mold into a sharp edge to just erase the areas that you want)
- Brush - 2-inch chip brush for brushing away eraser dust, optional
Art Lesson
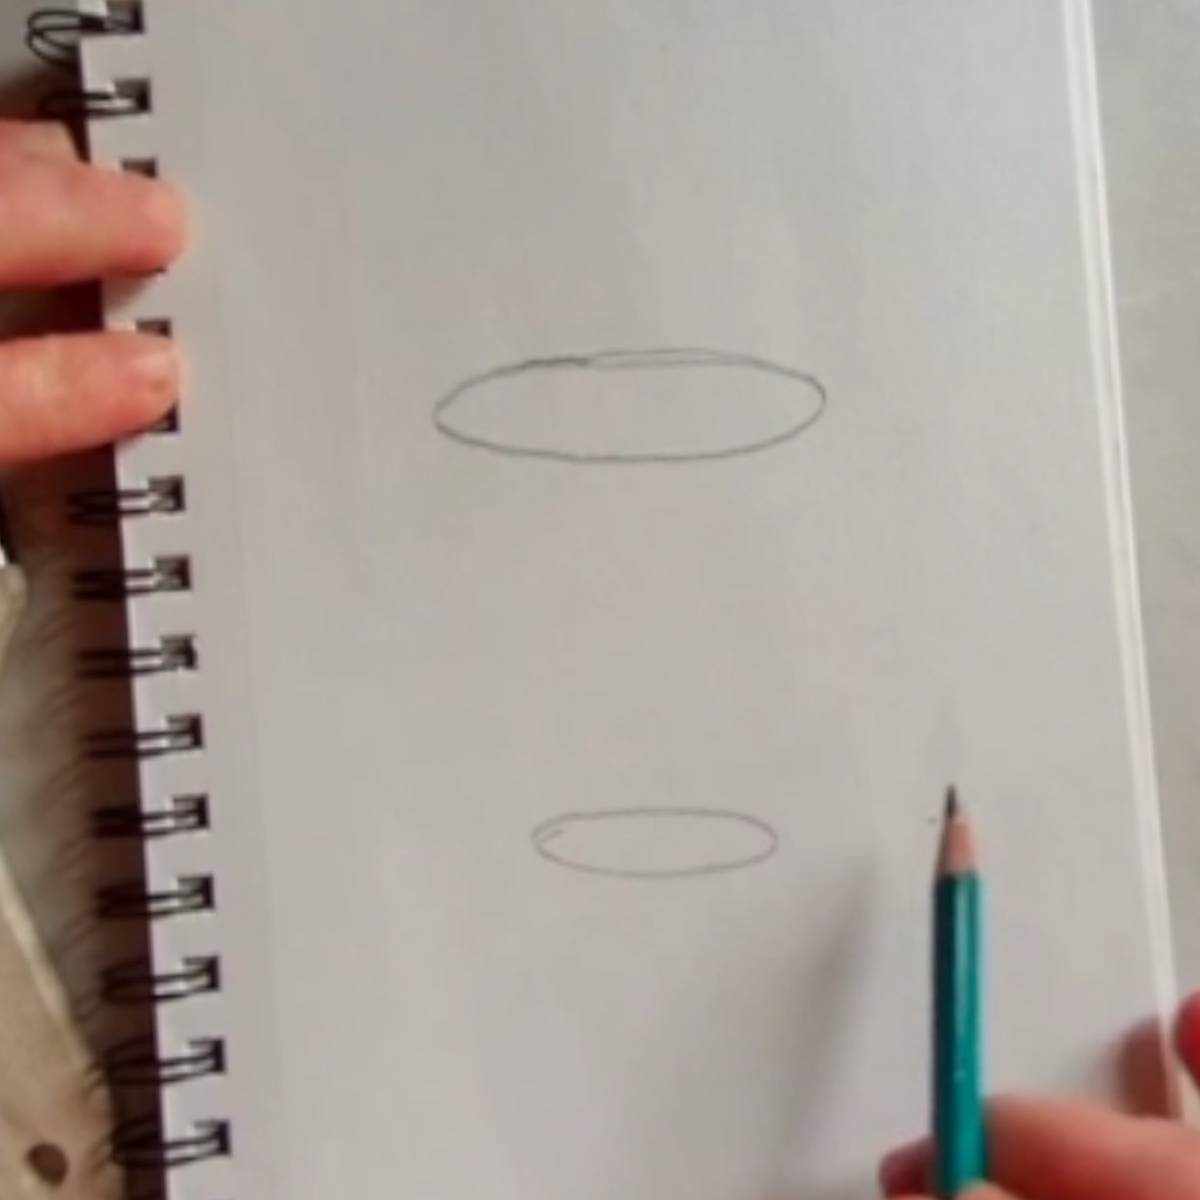
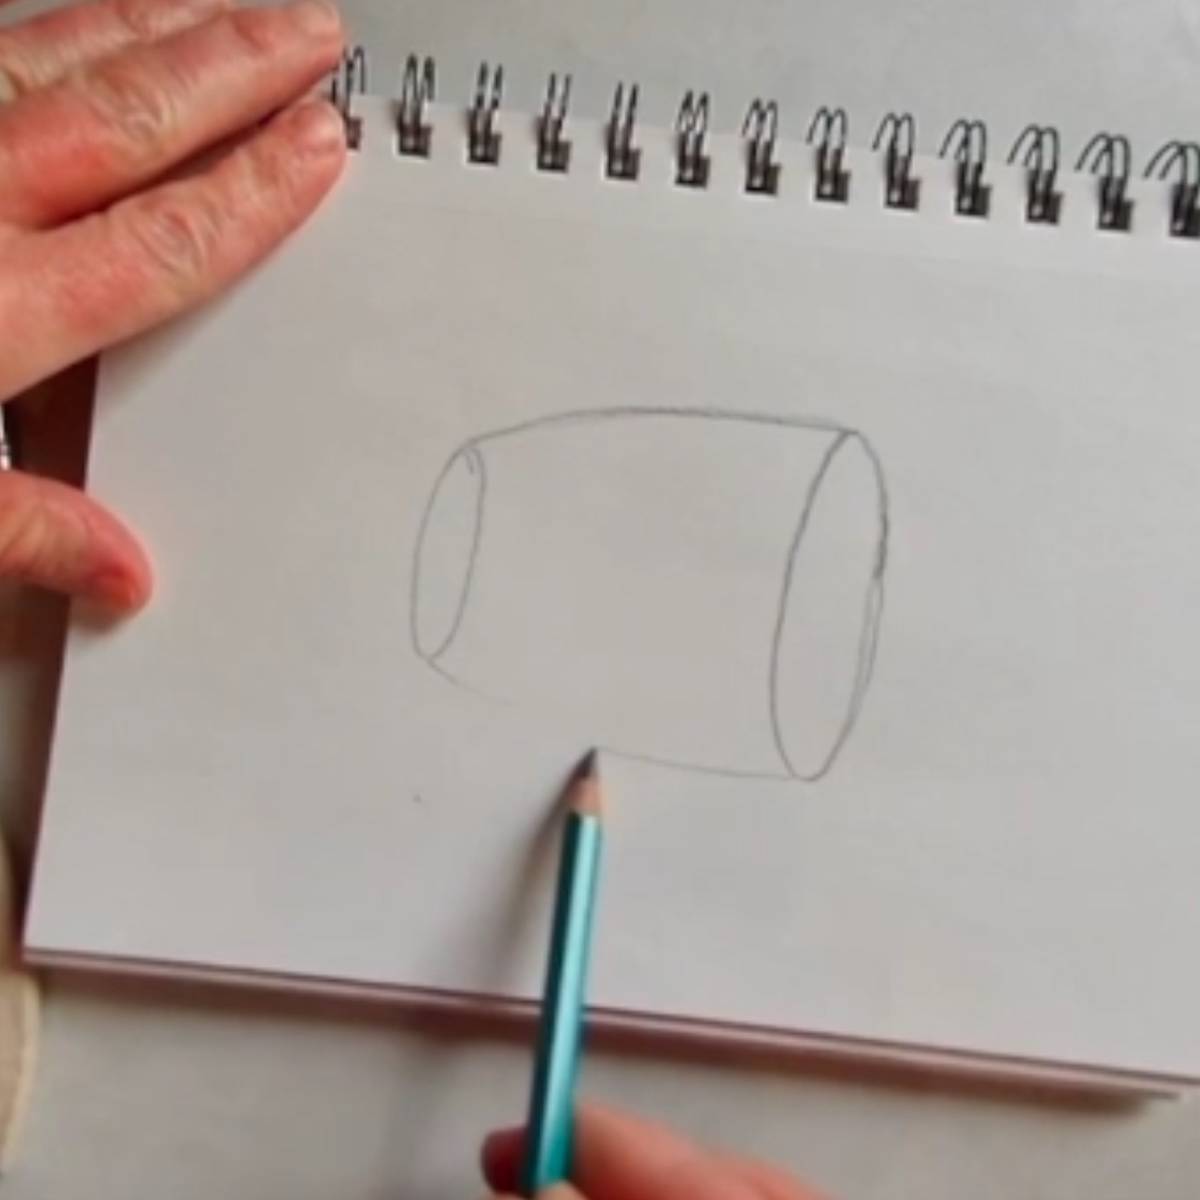
- Draw an oval for the top and the bottom of the mug. The bottom oval will be slightly smaller (unless your mug has straight sides then the ovals will be the same size).
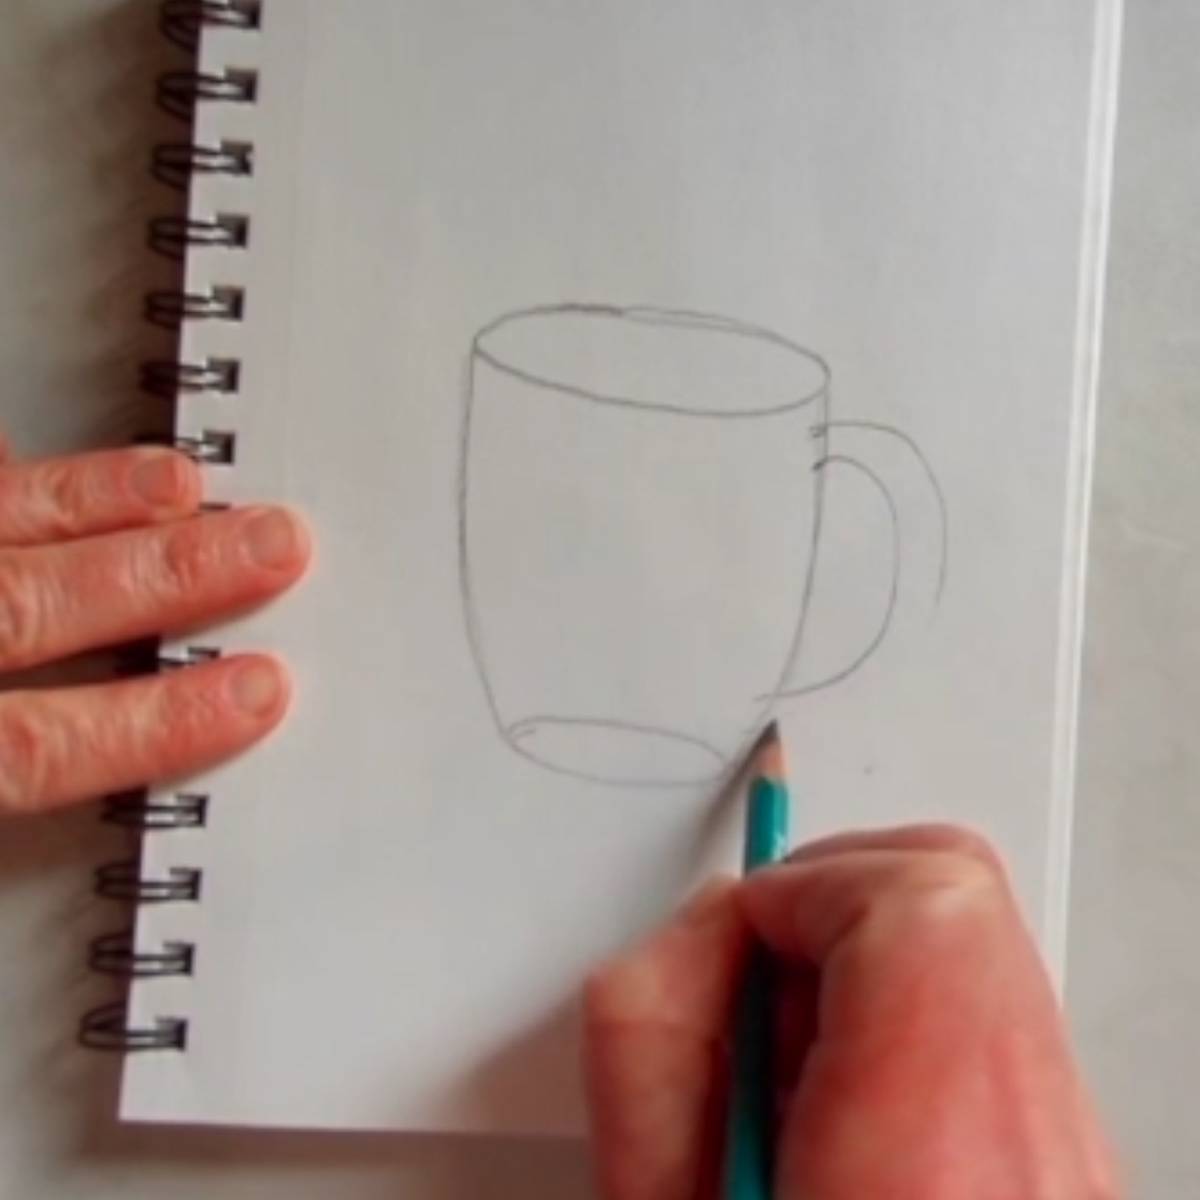
- Connect the edges of the ovals with a slightly curved line. If you are drawing your own mug or cup that has straight or differently shaped sides then draw what you see.
- Mark where the handle will go. Draw in the inside and outside curves of the handle of the mug.
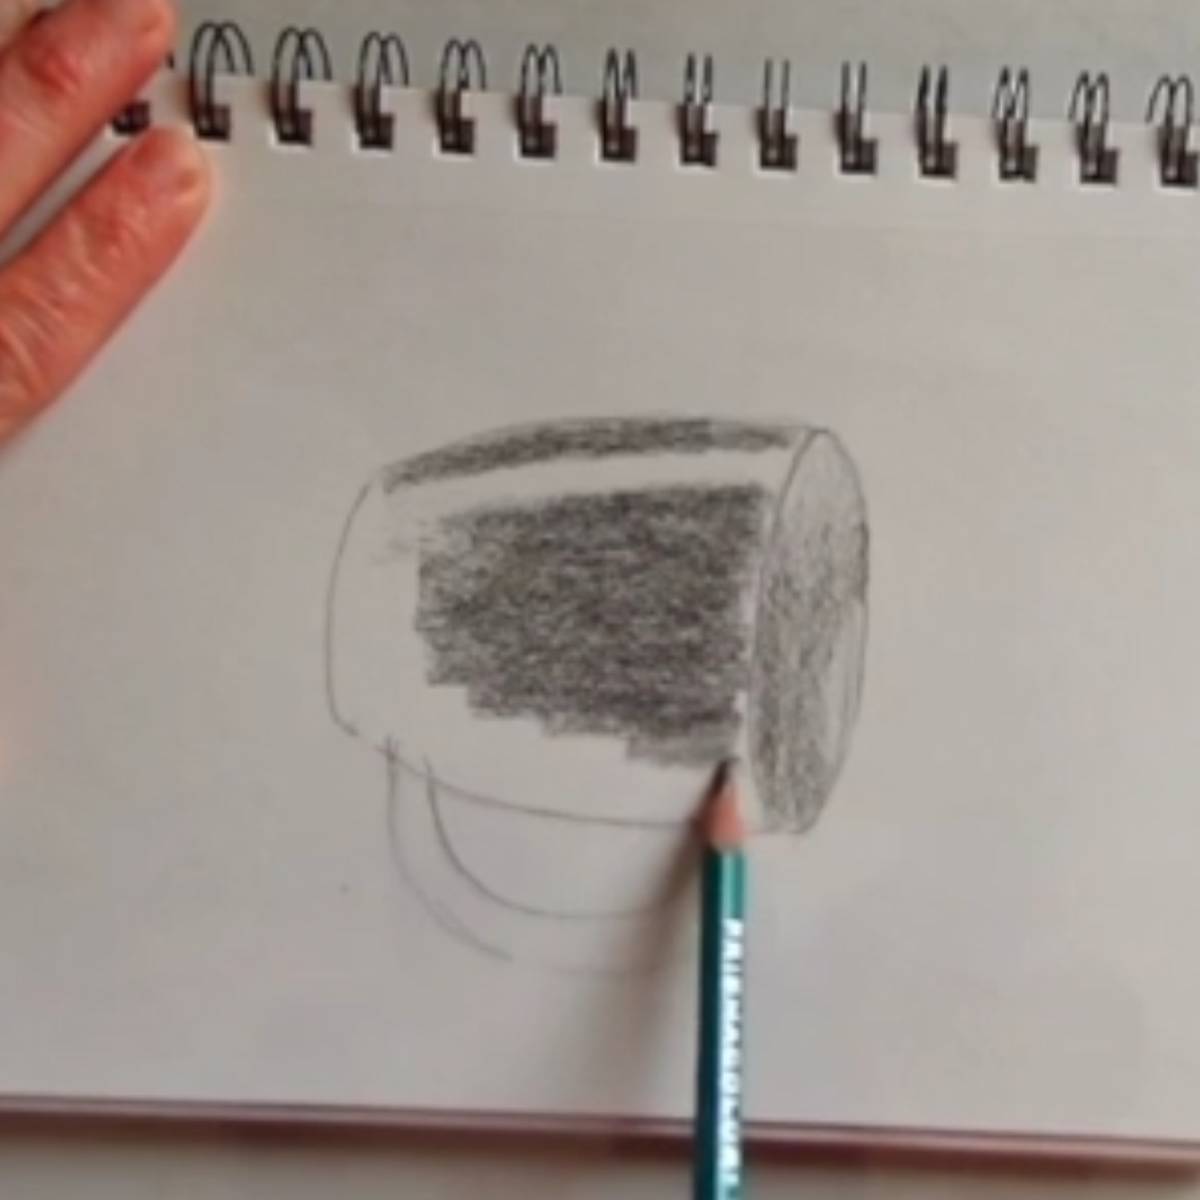
- Erase the top part of the bottom oval. It is on the other side of the mug so we actually don’t see it. When learning how to draw it is important to draw it in any way to align the drawing correctly.
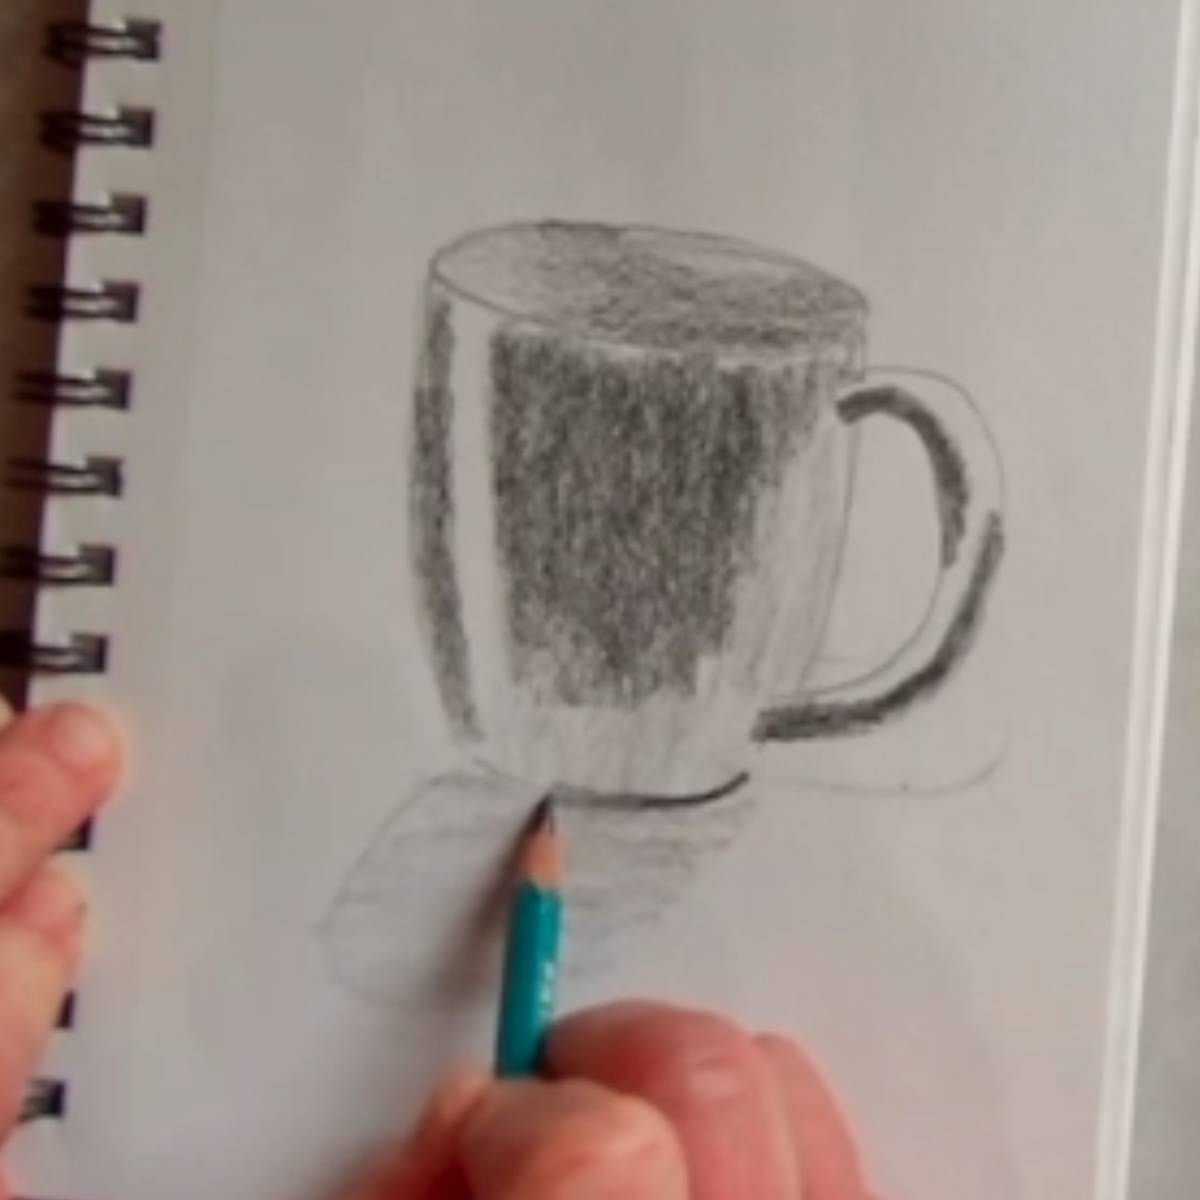
- Shade the mug in. starting with lighter shading and making it darker as you go along. The darkest areas are the middle front, the inside (it gets darker as it goes down into the mug), and the left side.
- Lightly draw in the shadows that the mug is casting and lightly shade them in. There is one in front of the mug and one to the right.
- While shading, try to make the transitions from light to dark very even and gradual.
- Leave the lightest areas white with no shading at all.
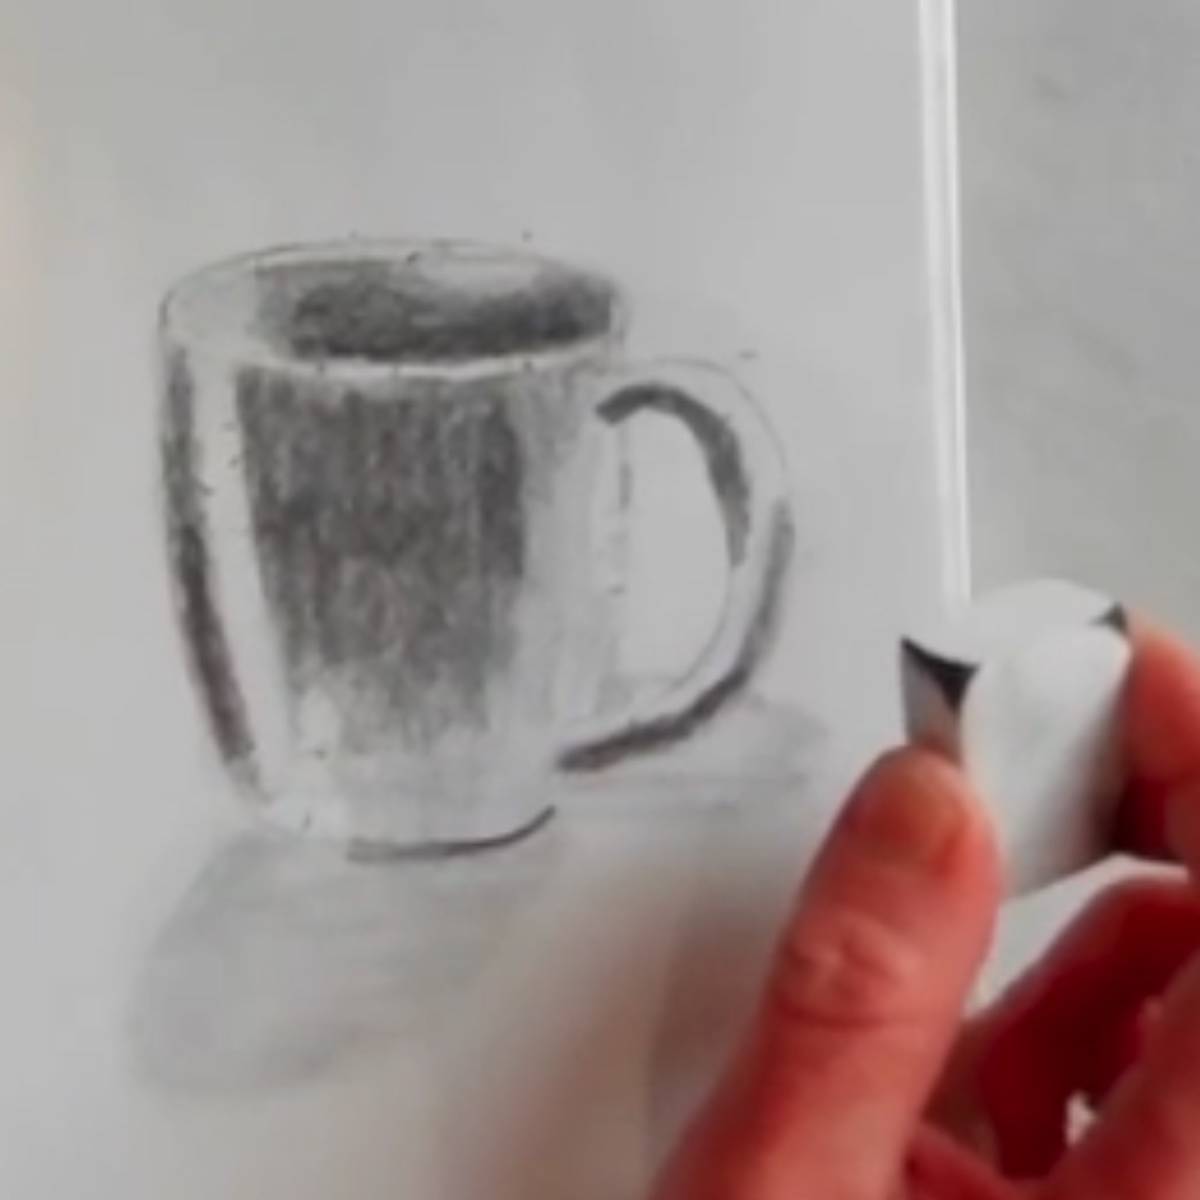
- Blend the shading together with your finger to soften the value.
- Go over the dark areas again to add more contrast to your drawing.
- Finally, go back in with your eraser and erase any highlighted areas to make them white. Clean up the drawing and ears any lines that you don’t need.
Perspective in drawing a coffee cup
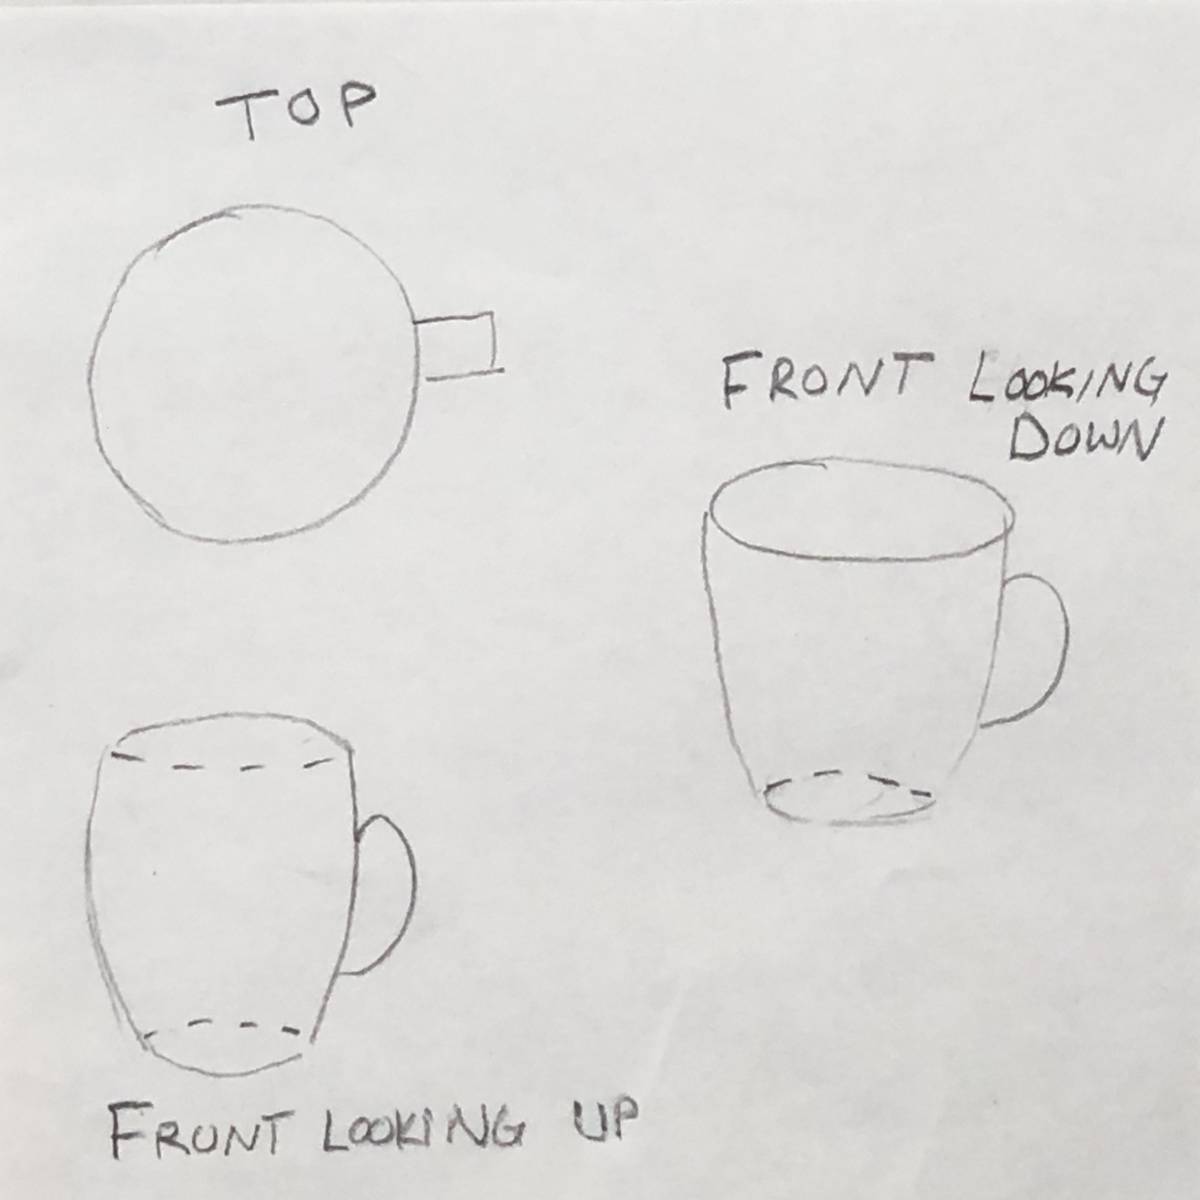
When looking at a coffee mug from the top down, it looks like a complete circle.
If you move your viewpoint down so you are looking down into the cup from the front, notice that the circle gets flattened out into an oval.
If you move your viewpoint down even more so you're looking up at the mug, your ovals are still there you just don't see them because they're behind the mug you will only see the top and bottom curves.
Whatever perspective you are drawing, the top and bottom ovals are the same shape.
In this lesson, we're going to concentrate on this point of view from the front looking down into the mug.
Variations
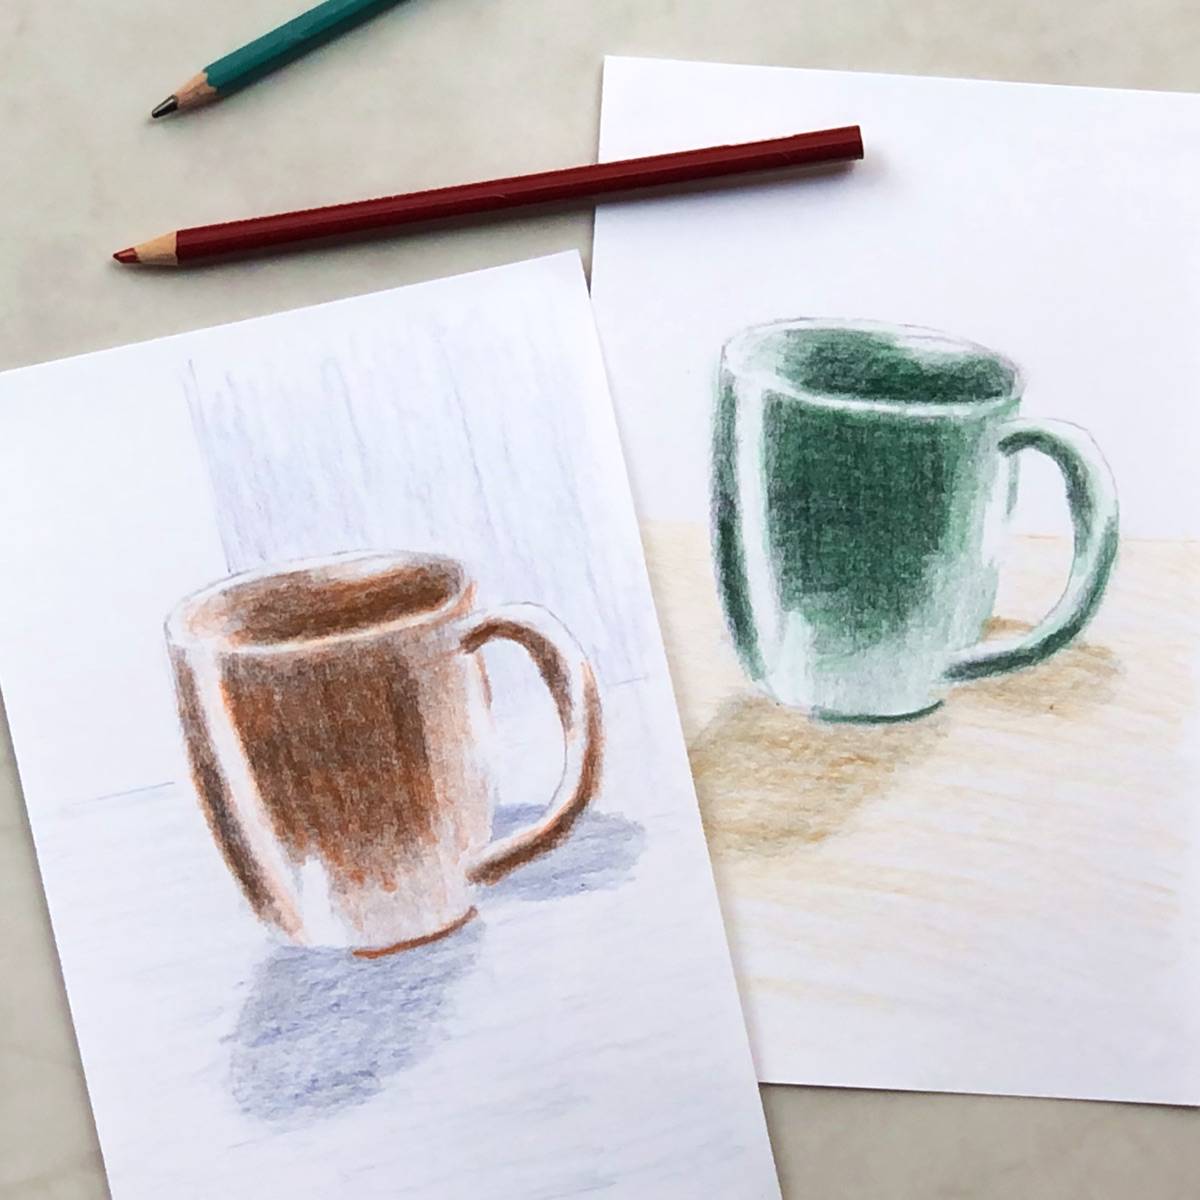
Add color to your mug sketch by coloring it in with soft pastels or watercolor paint.
Try drawing a coffee mug with colored pencils or charcoal.
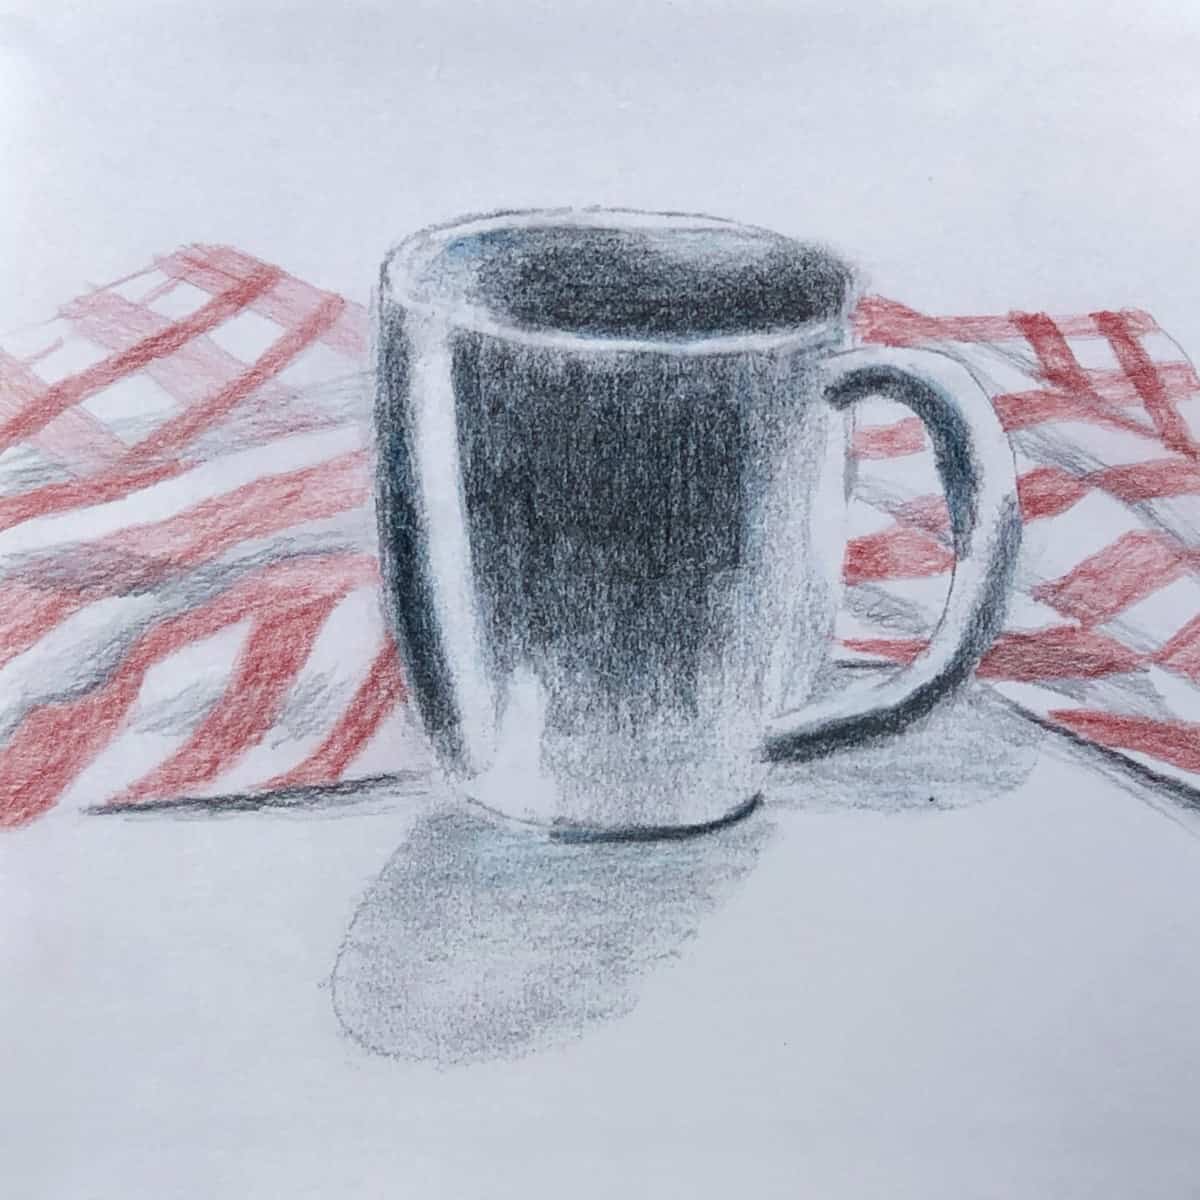
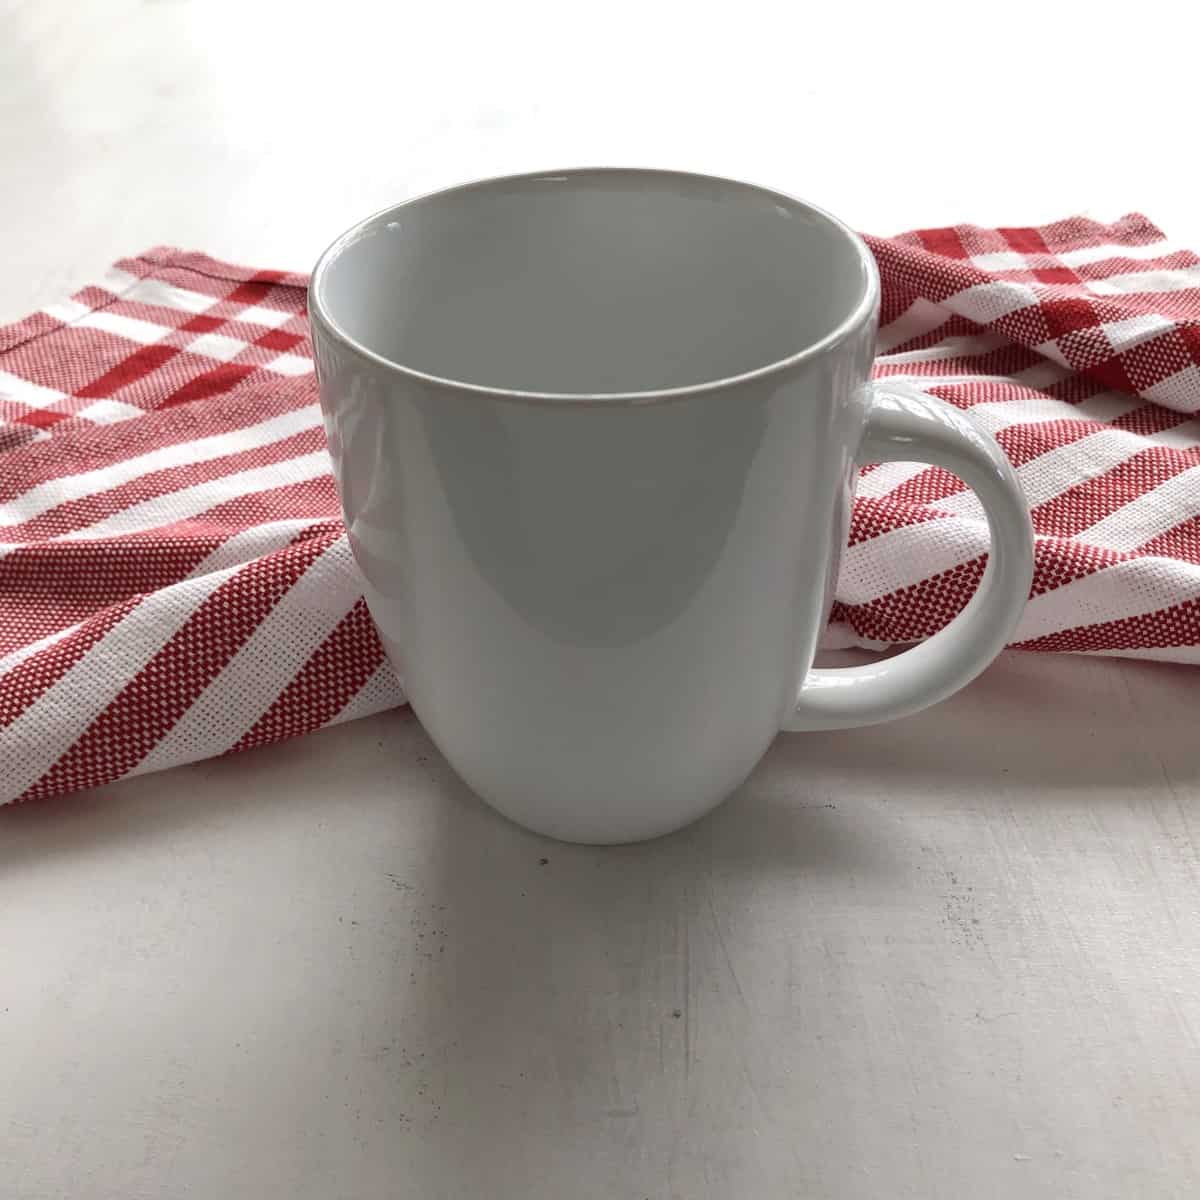
Add some background behind your mug. You could add walls, a tablecloth, windows, etc. Or try drawing in the folds of the red and white checkered napkin.
Tips and tricks
- Make your first lines very light in case you need to erase or adjust them.
- Really look at the mug (or photo of it) to see where the lights and darks really lie.
- Leave the lightest areas white with no shading at all.
- Use your eraser to make highlights.
Video Tutorial of How to Draw a Coffee Mug
Transcript
Read TranscriptDirections

How to Draw a Coffee Mug (Cup Sketch) Beginning Drawings
Materials
- Paper (Drawing paper is best but you can use whatever you have available. I am using a 5.5 x 8.5-inch spiral-bound sketchbook with 60 lb paper)
- Pencil - use a soft pencil for the shading (I am using a 7B) or just use whatever pencil you haveEraser - white vinyl or kneaded (a new eraser with sharp corners will work the best, or a kneaded eraser that you can mold into a sharp edge to just erase the areas that you want)
- Brush - 2-inch chip brush for brushing away eraser dust, optional
Instructions
- Draw an oval for the top and the bottom of the mug. The bottom oval will be slightly smaller (unless your mug has straight sides then the ovals will be the same size).
- Connect the edges of the ovals with a slightly curved line. If you are drawing your own mug or cup that has straight or differently shaped sides then draw what you see.
- Mark where the handle will go. Draw in the inside and outside curves of the handle of the mug.
- Erase the top part of the bottom oval. It is on the other side of the mug so we actually don’t see it. When learning how to draw it is important to draw it in any way to align the drawing correctly.
- Shade the mug in. starting with lighter shading and making it darker as you go along. The darkest areas are the middle front, the inside (it gets darker as it goes down into the mug), and the left side.
- Lightly draw in the shadows that the mug is casting and lightly shade them in. There is one in front of the mug and one to the right.
- While shading, try to make the transitions from light to dark very even and gradual.
- Leave the lightest areas white with no shading at all.
- Blend the shading together with your finger to soften the value.
- Go over the dark areas again to add more contrast to your drawing.
- Finally, go back in with your eraser and erase any highlighted areas to make them white. Clean up the drawing and ears any lines that you don’t need.
Notes
Lesson Downloads
For More Practice
Set up and practice sketching your own still life with several coffee mugs of different shapes and sizes.
Practice drawing a blind contour drawing of a coffee cup. To do this, look at your mug but do not look at your drawing or your paper while you slowly draw the outside line of the mug.
Lightly sketch in a mug. Instead of shading it in with a pencil use different watercolor paints to shade it.
Frequently Asked Questions
Draw an oval for the top and the bottom of the mug. Connect the edges of the ovals with a slightly curved line.
Mark where the handle will go. Draw in the inside and outside curves of the handle. Erase the top part of the bottom oval. It is on the other side of the mug so we actually don’t see it.
Sketch an oval for the top and the bottom of the mug. Connect the edges of the ovals. Mark where the handle will go. Draw in the inside and outside curves of the handle.
Shade it in with light and dark values, this will help create the illusion of 3 dimensions. It helps to look at a real coffee cup or a picture of one while you sketch it in.
Look at a picture or a real mug while you shade your mug in so you can see where the light and dark areas are. Starting with lighter shading and making it darker as you go along.
Blend the shading together with your finger to soften the value. Go over the dark areas again to add more contrast to your drawing.
You also might like
- Learn How to Draw a Cylinder
- How to Draw a Pear Still Life
- How to Draw an Oak Tree with Pencil
- Using Different Types of Artist Drawing Pencils
Please leave your questions, comments, and ratings below!

Paulo says
Great beginning drawing lesson!