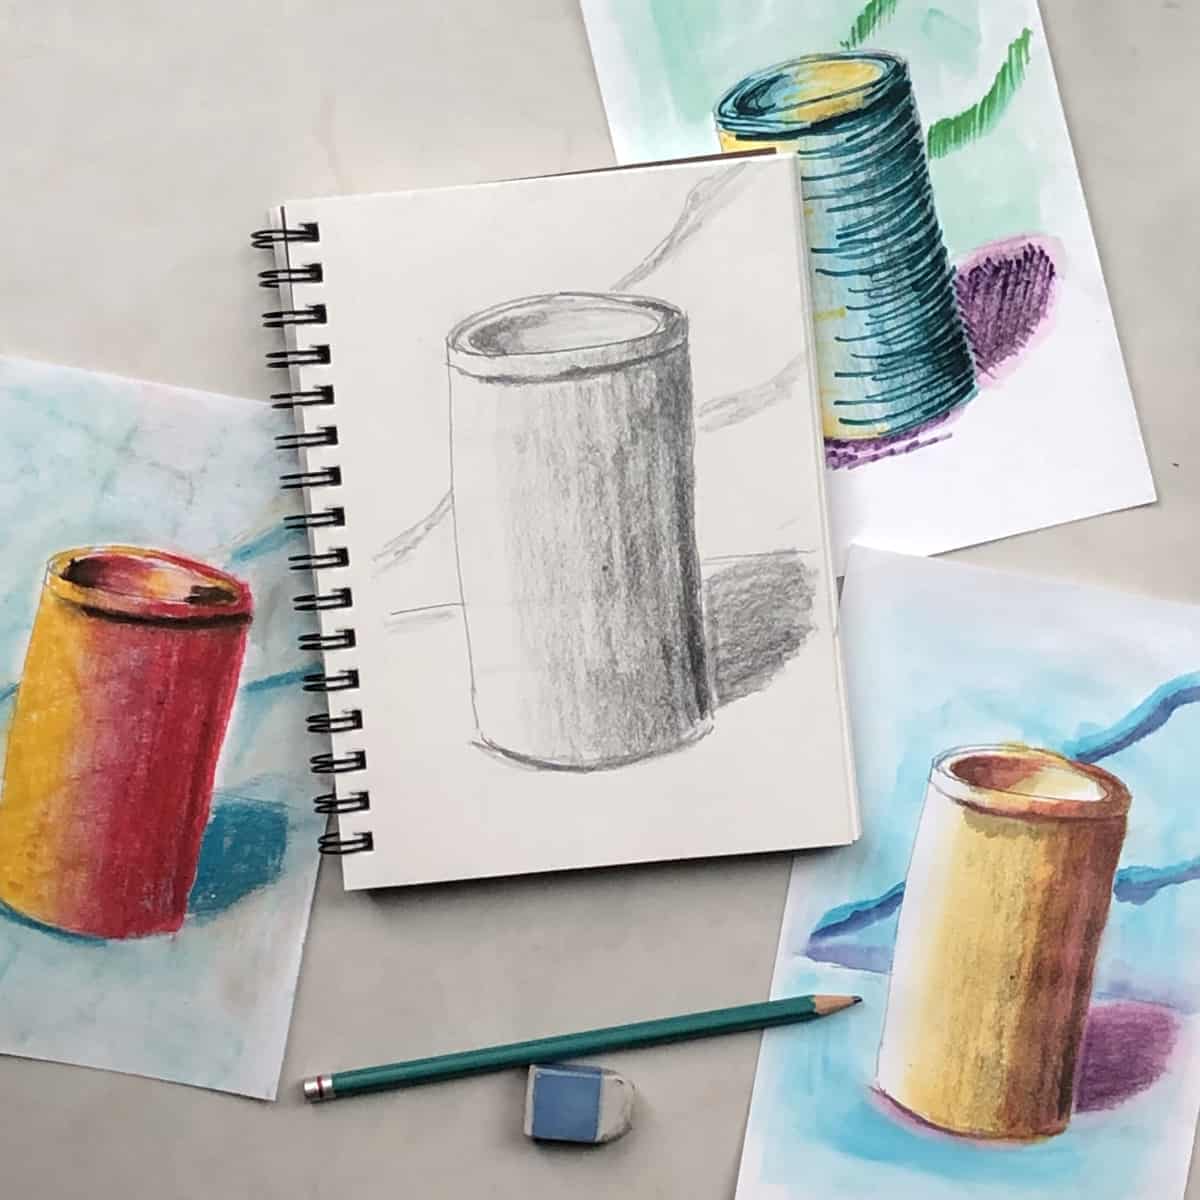
Learn how to draw a cylinder in pencil in this quick and easy video tutorial. This simple online art lesson will help you understand the basics of drawing a cylinder shape and how to shade it.
Creating basic shapes is a great place to begin if you want to learn how to draw. Follow these step-by-step instructions about the easiest way to sketch a 3d cylinder.
Jump to:
While it might seem ‘too simple” learning how to draw basic shapes such as cylinders is fundamental to learning how to draw and paint more complex subjects. Start with a cylinder and work up to still lives, landscapes, and figures.
You might also think of a cylinder as a tube shape, that translates into many other drawing skills and techniques. Drawing a cylinder is a basic building block that can help you draw trees, arms, legs torsos, furniture, and more.
Materials
The materials needed for this lesson are simple, you probably have them on hand already:
- Pencil
- Paper (Drawing paper is best but you can use whatever you have available. I am using a 5.5 x 8.5 inch spiral bound sketchbook with 60lb paper)
Art Lesson
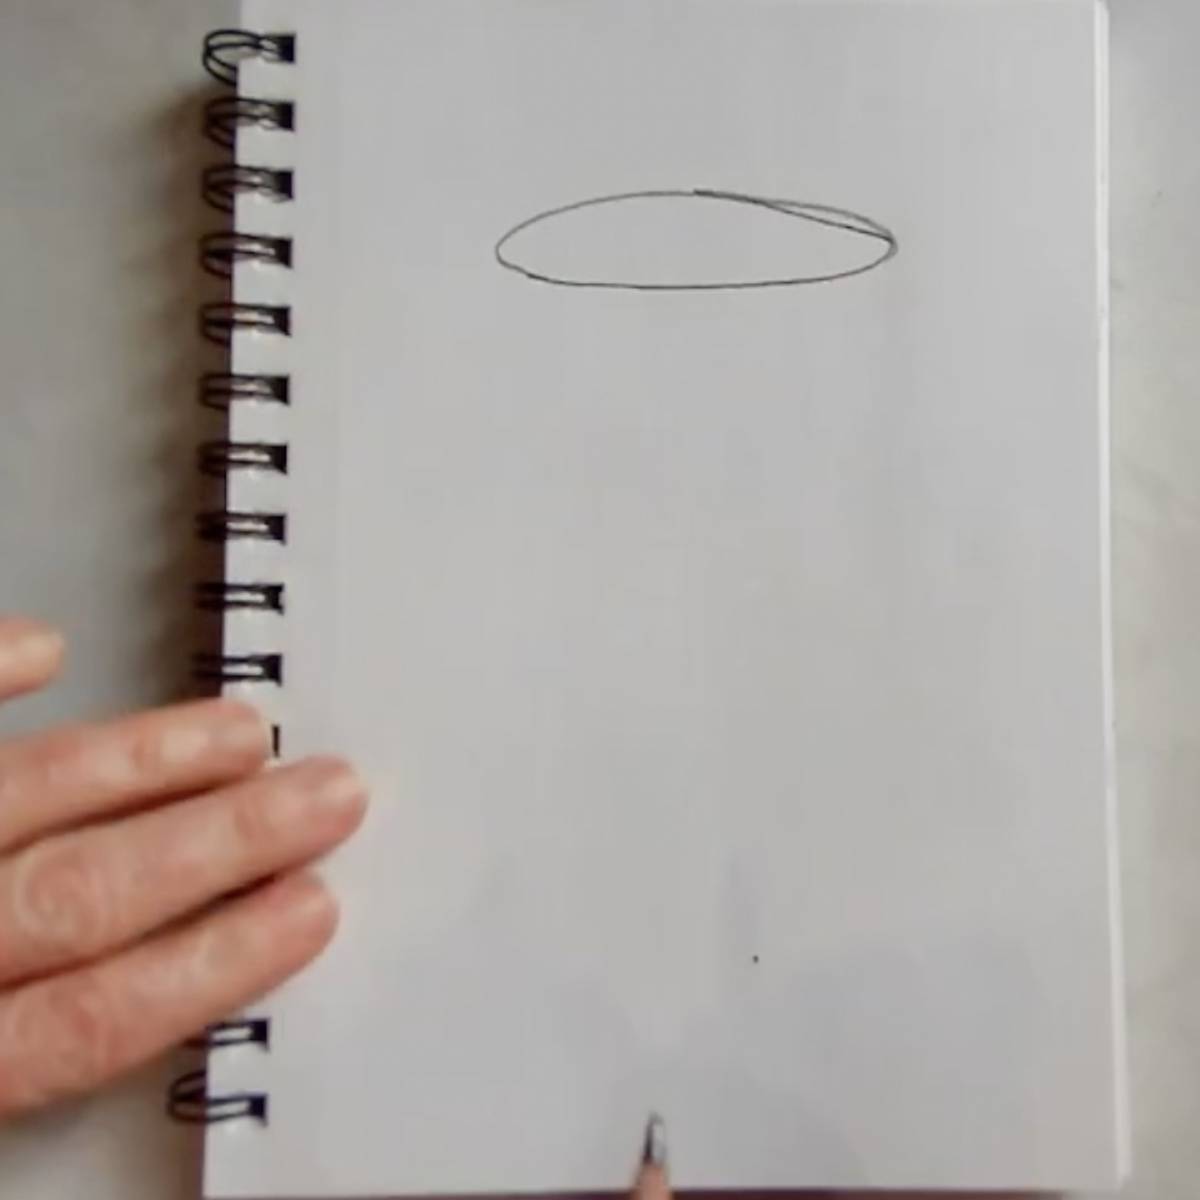

- Draw the top of the cylinder by drawing an oval.
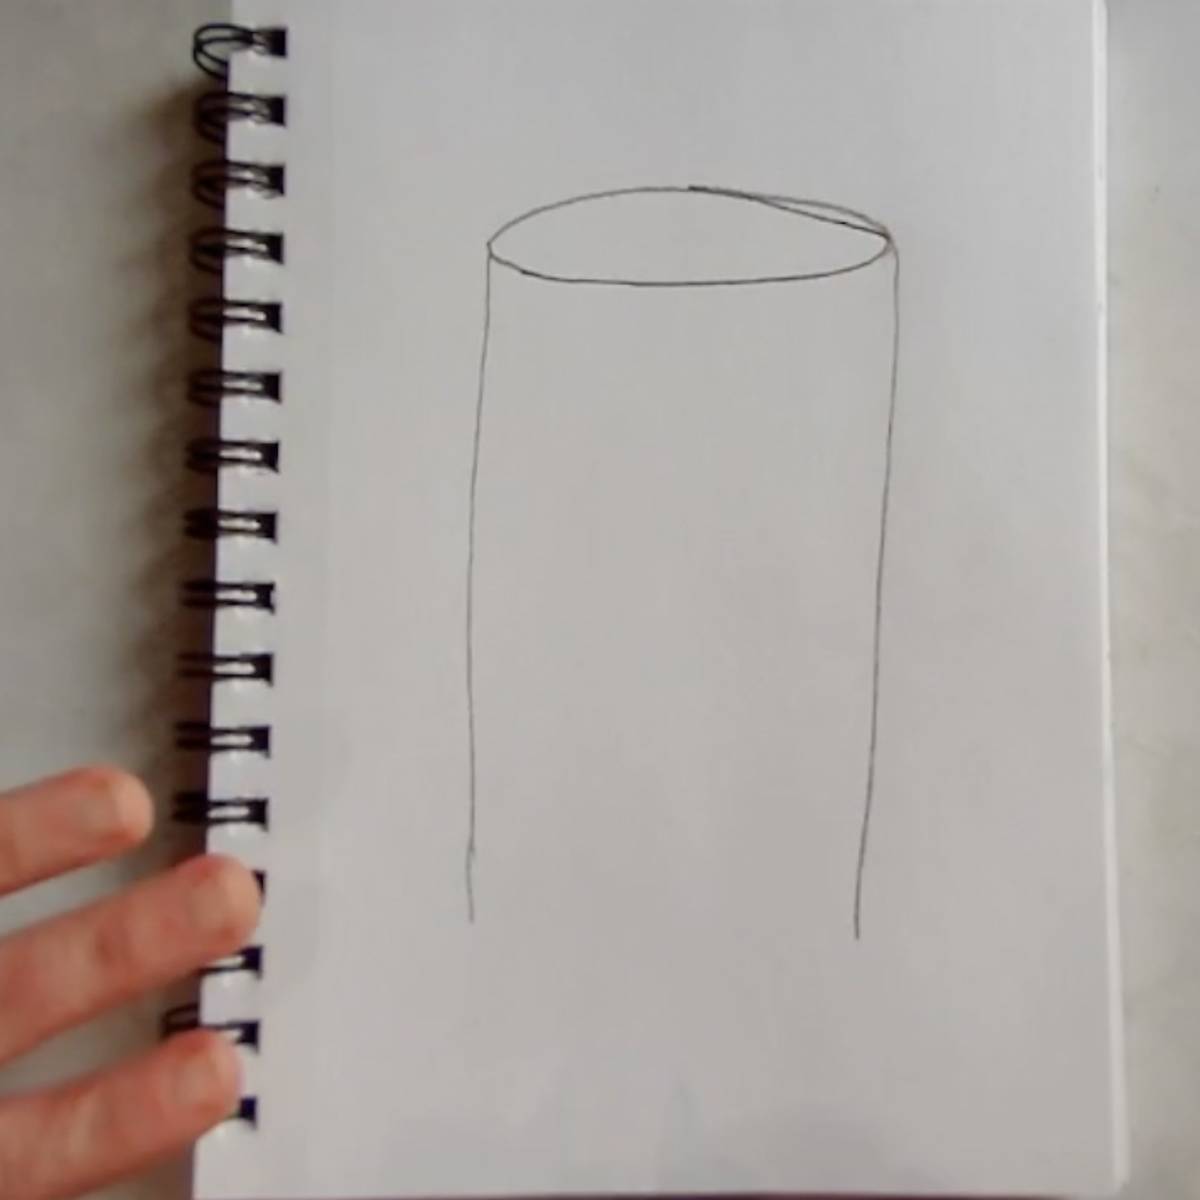
- Draw two lines down from the edge of the oval, one on each side. Use your whole arm without wiggling your wrist to get straighter lines.
- Draw in a half oval at the bottom to connect the two lines.
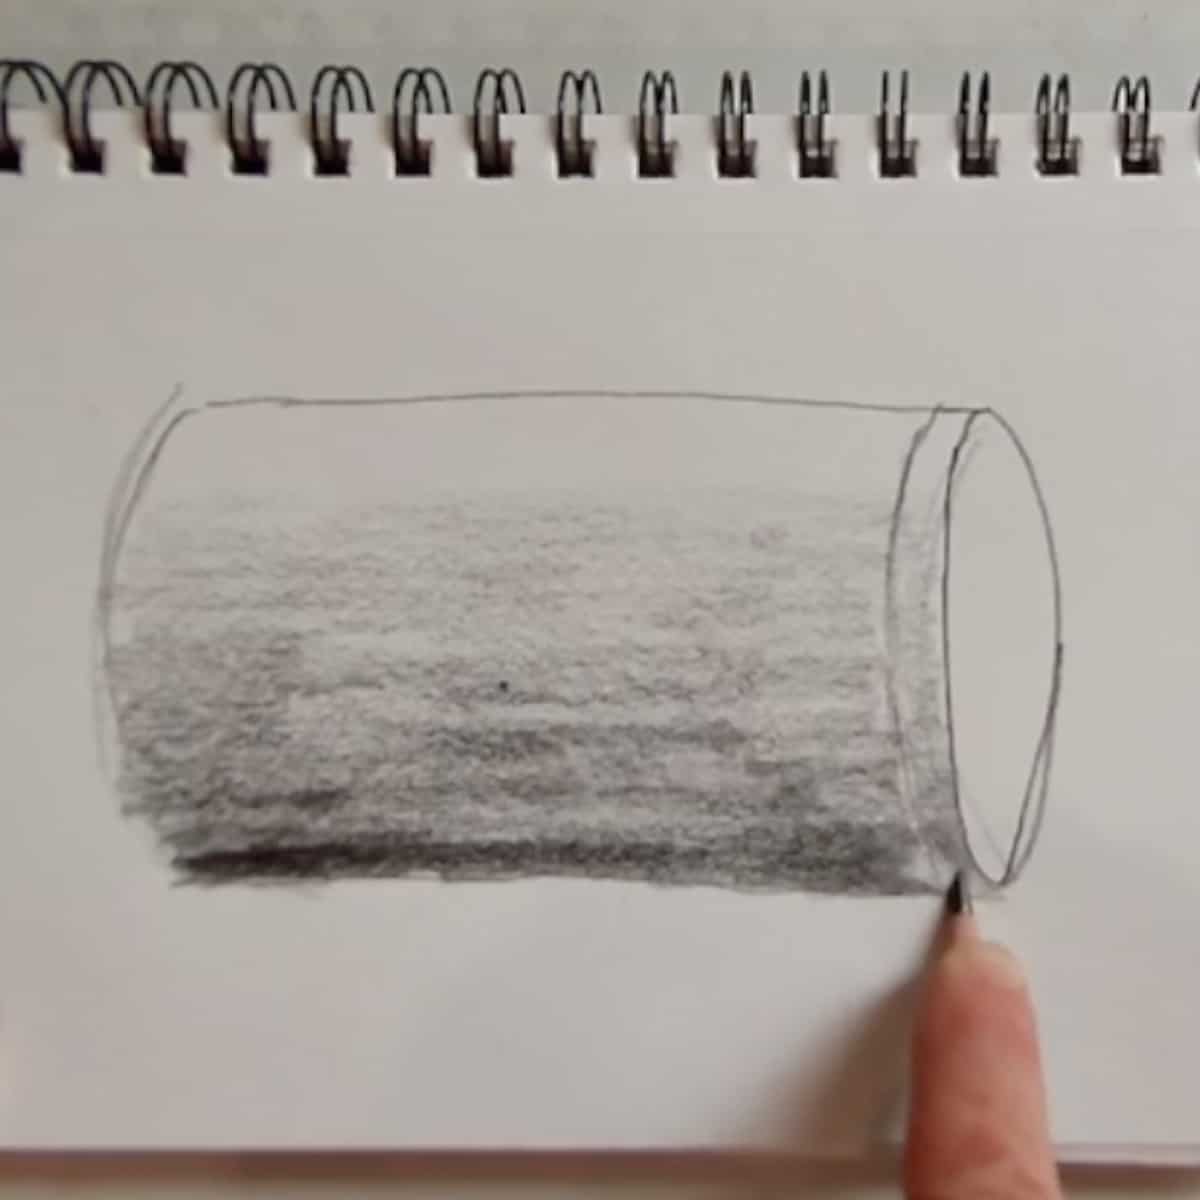
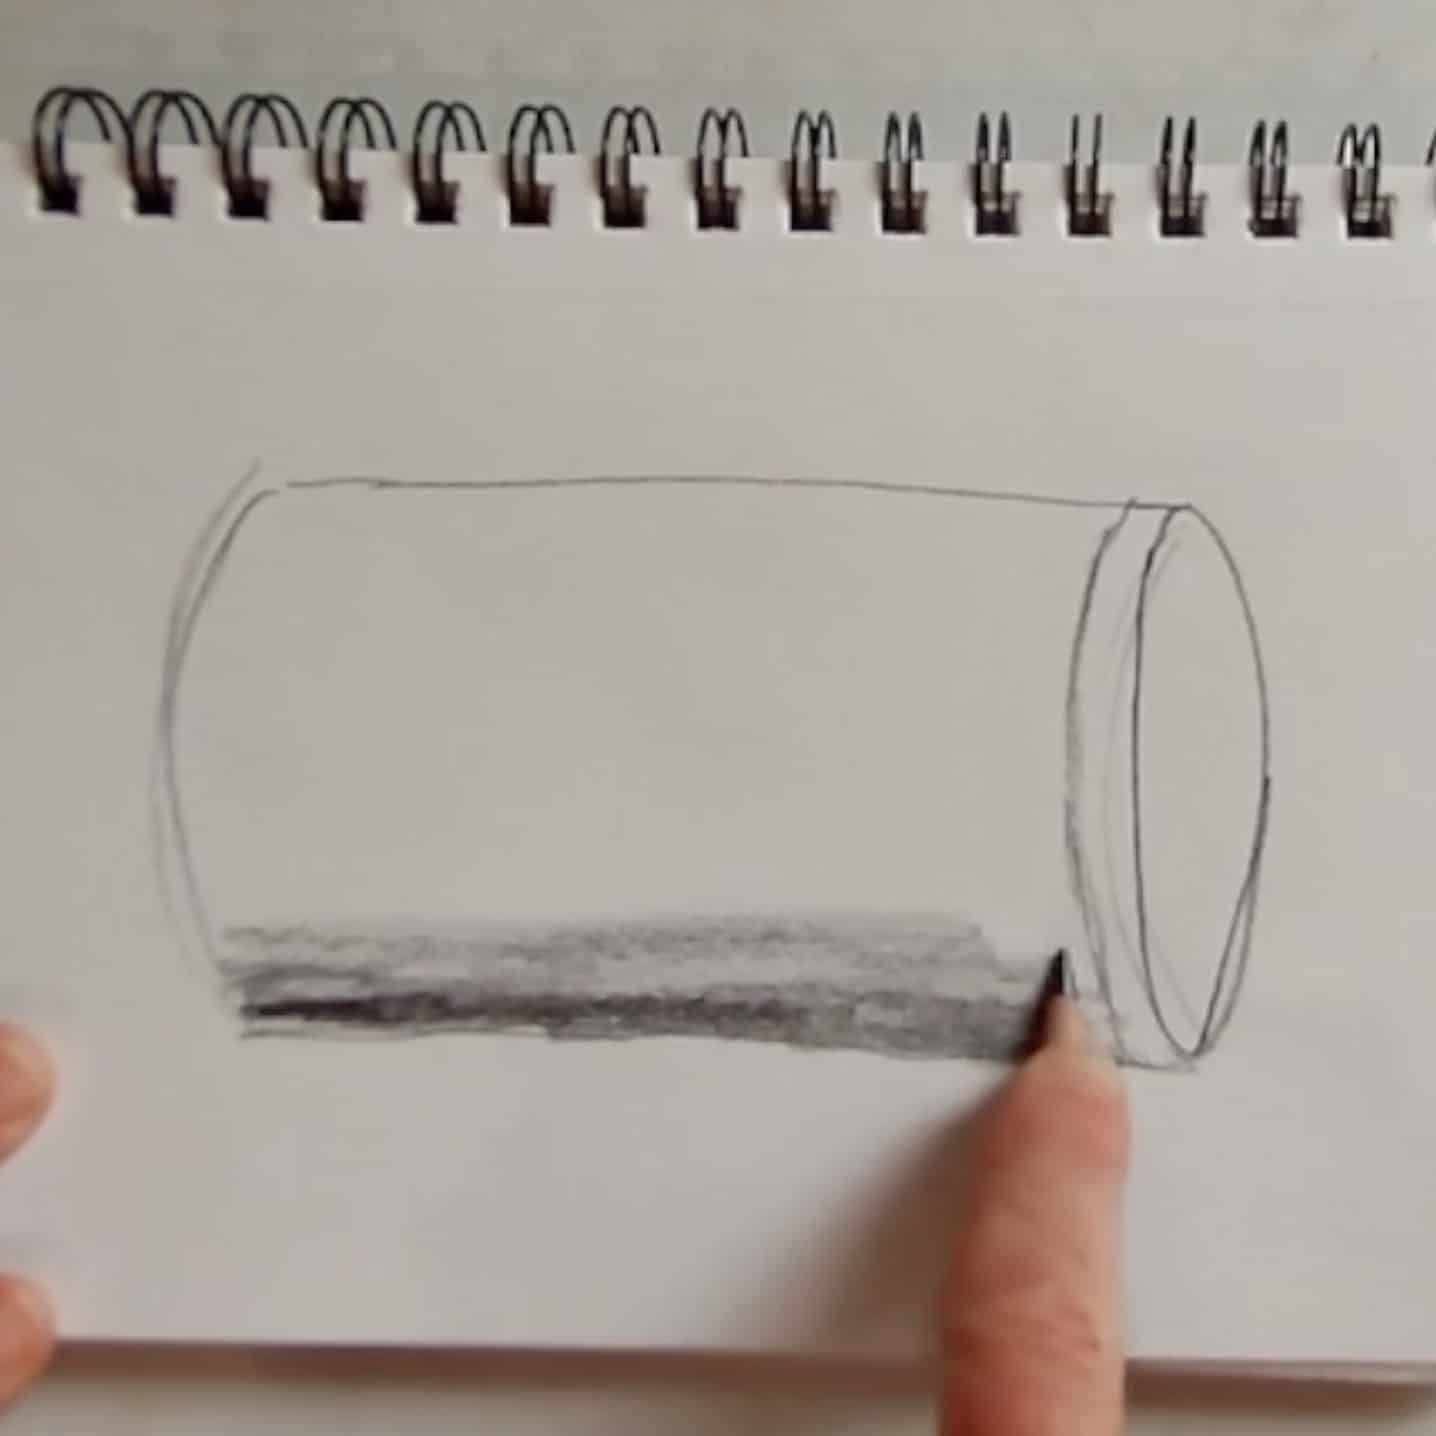
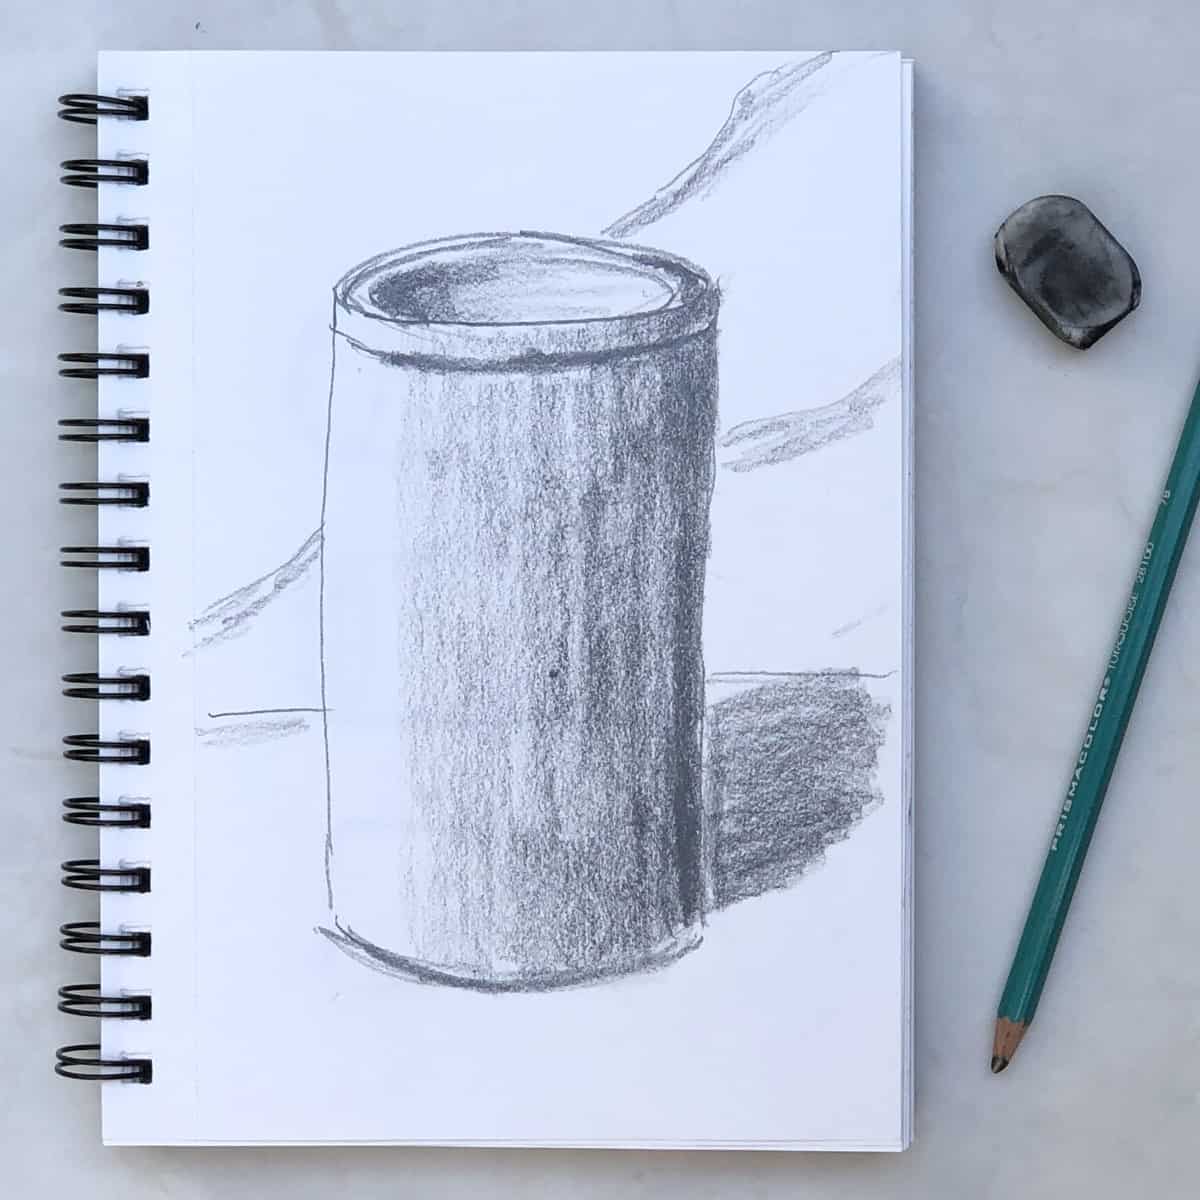
- Shade in your cylinder by turning your pencil on the side and pushing on the top. This will help you shade a large area quickly.
- One side will have more shadows and need darker shading. The other side can be left white. Take your time doing this to get a nice gradual transition between the light and dark shading.
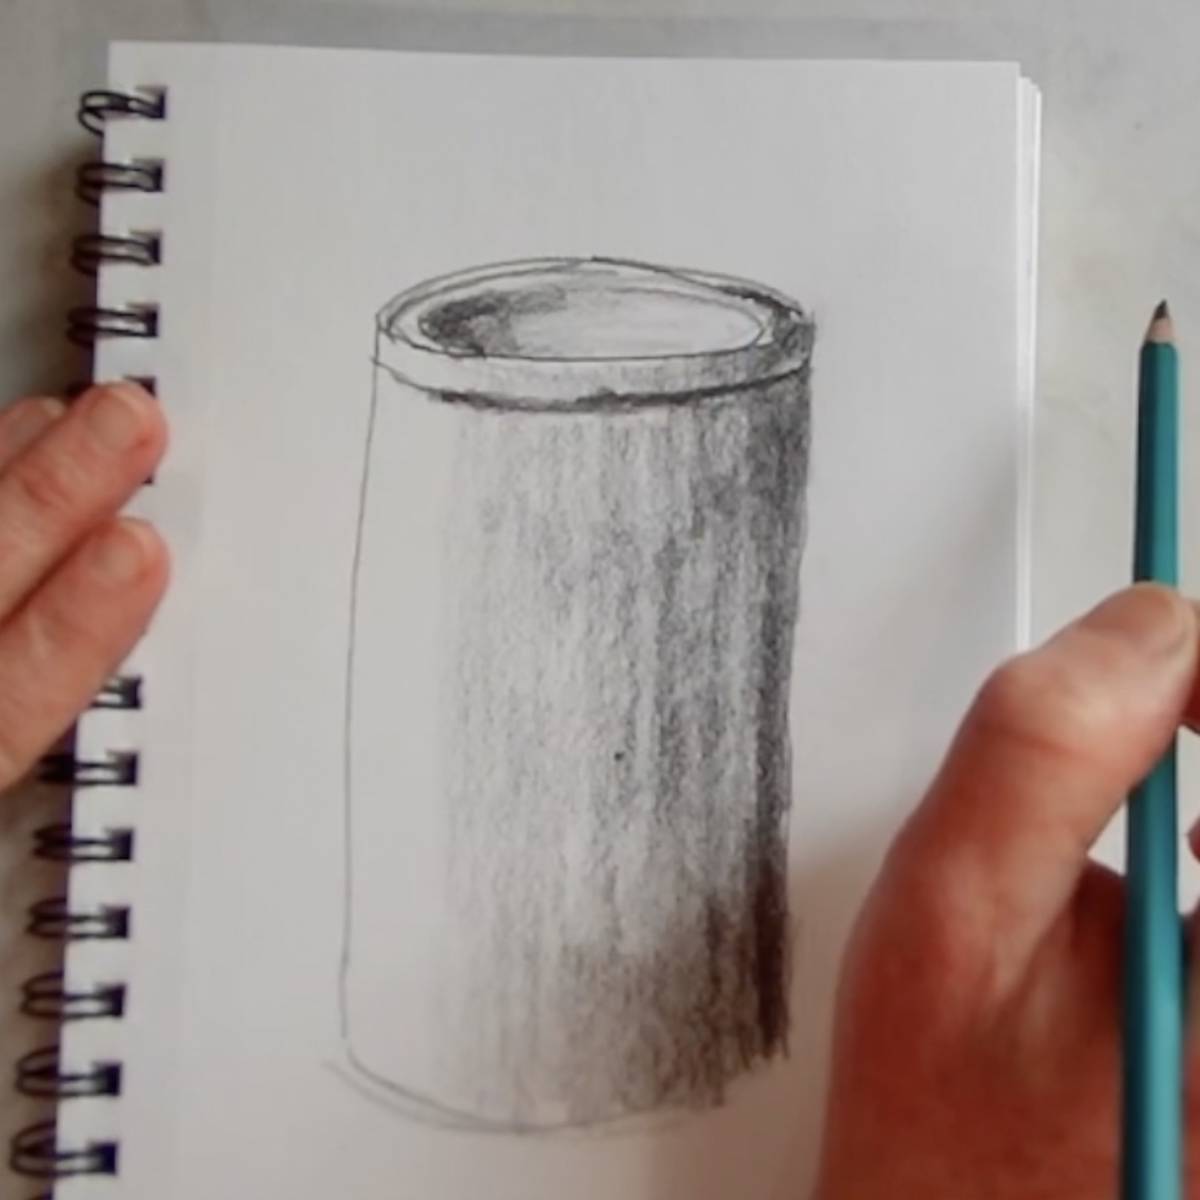
- Draw in a shadow below the edge of the lid. Shade in the top of the lid where it is in shadow.
- Sketch and then shade in the shadow that the cylinder is casting.
- Lastly, add in a horizon line and some of the folds of fabric that are in the background.
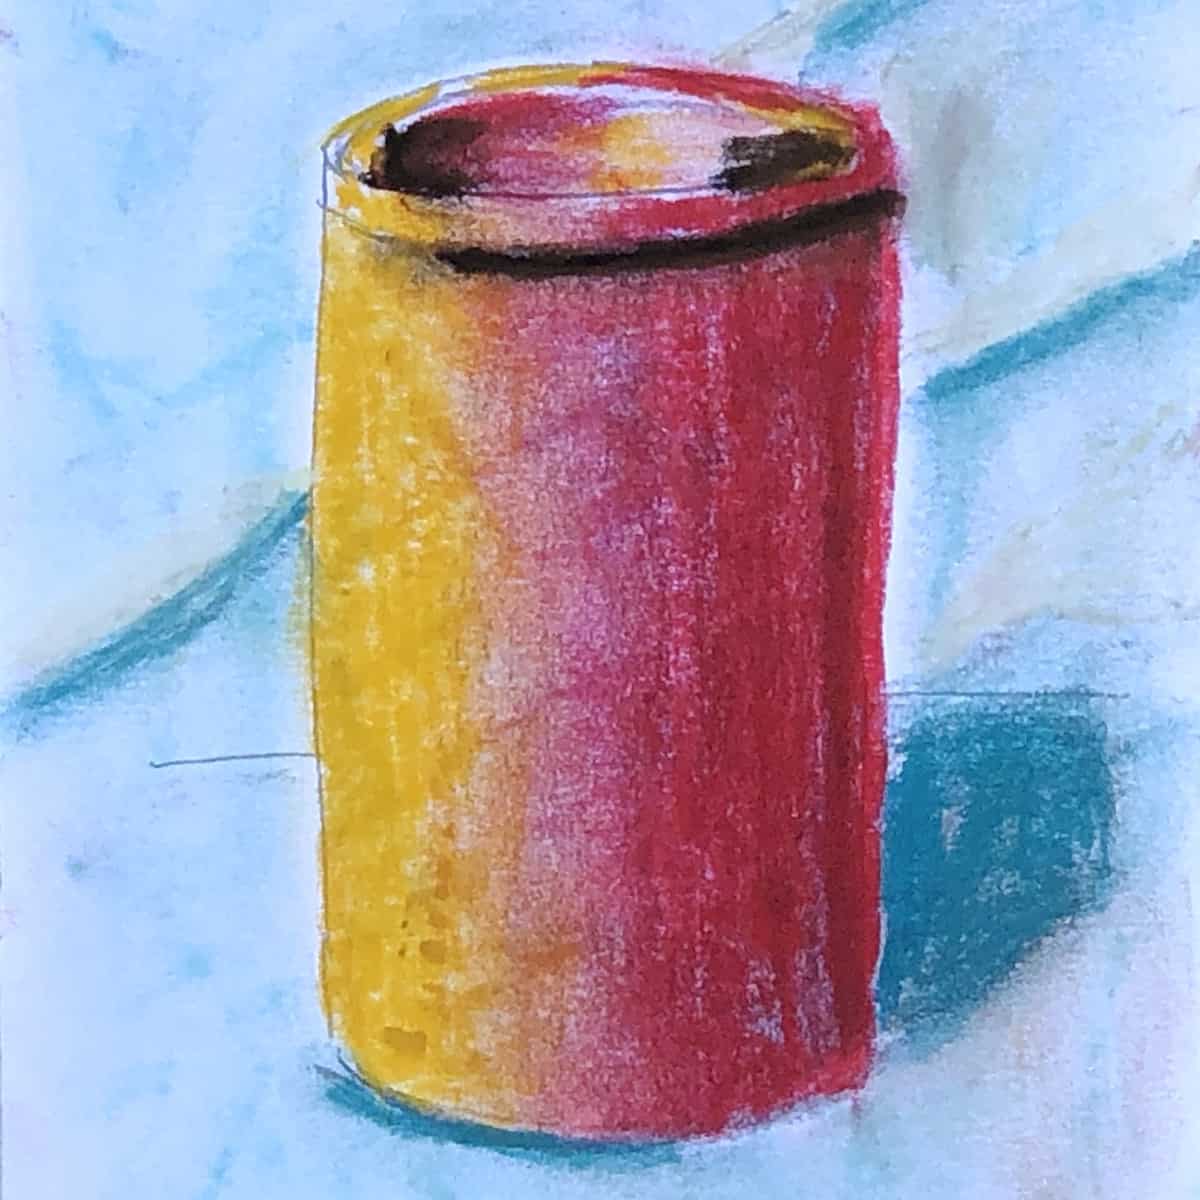
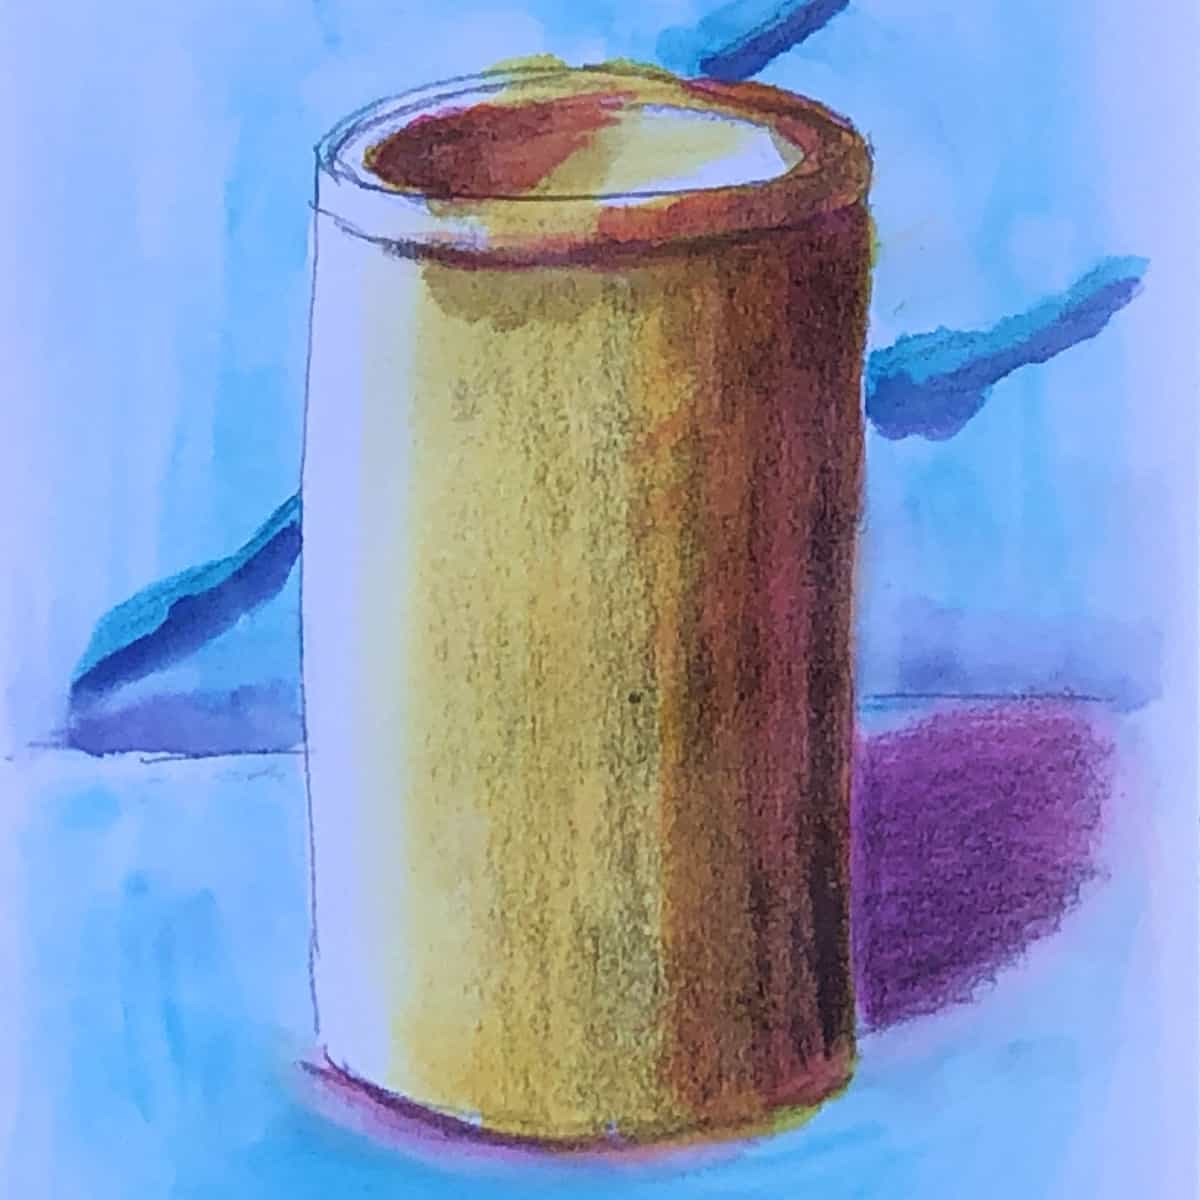
Variations
Color in your cylinder with soft pastels, watercolor paint, or colored pencils.
Tips and tricks
- Push down harder on your pencil for darker shading and push more gently for lighter shading.
- Turn your paper as needed to make it easier.
- Use the whole arm, without wiggling the wrist to sketch straighter lines.
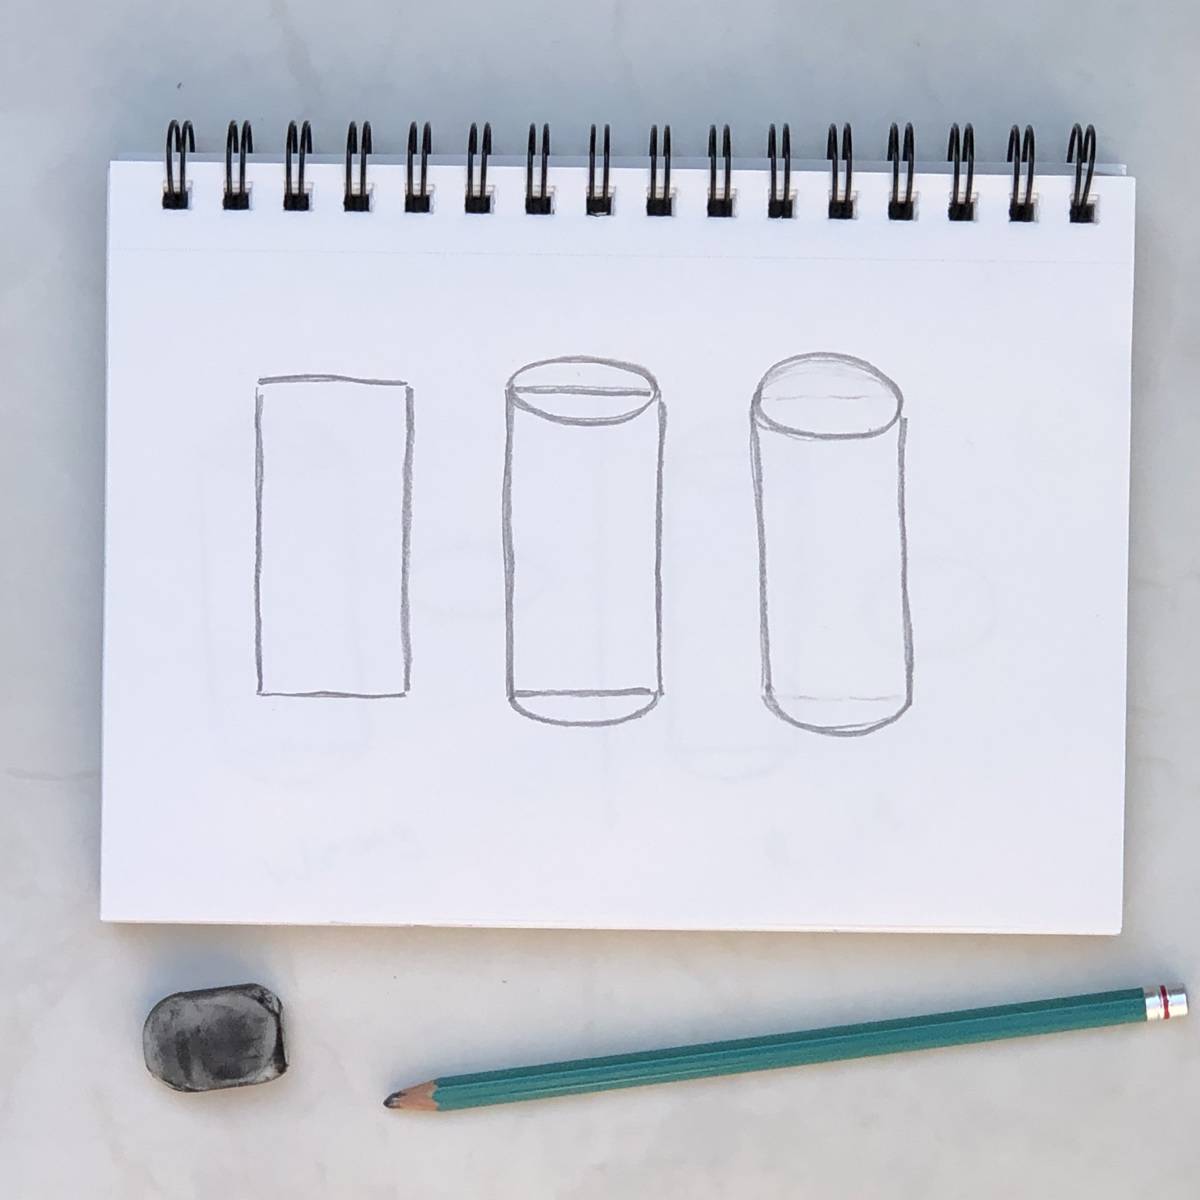
Many people like to start by drawing a rectangle then adding a half circle or half oval shape to the top. You can then go back and erase any lines that you don’t need.
Dos and Don'ts of Drawing a Cylinder

- Don’t make the mistake of drawing an arc with pointy ends instead of a half circle or half oval. If you imagine looking down at this shape from above it looks something like an almond.
- The correct shape when looking down on it from above will be a circle. So make sure that you point the ends of these lines inward or continue drawing the circle or oval.
Video of drawing a cylinder
Transcript
Read Transcript
How to Draw a Cylinder in Pencil
Equipment
- Pencil
- Paper (Drawing paper is best but you can use whatever you have available. I am using a 5.5 x 8.5 inch spiral bound sketchbook with 60lb paper)
Instructions
- Draw the top of the cylinder by drawing an oval.
- Draw two lines down from the edge of the oval, one on each side. Use your whole arm without wiggling your wrist to get straighter lines.
- Draw in a half oval at the bottom to connect the two lines.
- Shade in your cylinder by turning your pencil on the side and pushing on the top of it. This will help you shade a lot of area more quickly.
- One side will have more shadows and need darker shading. The other side can be left white. Take your time doing this to get a nice gradual transition between the light and dark shading.
- Draw in a shadow below the edge of the lid. Shade in the top of the lid where it is in shadow.
- Sketch, then shade in the shadow that the cylinder is casting.
- Lastly, add in a horizon line and some of the folds of fabric that are in the background.
Notes
- Push down harder on your pencil for darker shading and push more gently for lighter shading.
- Turn your paper for easier shading, if needed.
- Use the whole arm, without wiggling the wrist to sketch straighter lines.
Lesson Downloads
For more practice
- Try drawing your own objects for more practice. Challenge yourself by setting up a still life of canisters, cups, and soup cans.
- Also think about making different types of surfaces appear in distinct ways. Glass, tin, fabric, metal, paper and cardboard all have different qualities and will look different. Try to capture these characteristics.
- Practice drawing what you actually see, not just what you think you see.
Frequently Asked Questions
Draw the top of the cylinder by drawing an oval. Draw two lines down from the edge of the oval. One on each side.Use your whole arm without wiggling your wrist to get straighter lines. Draw in a half oval at the bottom to connect the two lines.
Shade in your cylinder by turning your pencil on the side and pushing on top of it. This will help you shade large areas quickly. One side will have more shadows and need darker shading. The other side can be left white. Take your time doing this to get a nice gradual transition between the light and dark shading. Sketch, and then shade in the shadow that the cylinder is casting.
Learning how to draw basic shapes such as cylinders is fundamental to learning how to draw and paint more complex subjects. Start with a cylinder and work up to still life, landscape, and figures. Cylinders are basic building blocks that help you draw trees, arms, legs torsos, furniture, and more.
Raoul says
Really good lesson for beginning drawing. I did this drawing right in my sketchbook.