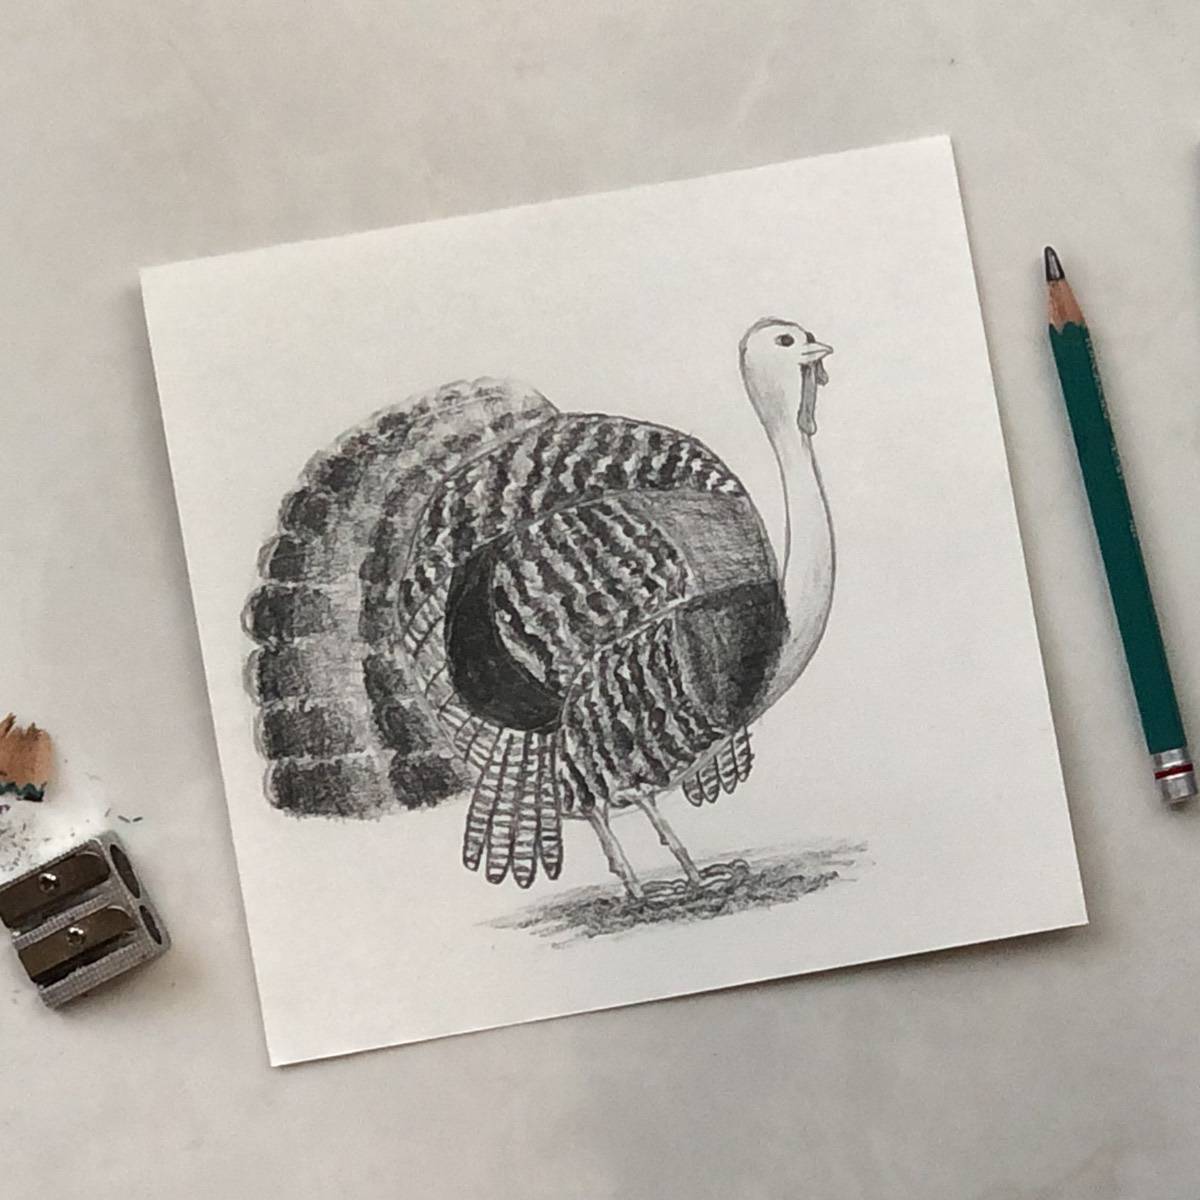
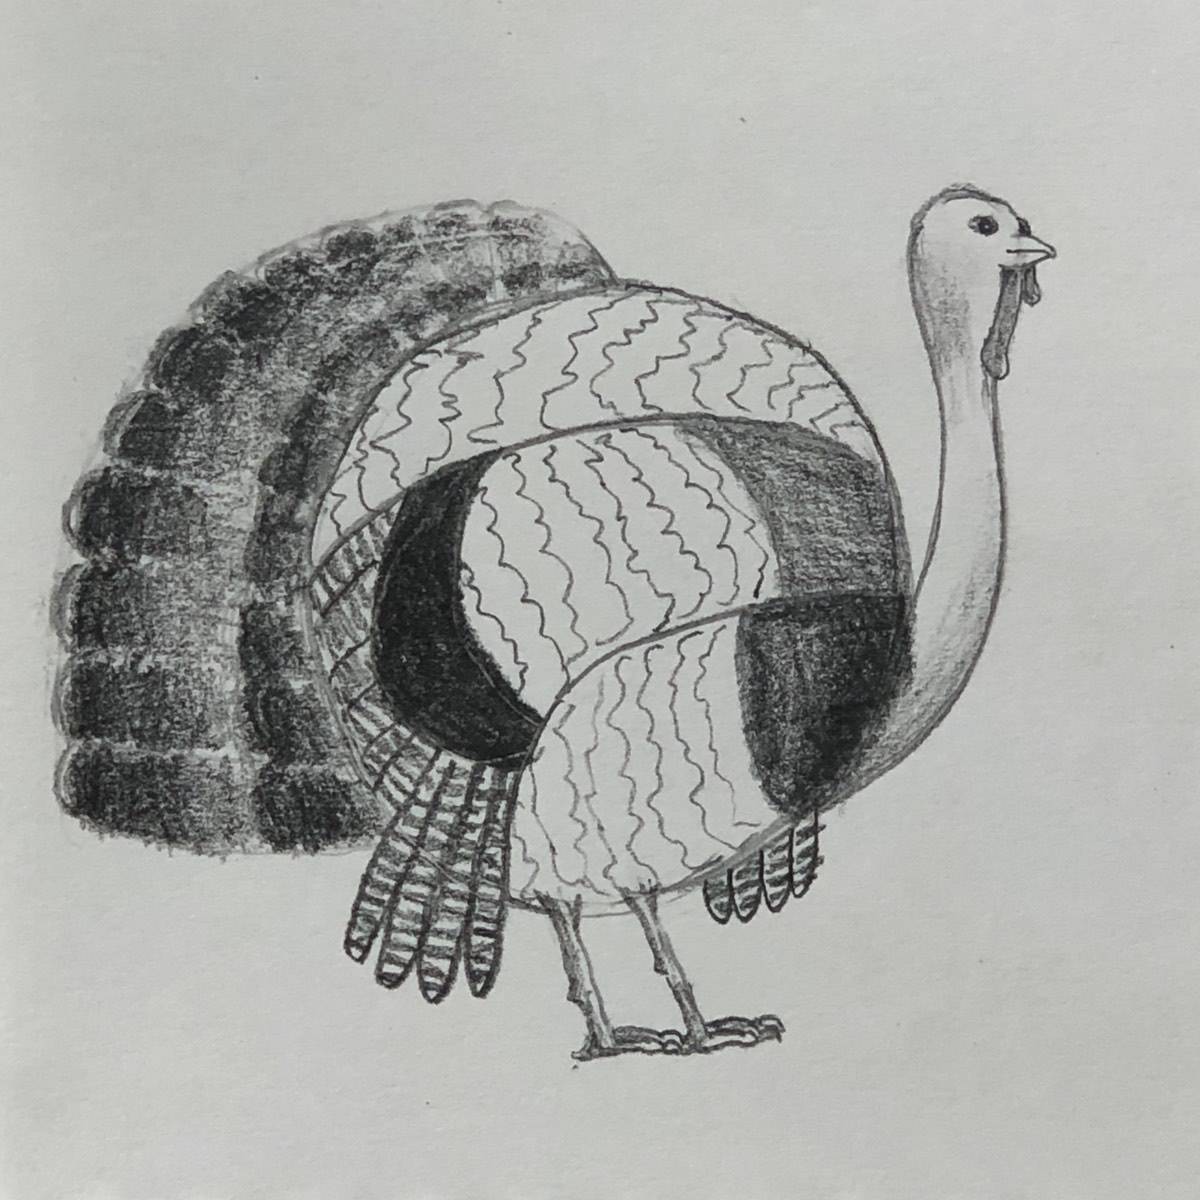
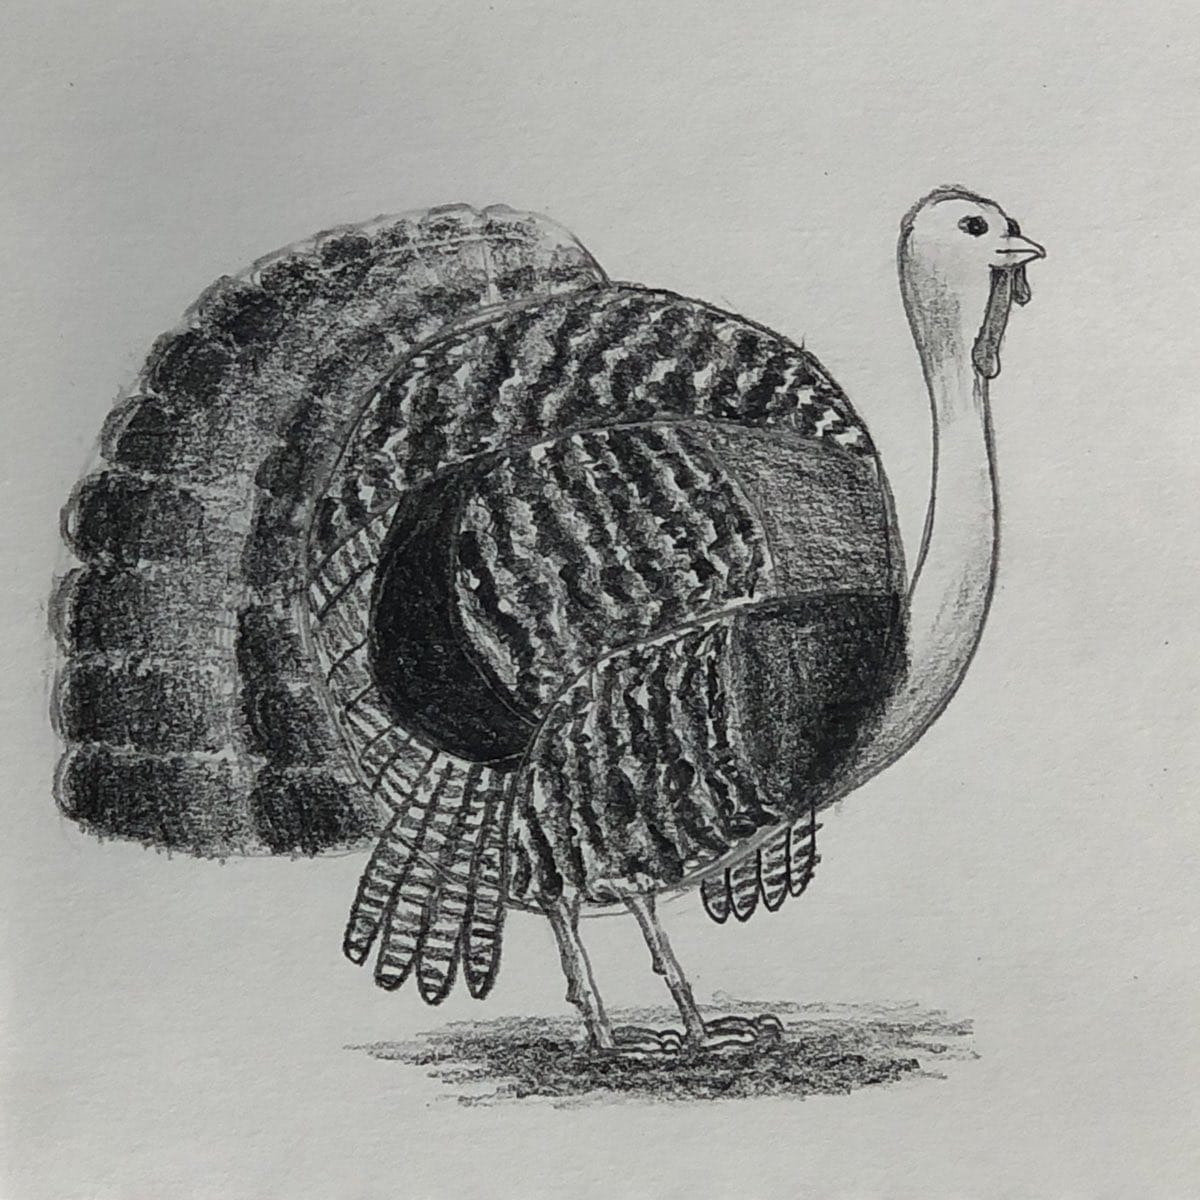
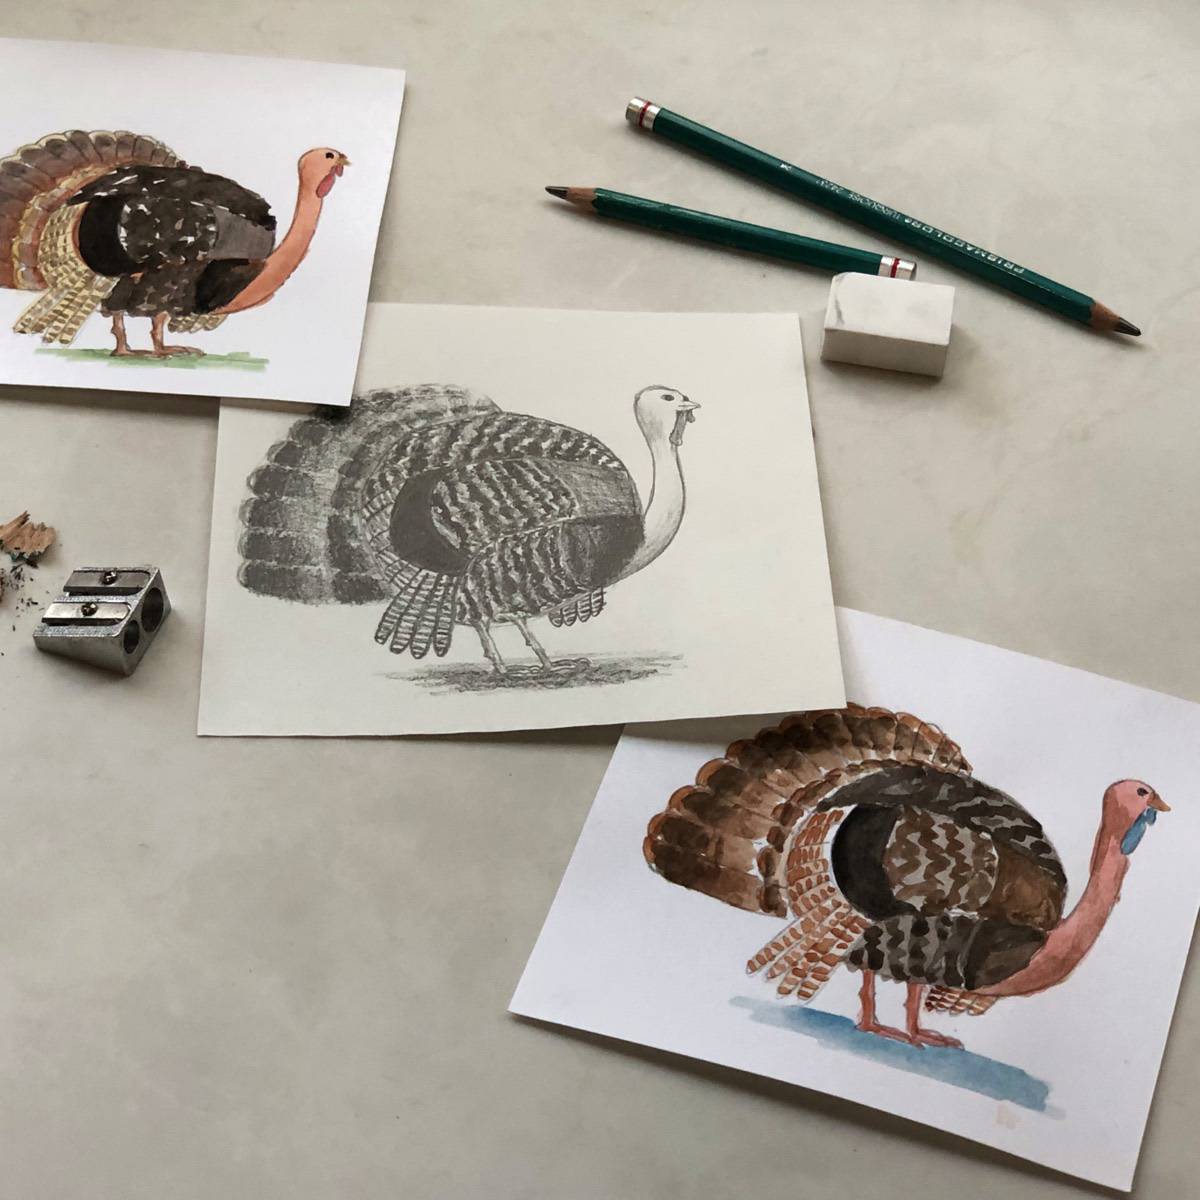
Learn how to draw a real Thanksgiving turkey easy step-by-step with this simple online art lesson. In this tutorial, learn the basic steps of sketching a Turkey in pencil for beginners and more experienced artists.
Drawing a turkey for Thanksgiving, fall, or harvest season has never been easier. Using simple lines to sketch and a bit of shading for the feathers and other details, you will create a gobbler in no time.
Jump to:
Many other birds have the same characteristics as turkeys. Once you have learned the basic steps of drawing a turkey, other birds can be broken down into similar shapes and patterns.
One of the things that I love about drawing and sketching is the very simple materials needed. You only need a pencil and paper to get started on this great Thanksgiving art project idea.
Materials
- Pencil - A hard pencil for initial sketching (F, H, or HB) and a soft pencil (8B, 9B, or other soft, dark pencil for shading
- Paper - 70 pounds / 115 gsm. drawing paper 6 x 6 inches (or use whatever you have on hand)
- Eraser - White vinyl eraser or other
- Chip brush - to brush off eraser dust - optional
Art Lesson
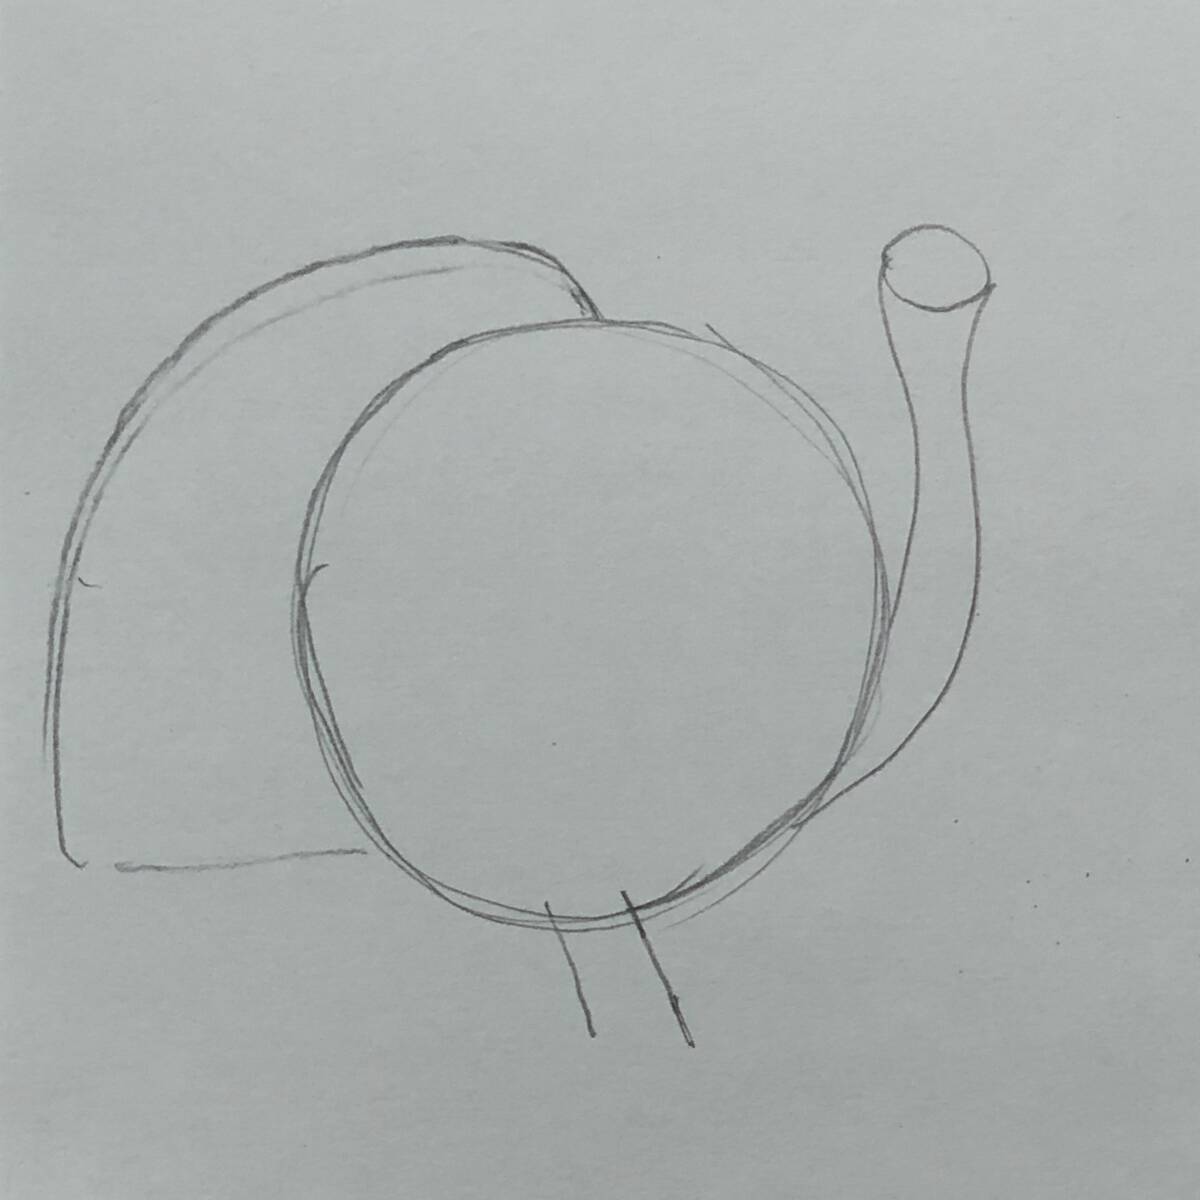
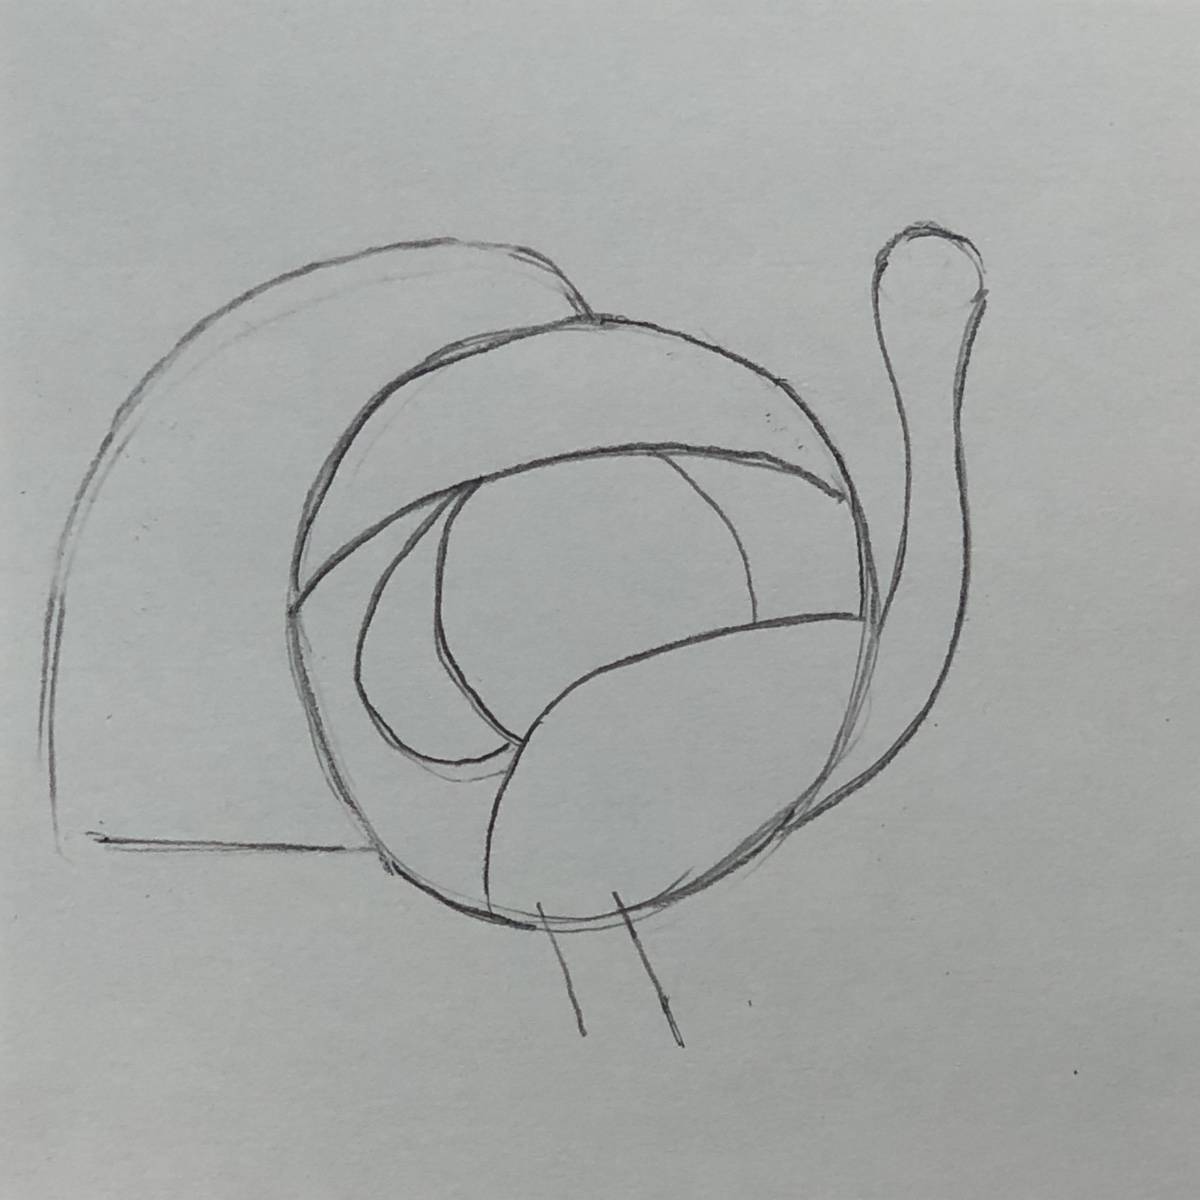
- Basic Sketch
- Lightly sketch a large circle for the body. Sketch a small oval for the head above and to the right.
- Join the head to the body with a curved line.
- Sketch in the legs.
- Draw in the fanned-out tail feathers in an arch shape from the middle of the back to three-quarters down to the base of the body.
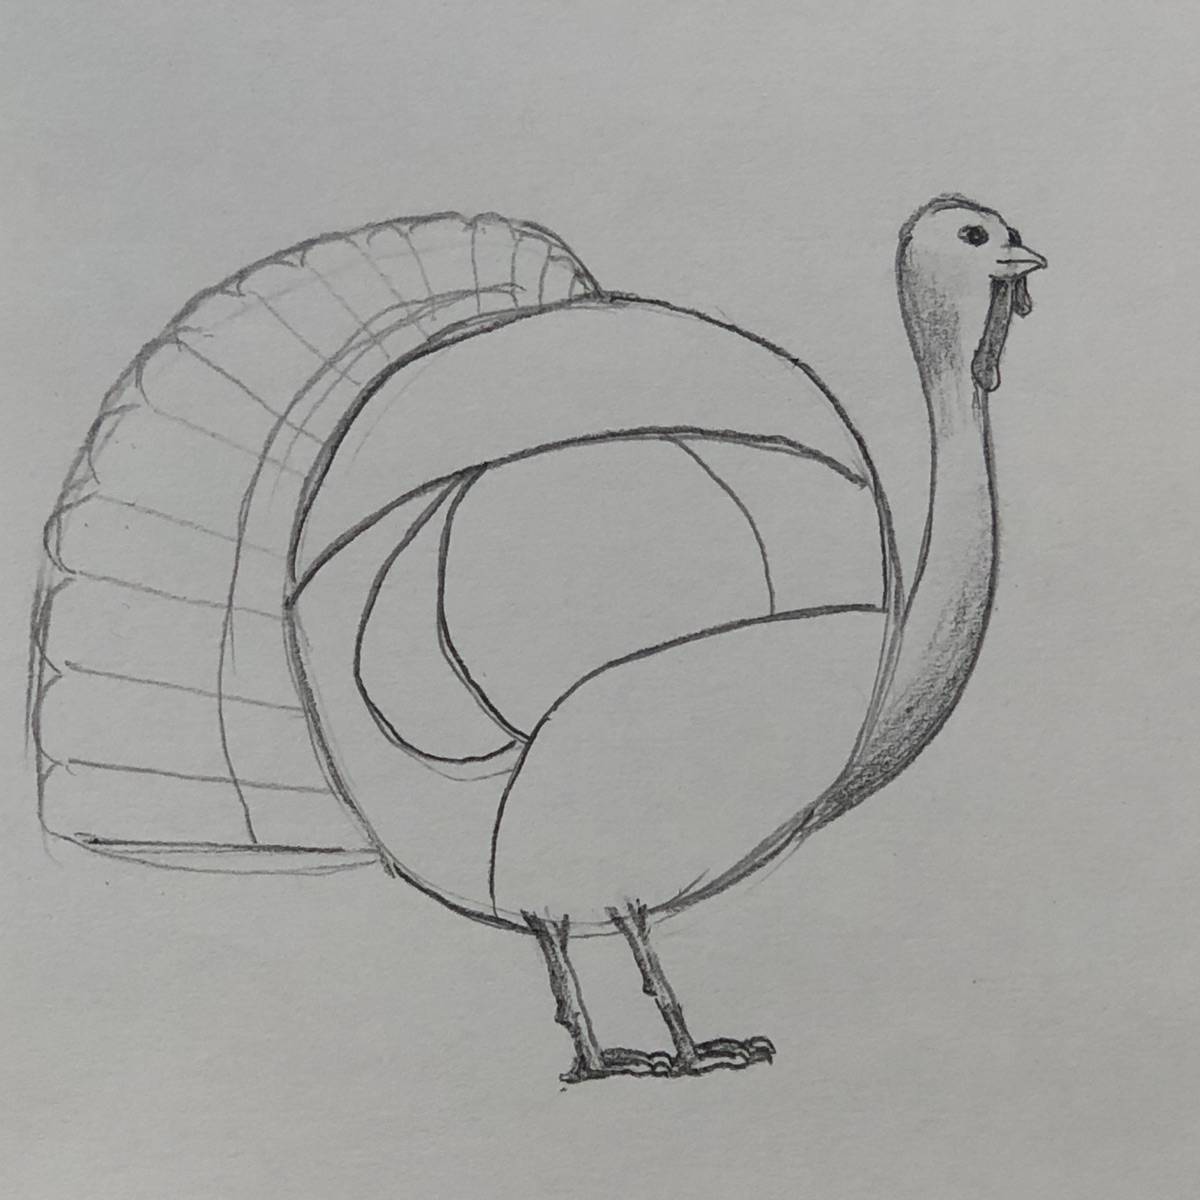
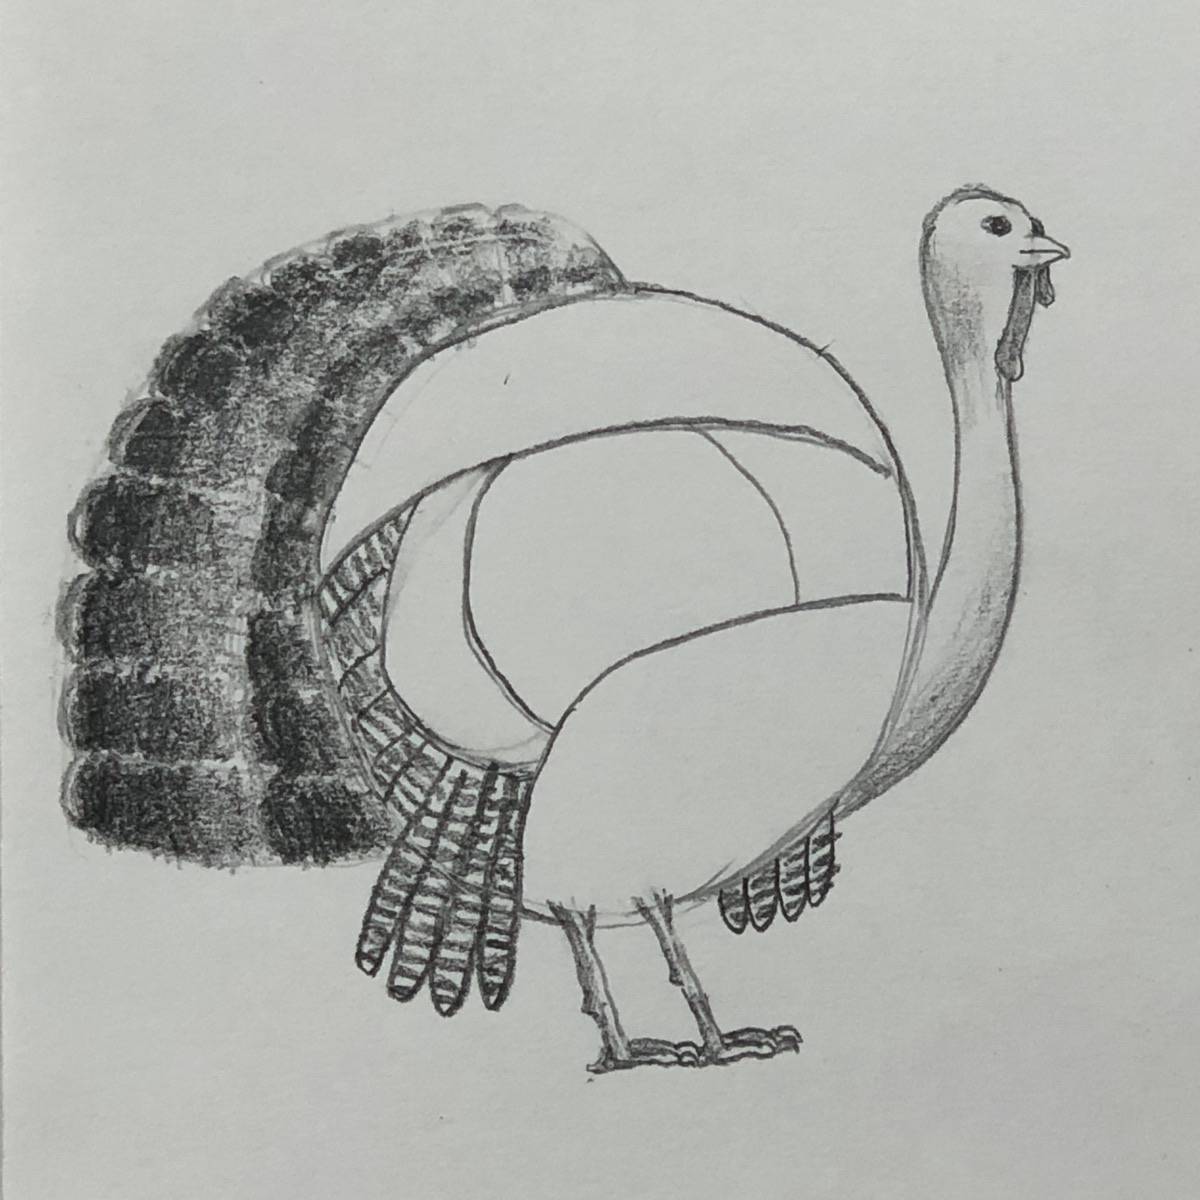
- Erase guidelines and darken the basic shape
- Erase any guidelines you don’t need and darken the basic shape of the turkey.
- Divide the body into different sections based on the drawing. The different areas have different values, textures, or patterns depending on the feathers
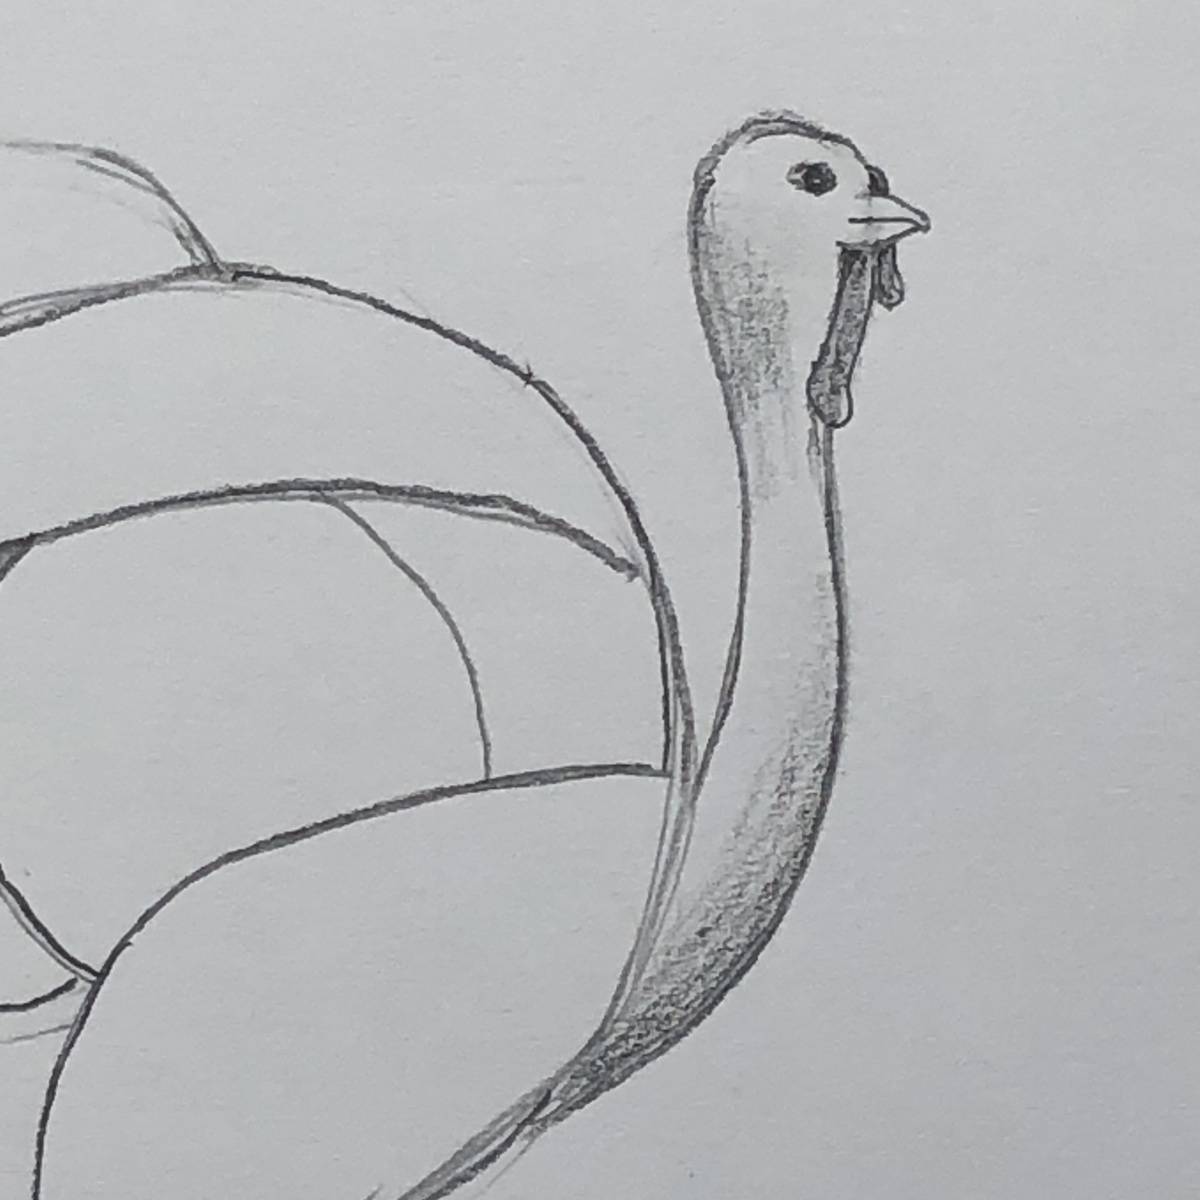
- Head, beak, neck, & wattle
- Sketch a round eye with several lines around it. Shade it in, leaving a small white highlight in the eye.
- Add the beak using a curved line for the top. The bottom part of the beak is slightly smaller than the top, so the bottom is kind of nestled into the top.
- Add the snood, this is the funny piece of skin that dangles down from the beak. Sketching a curved line above the beak. Then add a drooping elongated oval shape below the beak.
- On the neck, below the beak draw in the wattle, which will also be an elongated oval of sorts. Make the shape slightly irregular.
- Darken the snood and wattle. Shade the bottom of the neck and base of the head and fade it out.
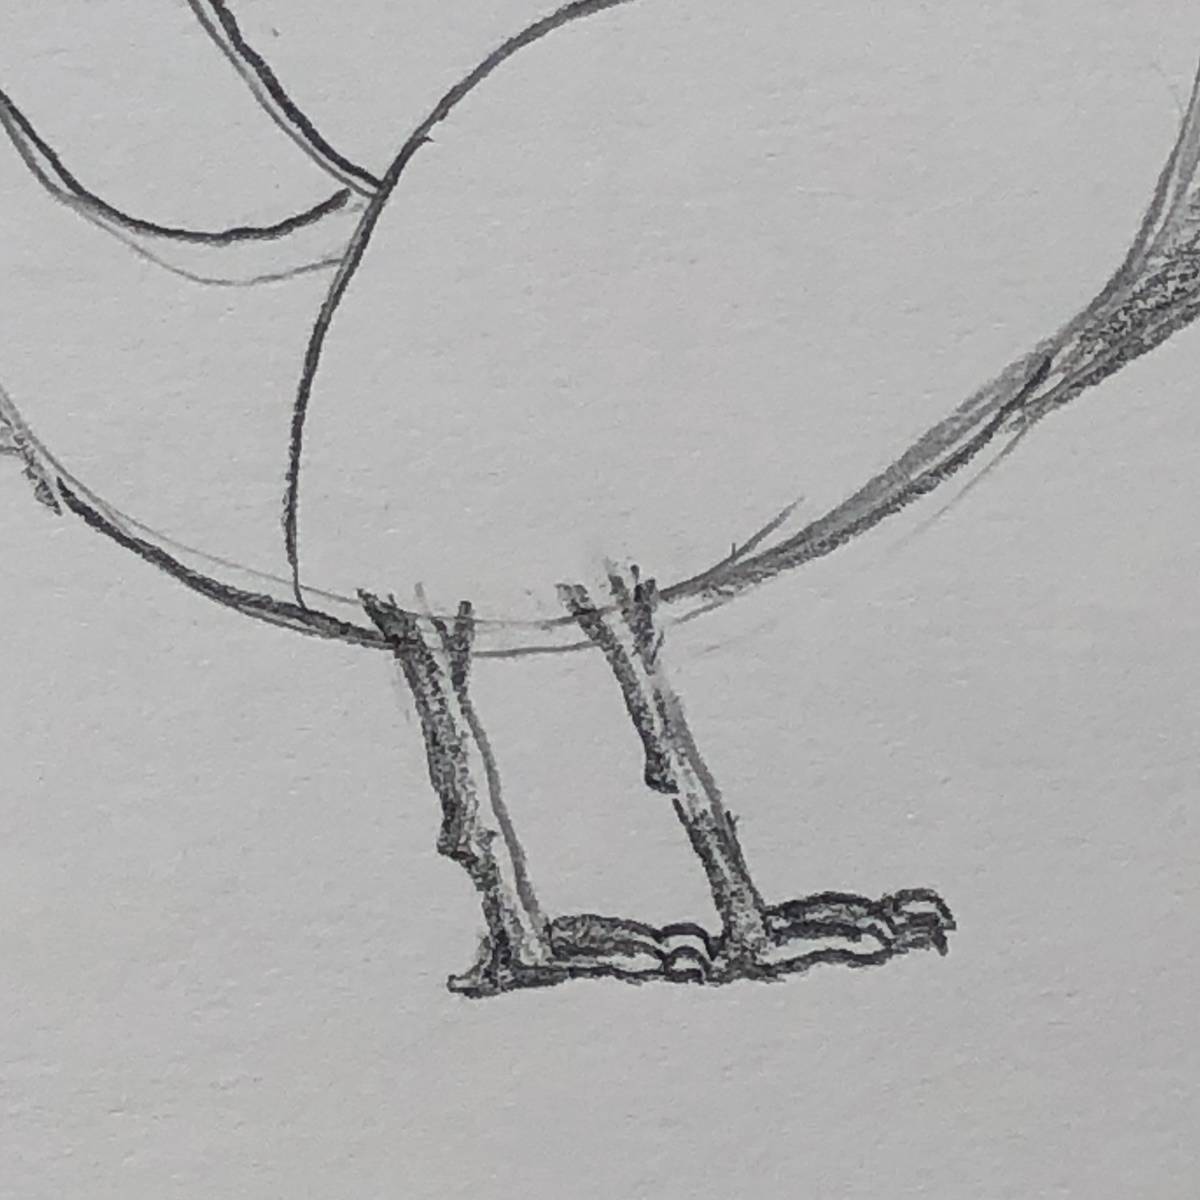
- Feet
- The toes cover each other up so draw the first toe in the front then add a single line for the top of the back toe.
- Sketch in the claws after you complete the toes. Add the spur about halfway down each leg facing backward.
- Tail
- Add a curved line to indicate another layer of feathers at the base of the tail fan.
- Sketch in a scalloped edge at the top of the tail, making the scallops smaller as they recede toward the back.
- Shade in the tail feathers. There is a slight highlight on the very outer tip followed by the darkest part of the feather that fades into a lighter value.
- The closest feathers are the darkest and the ones further away become slightly lighter. This helps give it a sense of depth.
- Wings
- Draw in the wing feathers below the tail fan. Add just the tips of the feathers on the opposite side of the body below the breast.
- Add in a striped pattern to the wing feathers and at the back bottom of the body.
- Shade the Body
- Shade in the dark feathered crescent-shaped area in the middle with very dark pencil. Draw some squiggly lines for feather patterns in the separate body sections.
- Using a middle grey tone, add solid value to the section behind the neck.
- Shade in the patterned feathers fading from dark to light. Continue adding squiggle lines and shading in the different body sections.
- Add a dark shaded section where the neck meets the body.
- Add a shadow
- Lightly shade around the turkey’s feet to create a shadow. This will help ground it in space.
Variations
- Add some background behind the turkey, maybe some grass, a barn, fence posts, etc.
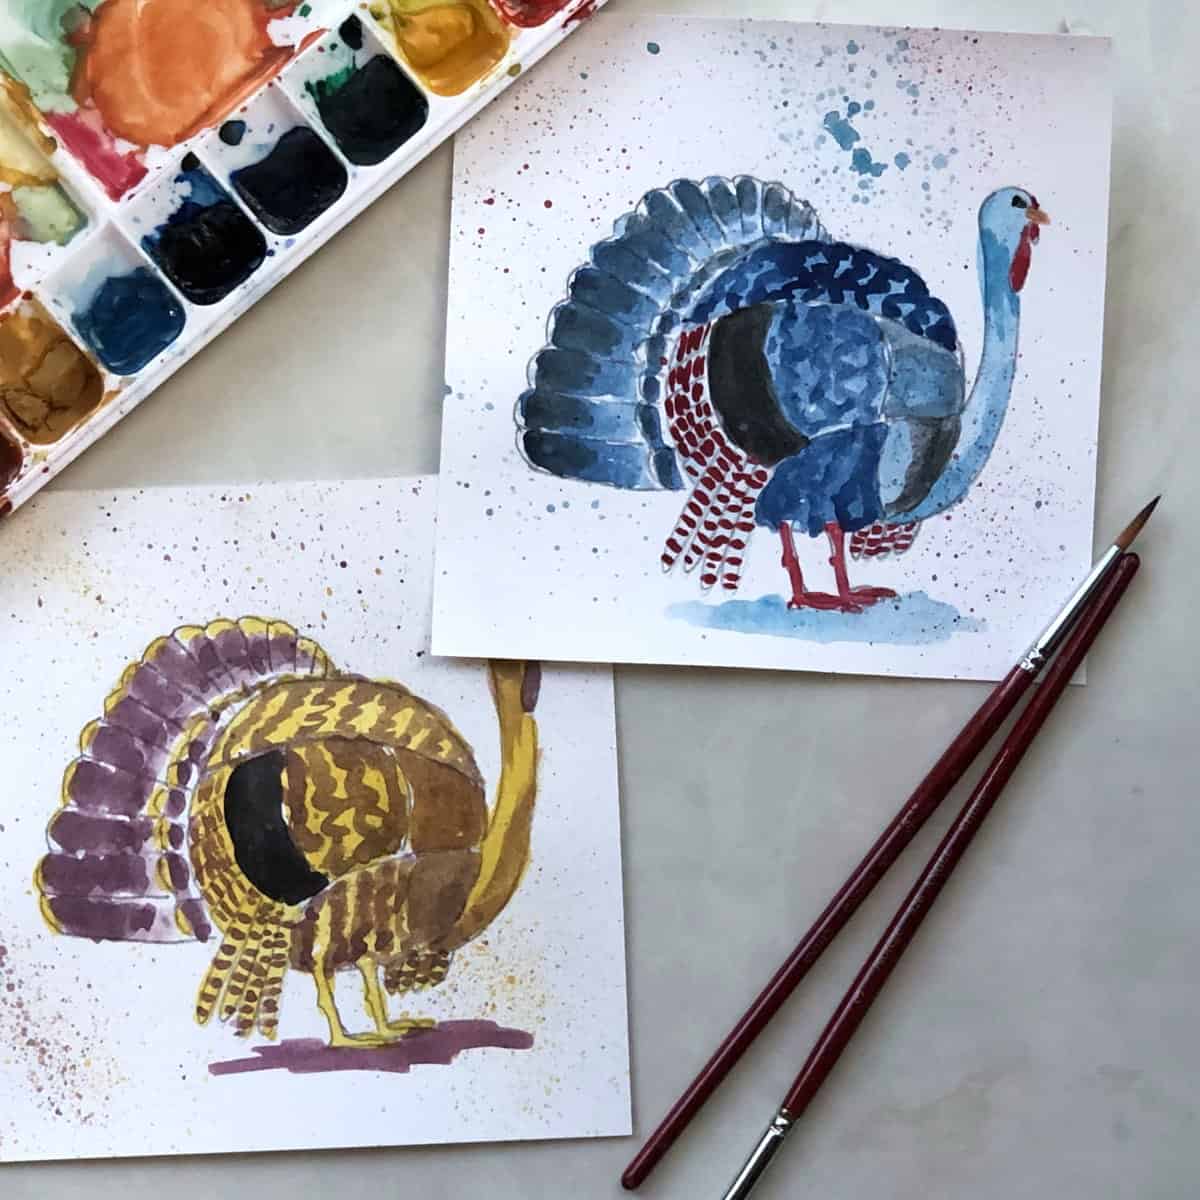
- Add color with colored pencils, acrylic paint, gouache paint, or soft pastels.
- Try drawing a turkey with markers, charcoal, or watercolor pencils.
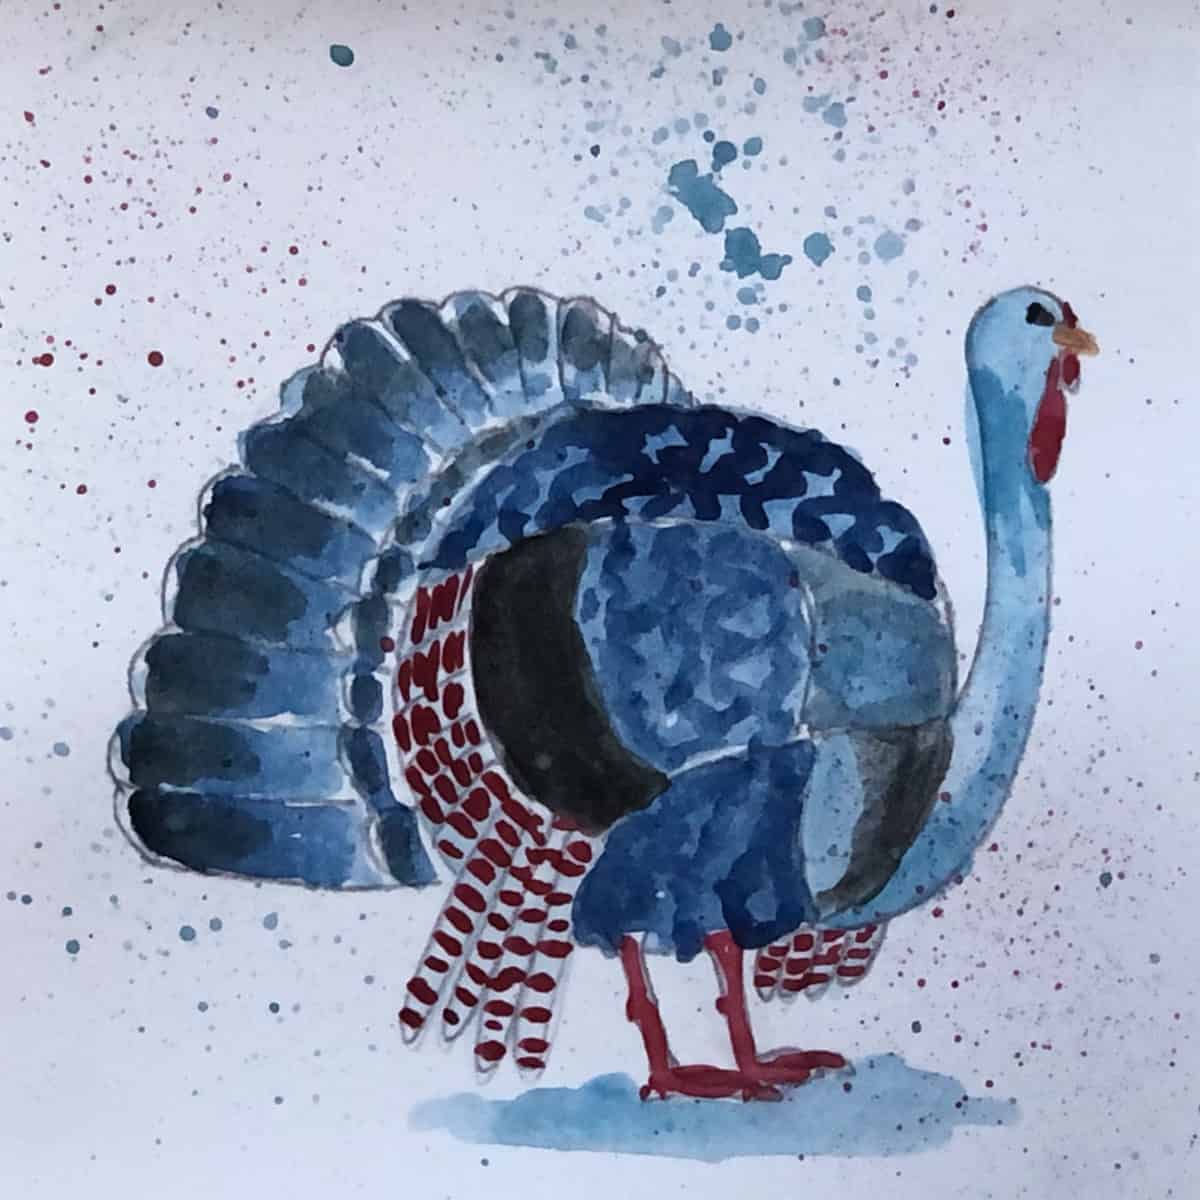
- Get wild and crazy with watercolor paint. Use colors that a turkey would not normally have. If you want, add a few paint splatters, for the fun of it!
Tips and tricks
- Turn the drawing as needed to make the shading easier.
- You can turn your pencil on the side, if you like, to help shade a little quicker.
- Sketch slowly, going at your own pace.
- Don’t overthink sketching a turkey, just follow the simple steps.
- Keep practicing! Drawing a turkey is fun, relaxing, and also makes a great party trick.
Draw an Easy Realistic Thanksgiving Turkey Step-by-step
Equipment
- Pencil - A hard pencil for initial sketching (F, H, or HB) and a soft pencil (8B, 9B, or other soft, dark pencil for shading
- Paper - 70 pounds / 115 gsm. drawing paper 6 x 6 inches (or use whatever you have on hand)
- White Vinyl Eraser
- Chip brush to brush off eraser dust - optional
Instructions
Basic Sketch
- Lightly sketch a large circle for the body. Sketch a small oval for the head above and to the right.
- Join the head to the body with a curved line.
- Sketch in the legs.
- Draw in the fanned-out tail feathers in an arch shape from the middle of the back to three-quarters down to the base of the body.
Erase guidelines and darken the basic shape
- Erase any guidelines you don’t need and darken the basic shape of the turkey.
- Divide the body into different sections based on the drawing. The different areas have different values, textures, or patterns depending on the feathers
Head, beak, neck, & wattle
- Sketch a round eye with several lines around it. Shade it in, leaving a small white highlight in the eye.
- Add the beak using a curved line for the top. The bottom part of the beak is slightly smaller than the top, so the bottom is kind of nestled into the top.
- Add the snood, this is the funny piece of skin that dangles down from the beak. Sketching a curved line above the beak. Then add a drooping elongated oval shape below the beak.
- On the neck, below the beak draw in the wattle, which will also be an elongated oval of sorts. Make the shape slightly irregular.
- Darken the snood and wattle. Shade the bottom of the neck and base of the head and fade it out.
Feet
- Draw the first toe in the front then add a single line for the top of the back toe.
- Sketch in the claws after you complete the toes. Add the spur about halfway down each leg facing backward.
Tail
- Add a curved line to indicate another layer of feathers at the base of the tail fan.
- Sketch in a scalloped edge at the top of the tail, making the scallops smaller as they recede toward the back.
- Shade in the tail feathers. There is a slight highlight on the very outer tip followed by the darkest part of the feather that fades into a lighter value.
- The closest feathers are the darkest and the ones further away become slightly lighter. This helps give it a sense of depth.
Wings
- Draw in the wing feathers below the tail fan. Add just the tips of the feathers on the opposite side of the body below the breast.
- Add in a striped pattern to the wing feathers and at the back bottom of the body.
Shade the Body
- Shade in the dark feathered crescent-shaped area in the middle with very dark pencil. Draw some squiggly lines for feather patterns in the separate body sections.
- Using a middle grey tone, add solid value to the section behind the neck.
- Shade in the patterned feathers fading from dark to light. Continue adding squiggle lines and shading in the different body sections.
- Add a dark shaded section where the neck meets the body.
Add a shadow
- Lightly shade around the turkey’s feet to create a shadow. This will help ground it in space.
Notes
You can turn your pencil on the side, if you like, to help shade a little quicker.
Sketch slowly, going at your own pace.
Don’t overthink sketching a turkey, just follow the simple steps.
Keep practicing! Drawing a turkey is fun, relaxing, and also makes a great party trick.
For more practice
- Draw a turkey from a photo or life.
- Draw a turkey using charcoal, pen and ink, or another medium.
- Use the same idea of breaking it down into shapes to draw another type of bird, such as a heron, robin, or crow.
What to do with your sketch
- Use small turkey drawings to decorate placemats, place settings, or a holiday buffet line.
- Make your sketch into a lovely greeting card and send it to friends or family.
- You could also leave it in your sketchbook to create a portfolio of your completed drawings, sketches, and art projects.
Frequently Asked Questions
Start by drawing a large circle (body) and a small circle (head) and then connect them. Add the tail feather fan and more details as you go along.
To draw a real turkey looking at a picture of a turkey or a real turkey is even better. Start with the basic shapes. Make adjustments early in your sketch to make sure that everything is in proportion.
Then, focus on shading the bird. Shade, using a wide range of values from white to very dark. Take your time and add more detail as you sketch.
Anyone can draw a turkey, even very young children! Simply break down the turkey into basic shapes.
Start by sketching a large circle (body) and a small circle (head) and connect them. Add a fan shape for the tail feathers. Add feet, an eye, a beak, a wattle, and some feathers and you are all set.
You also might like
- Paint an easy watercolor pumpkin
- How to draw fall leaves
- Sketch an oak tree in pencil
- Sketch an Easy Skull
Please leave your questions, comments, and ratings below!


Leave a Reply