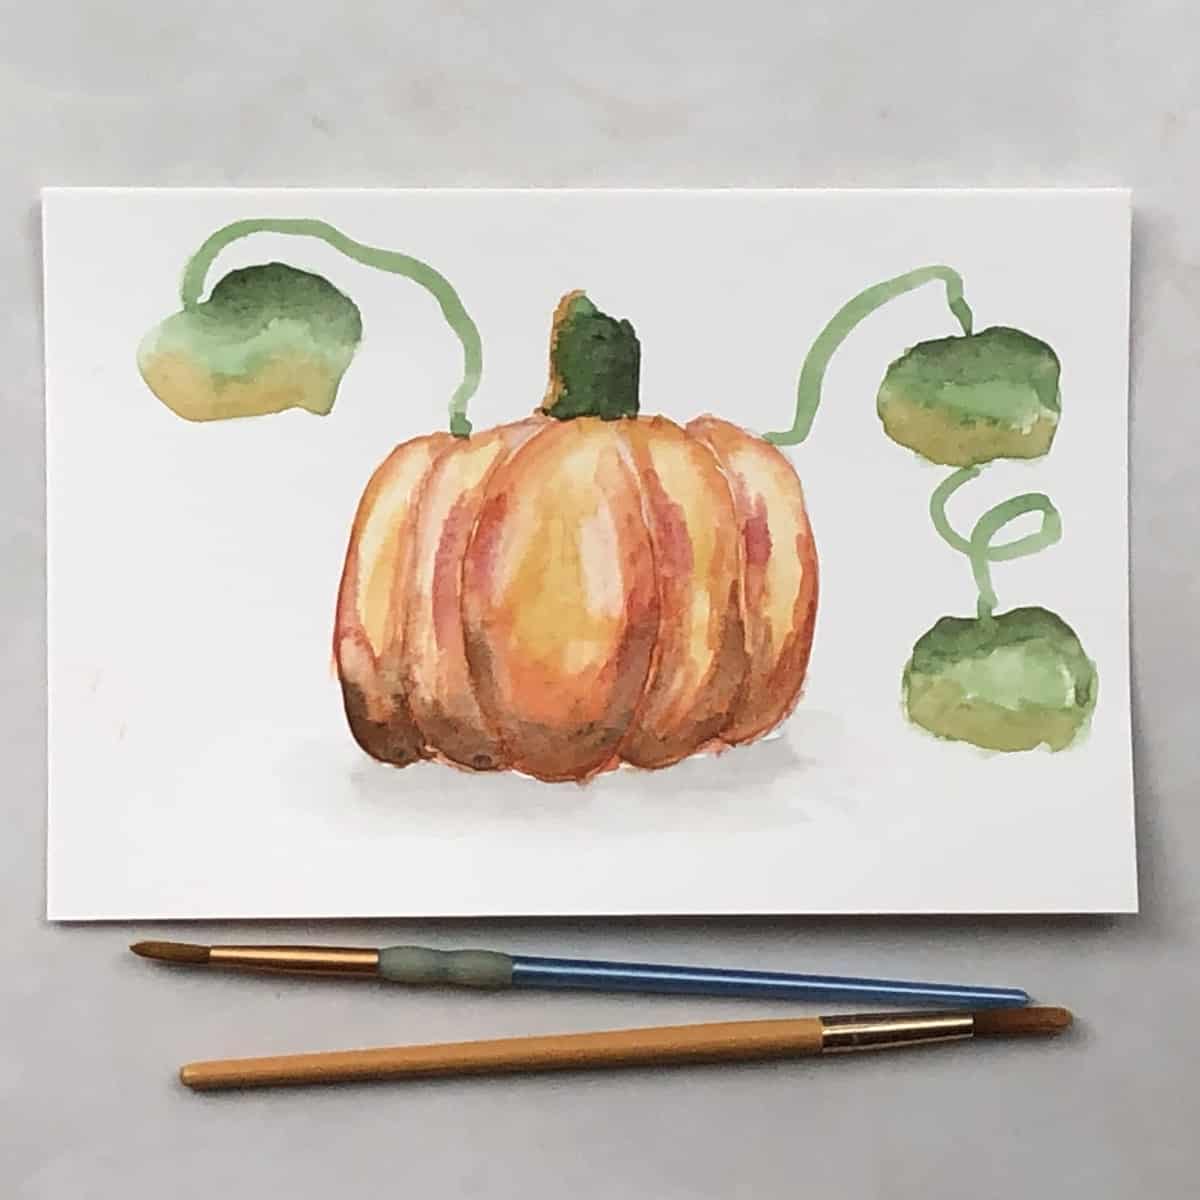
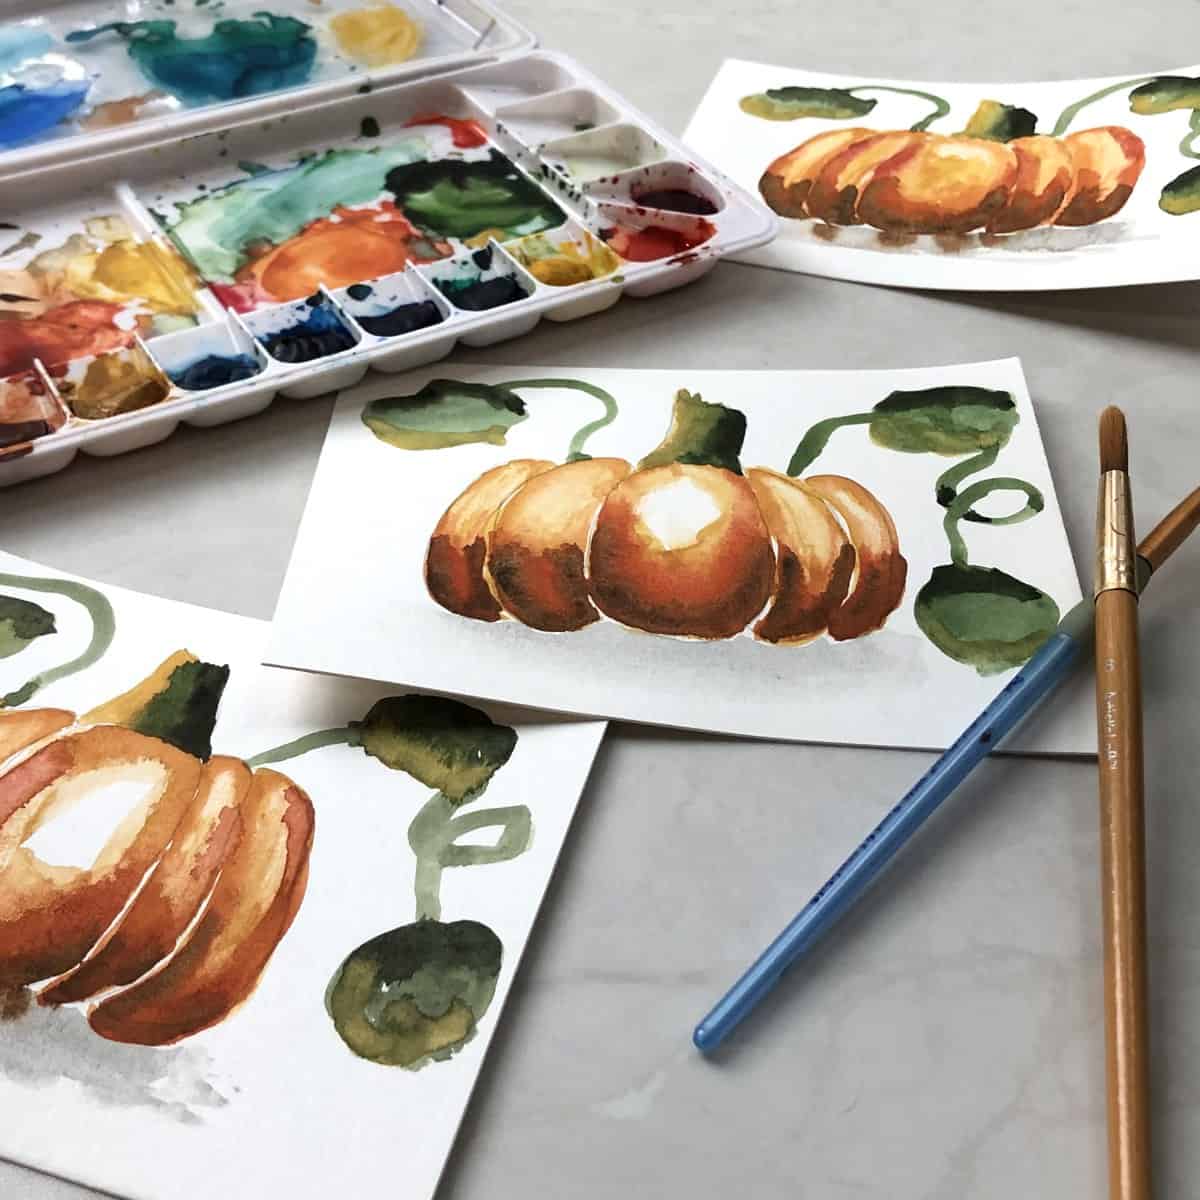
Check out this easy watercolor pumpkin step-by-step, simple painting tutorial. In this online art school video, learn how to sketch a pumpkin and paint it in with watercolor paint.
Whether it is for Halloween, the fall season, celebrating harvest, or Thanksgiving feast, creating a lovely watercolor pumpkin painting will definitely put you in the mood. It is a perfect autumn art project.
Jump to:
In this simple watercolor painting for beginners you will learn some basic watercolor techniques while also painting a beautiful fall pumpkin. What a fun and easy painting to get started on.
As always, keep in mind that creating art is a journey. If your painting is not exactly as you hoped it would be, just keep practicing.
It is the experience and process of painting and drawing that really counts.
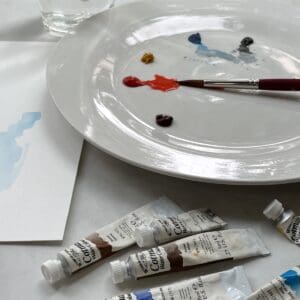
Materials
- Watercolor paper - I am using 140 lb. Strathmore Vision cold press watercolor paper cut down into a 4.5 x 6 inch piece. Feel free to work on larger paper if you like.
- Watercolor paint - tube watercolor paint on a pallet or a box kit of watercolor paints such as Crayola or Prang. Avoid cheap or off brand watercolor boxes because the colors will not be very vibrant.
- Watercolor brush - a soft round watercolor brush will work well. I am using a number 6. If you are working larger it will be easier to use a brush that is a little larger.
- Pencil - An H or Hb pencil is best.
- Water - A cup should do but if you will be doing a lot of painting and don’t want to change the water as often, use a small bucket.
- After using it for painting, I recommend not using a cup or bowl for food or drink again because heavy metals in the paint could leave traces. Disposable plastic cups also work well.
- Paper towel or clean rag - for wiping the brush
Easy Watercolor Pumpkin Video Tutorial
Transcript
Read TranscriptArt Lesson
Sketch the Pumpkin
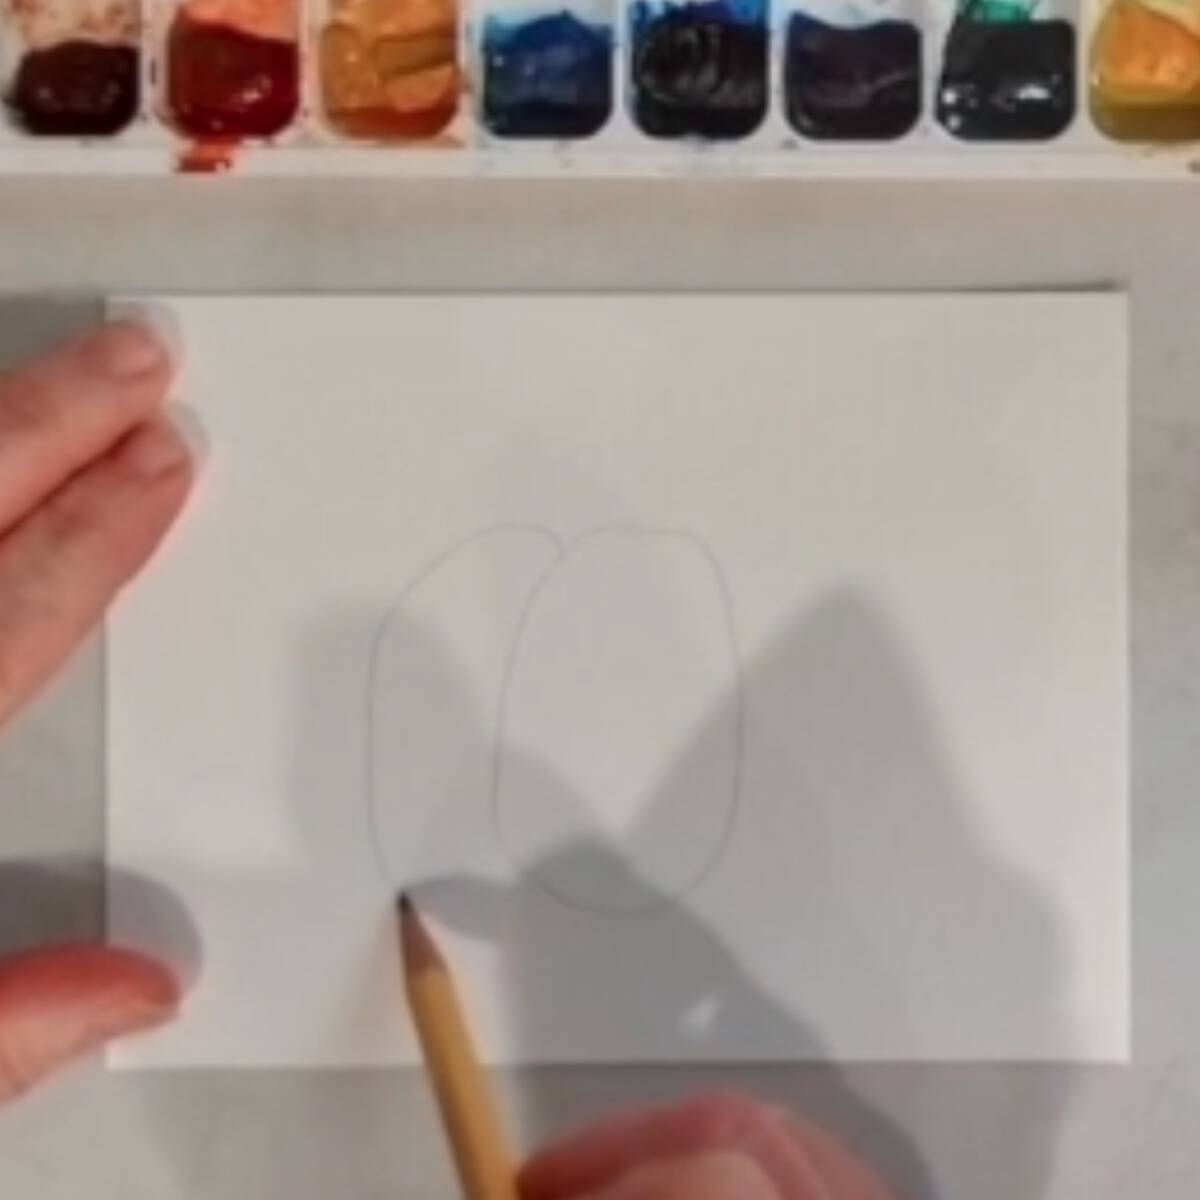
- Sketch in the pumpkin, very lightly in pencil. If you sketch lightly enough you will probably not see your pencil lines after you paint over them.
- After you paint over the pencil you will not be able to erase the lines.
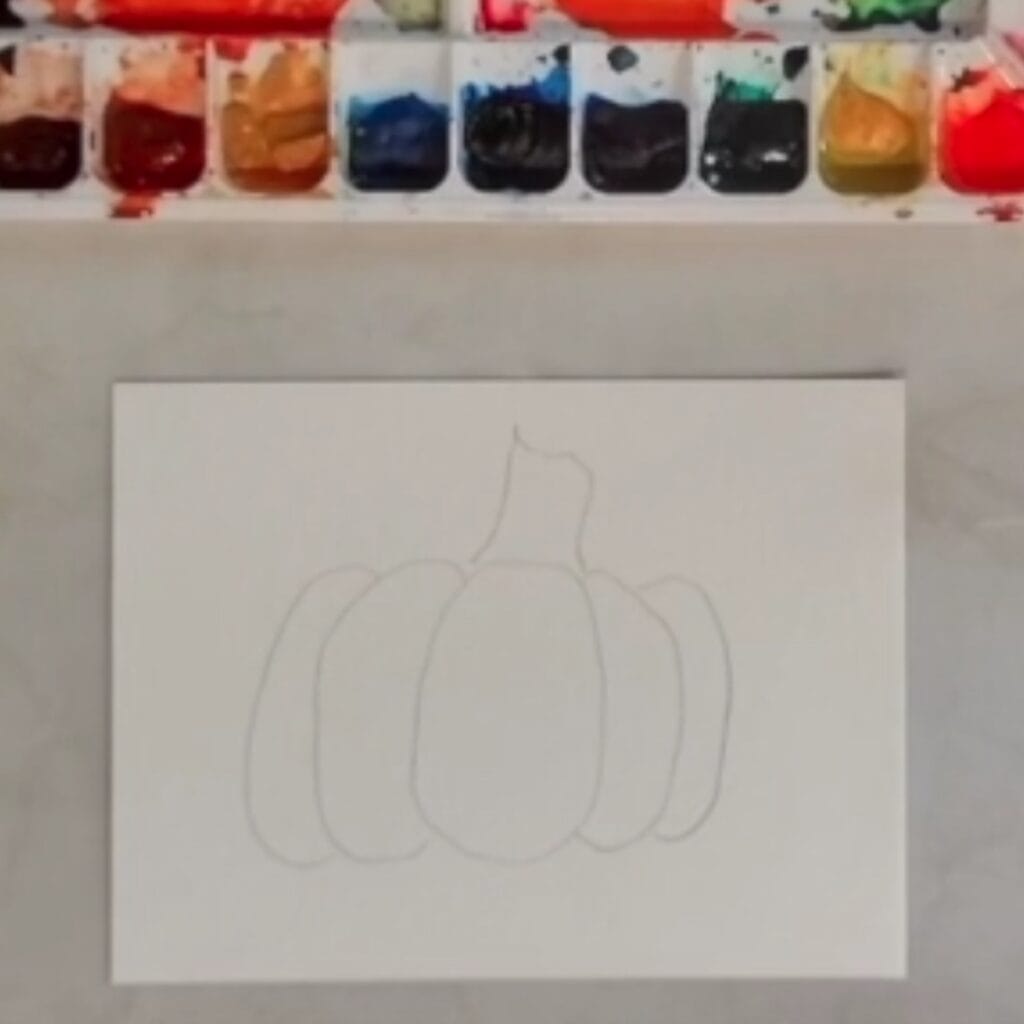
- Draw an oval shape for the center rib of the pumpkin. On both sides of the oval add in crescent shapes with rounded tops and bottoms.
- You could leave your pumpkin with three different rib sections or you could add several more. Sketch in an irregular stem at the top.
Paint the Pumpkin
I name the colors that I am using in this painting, but if you are using a watercolor box kit simply mix approximately similar colors or use what ever colors you prefer.
(Your goal should be to create a unique painting and enjoy the painting experience, no matter your skill level. So don’t worry if it does not look exactly like mine).
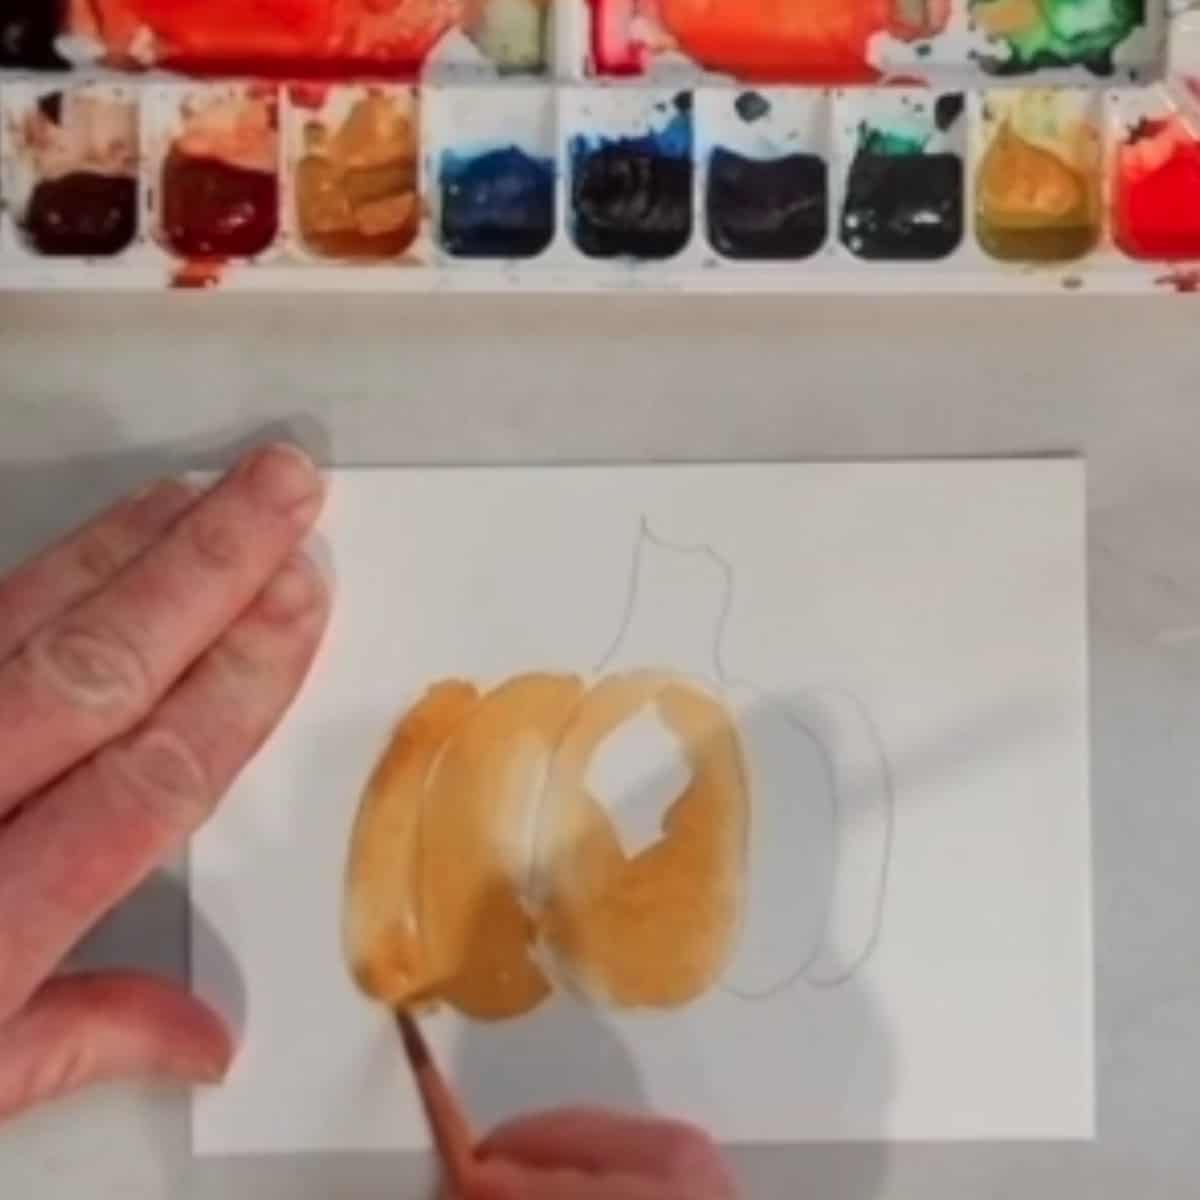
- Add a few drops of water to each color that you plan to use, this will help them begin to soften up.
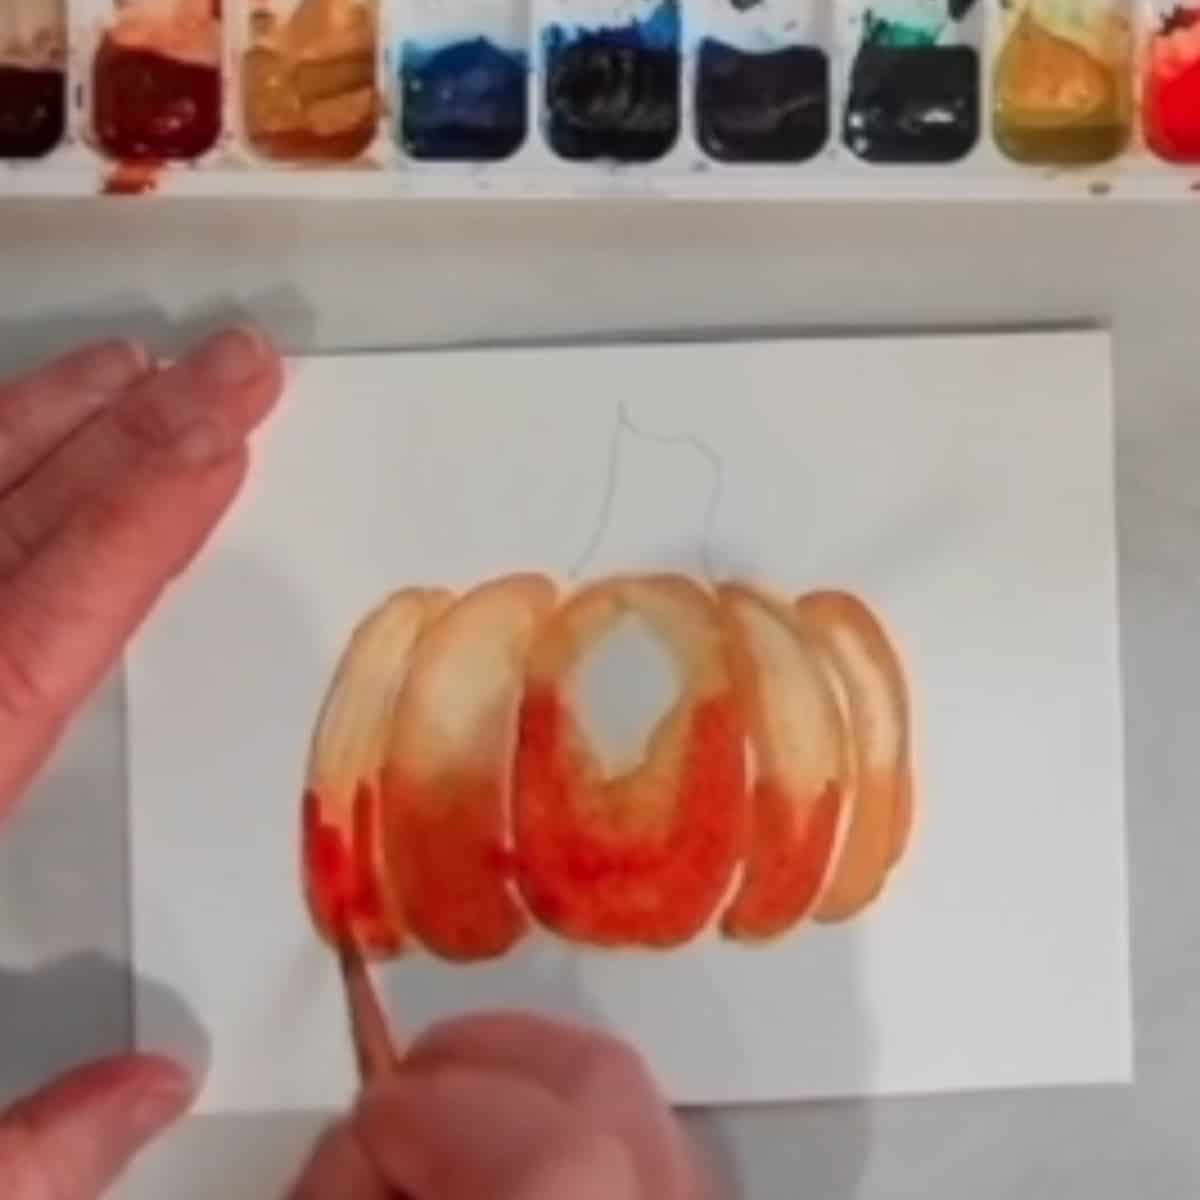
- Mix yellow ocher and cadmium and paint each rib section of the pumpkin separately. Try to leave a little sliver of white paper between each section so the colors do not start to bleed together.
- If the sections do start to bleed together, don’t worry. Simply let your paint dry completely before making on to the next color.
- Leave a roundish spot of white toward the top of the center rib for a highlight.
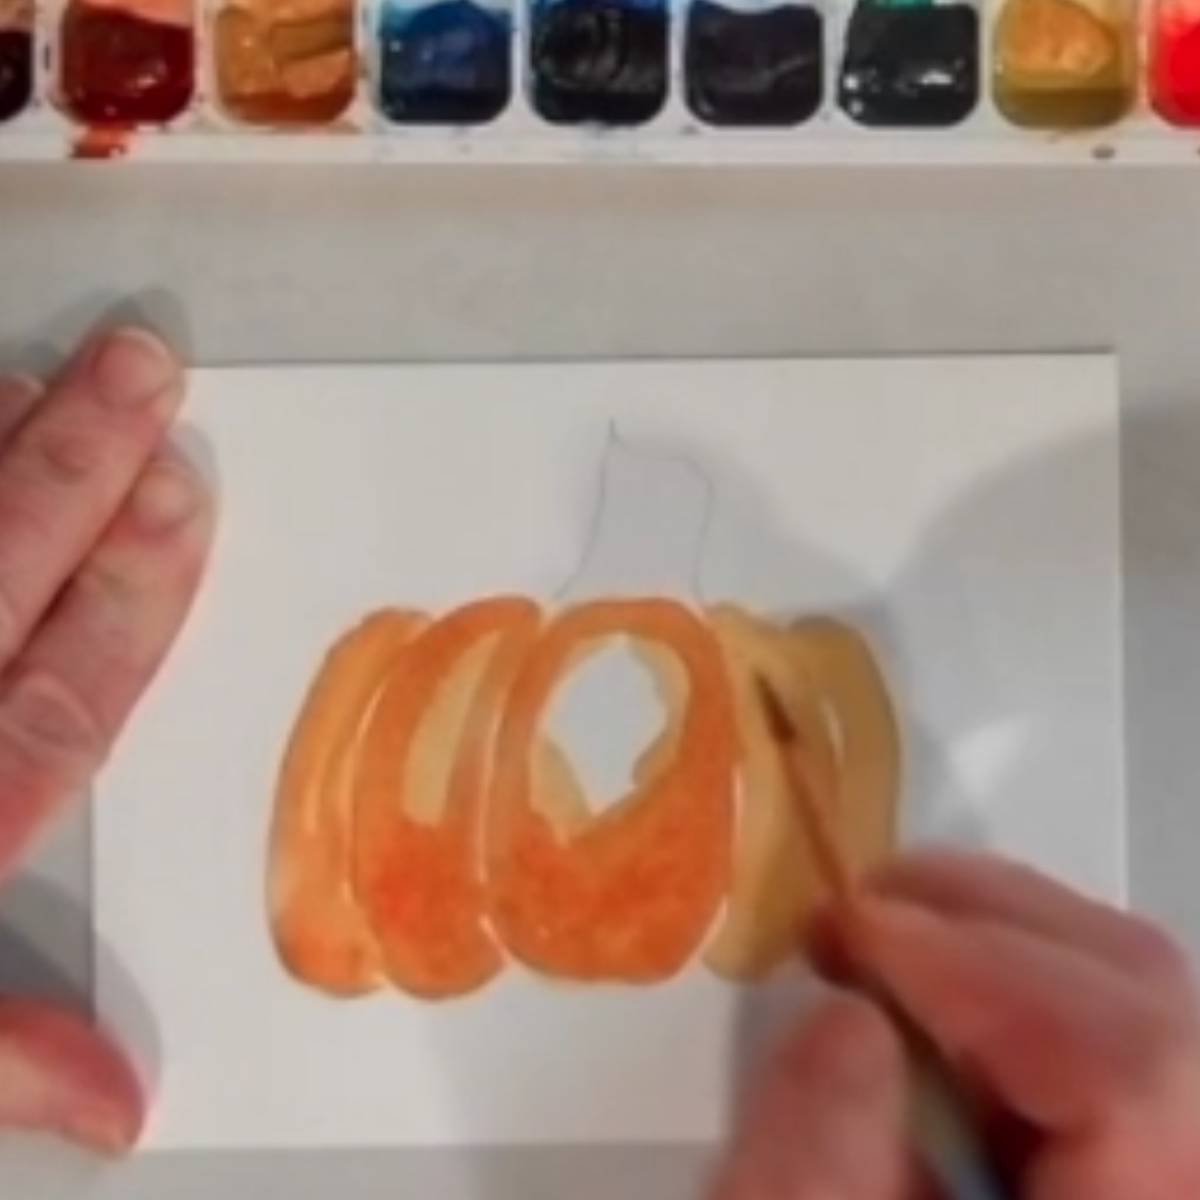
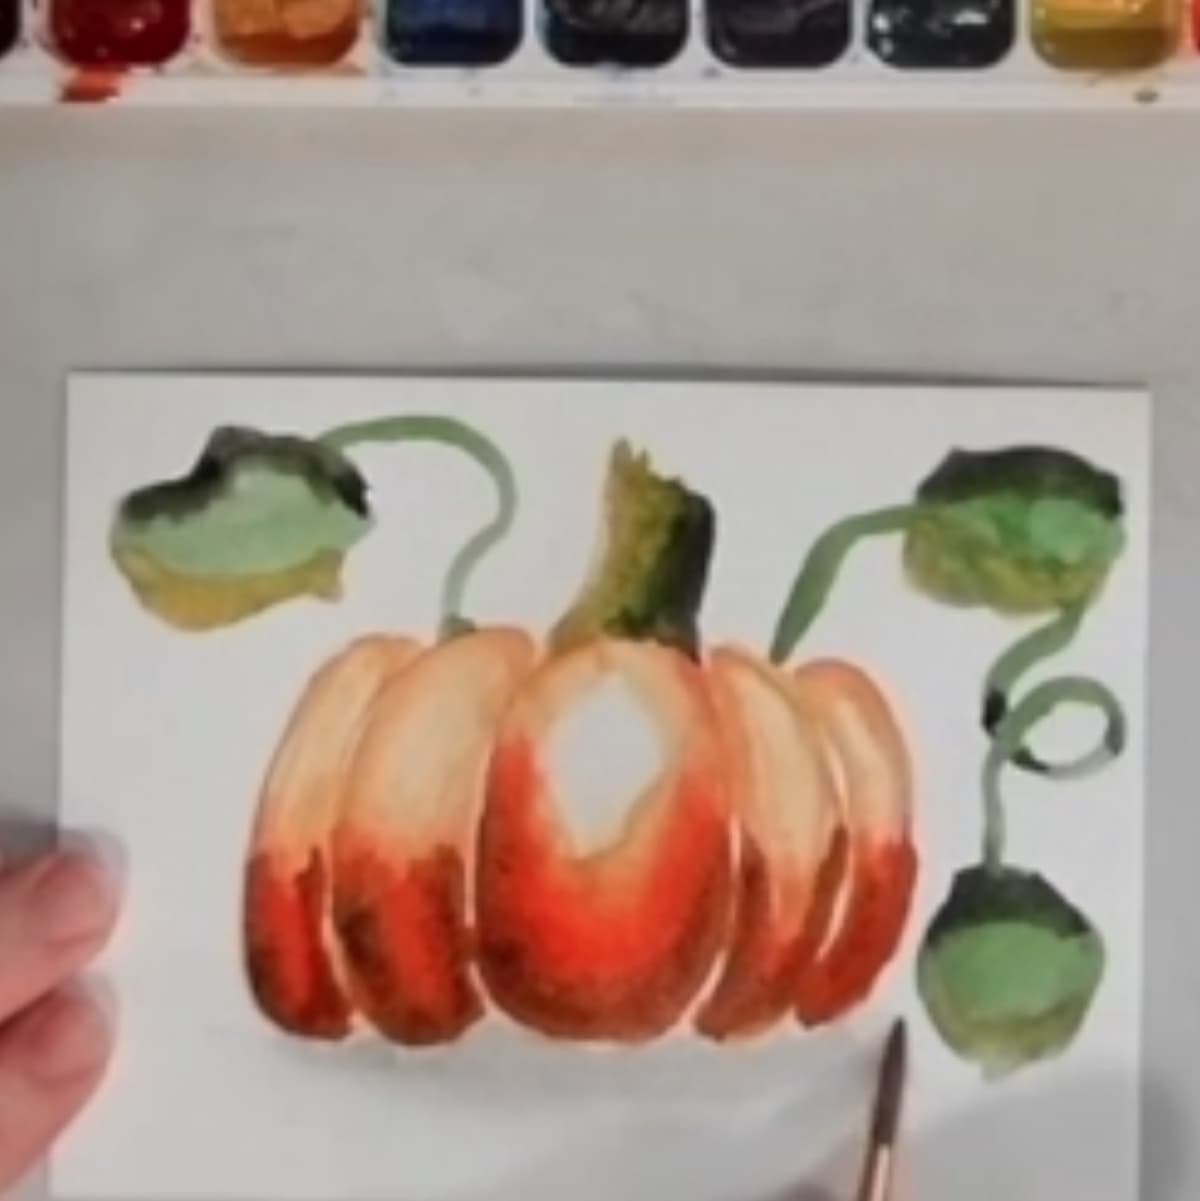
- Next, mix cadmium red light with yellow ocher. Add the color to each section separately, concentrating on the outside part of each rib and the bottom of the pumpkin.
- Then go back into the color that you just added and in small areas where the colors meet, lift the paint off just a little but and blend the colors together at the same time.
- Repeat the lifting the blending until you are happy with the effect.
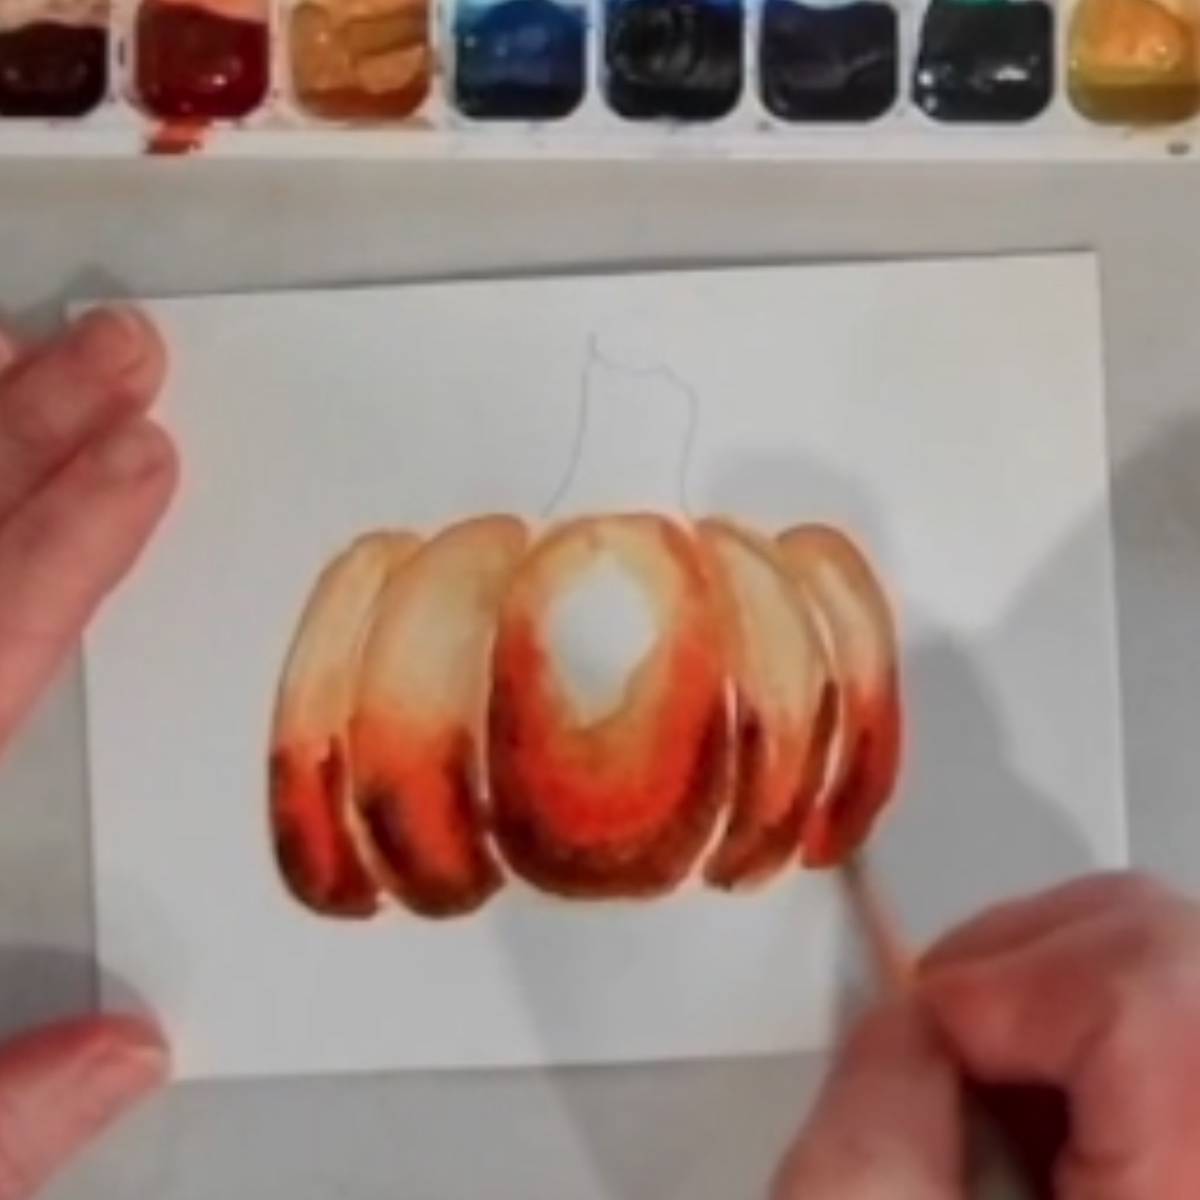
- Mix together burnt Sienna brown with cadmium red and paint into each section. Add this color mostly toward the bottom and up the edges just a little bit.
- This color is beginning to sculpt out the shadows. Rinse the brush and lift and blend the edges of the color just a bit.
- Mix burnt umber brown with black and add just around the bottom part of the pumpkin and on the outside edge of each rib.
- If you’d like you can lift and blend with your brush. Alternately, lifting and blending might not be necessary if there is enough water and paint on the paper. It may blend together on its own as it dries.
Paint the Stem and Leaves
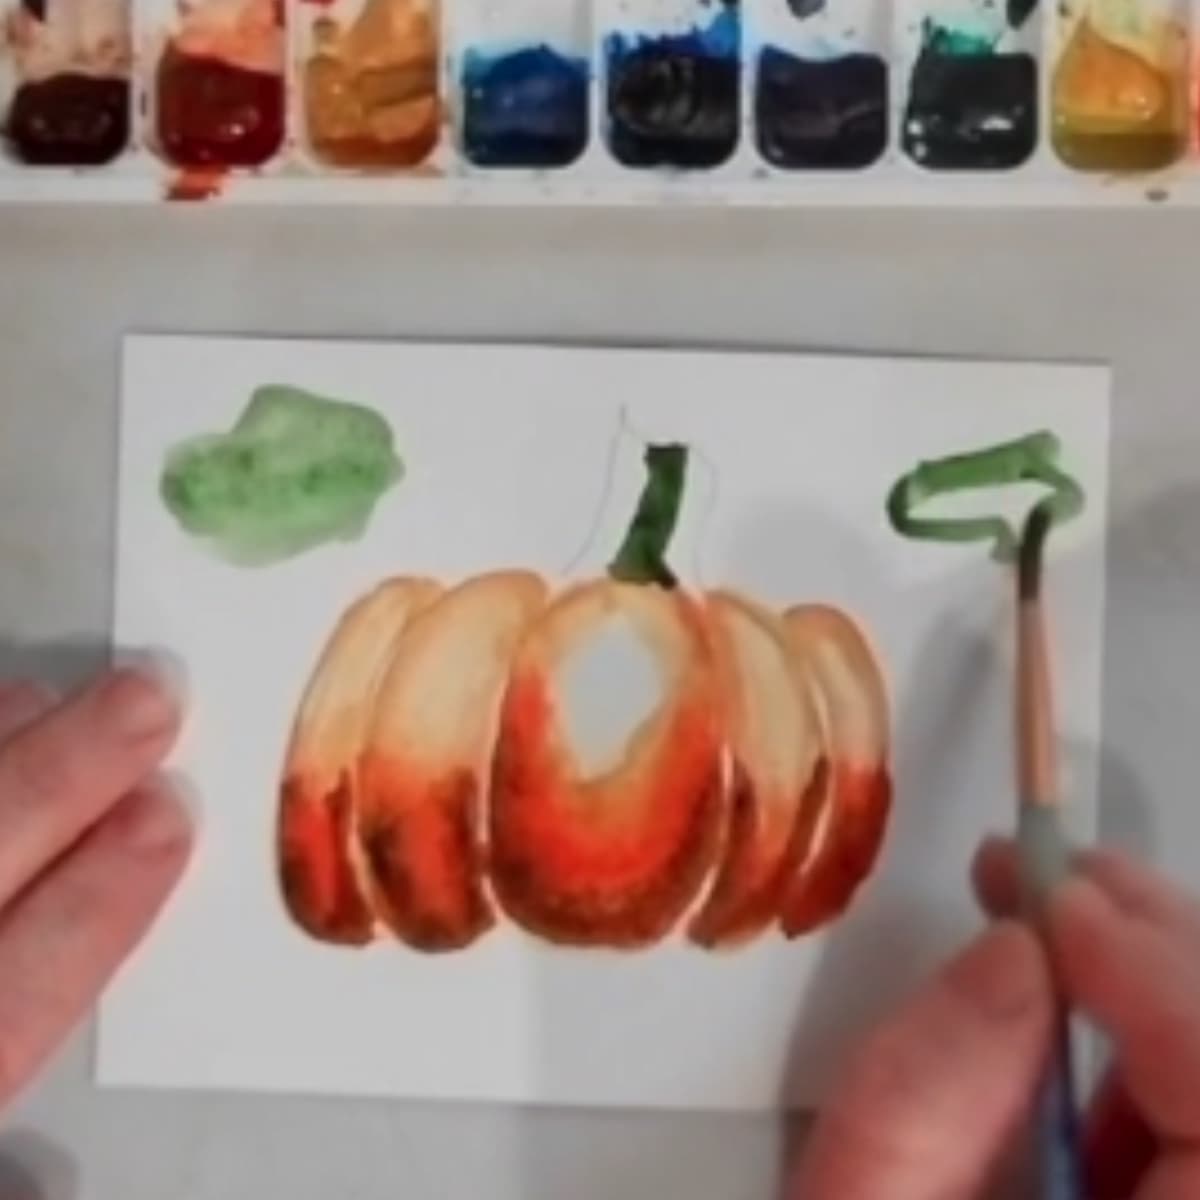
- Mix viridian green, cadmium yellow and black and paint only the center part of the stem.
- Then, add a bit more water to your brush to lighten he value and paint in several roughly circle-shaped leaves. If you like, paint in a vine that connects the leaves as well.
- Add a little bit more black to the green mixture and then paint in the right side of the stem. Use the same dark green to paint a bit of shadow on the back side of each leaf.
- Rinse your brush and then use a little bit of the yellow mixture the paint a highlight toward the front of each leaf.
- Paint the right side of the stem with the yellow mixture and gently blend it together with the green.
- Lastly, use very, very watered down black paint to add a shadow below the pumpkin. Make sure not to touch the bottom of the pumpkin, or the paint will run together.
- Rinse your brush and blend out the shadow toward the bottom of the page.
Tips and tricks
- Make your pencil sketch very light because after you paint over the pencil you will not be able to erase the lines.
- Paint beginning with the lightest colors first and then move on to darker colors.
- Paint each rib section of the pumpkin separately, leaving a small sliver of white between them to avoid having the colors bleed together.
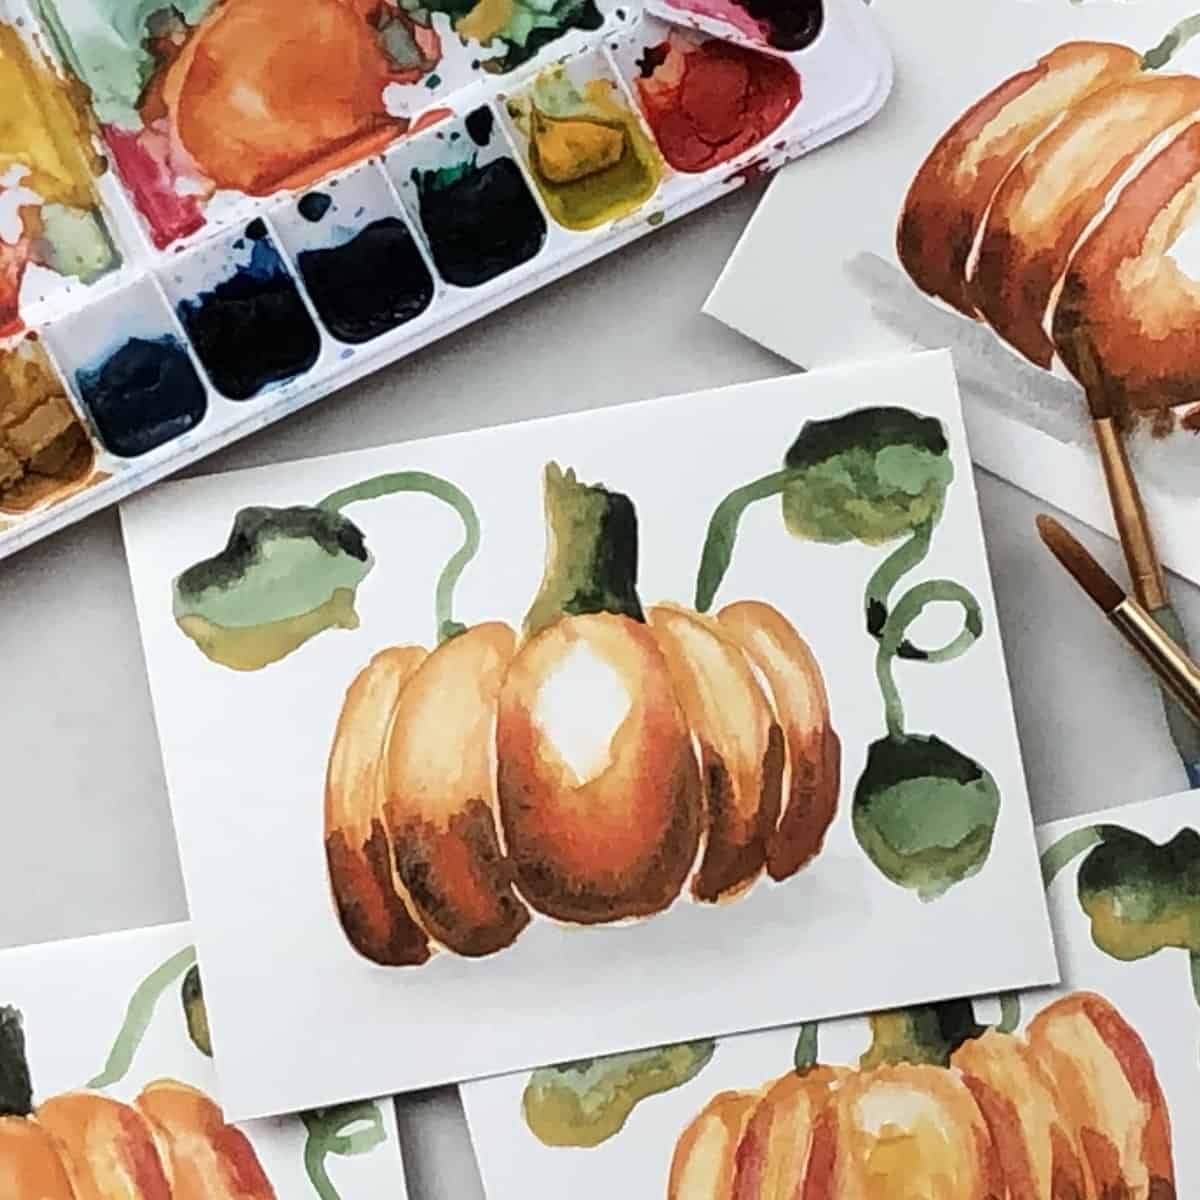
Easy Watercolor Pumpkin Step-by-step (Simple Paint Tutorial)
Equipment
- Watercolor paper - I am using 140 lb. Strathmore Vision cold press watercolor paper cut down into a 4.5 x 6 inch piece. Feel free to work on larger paper if you like.
- Watercolor paint - tube watercolor paint on a pallet or a box kit of watercolor paints such as Crayola or Prang. Avoid cheap or off brand watercolor boxes because the colors will not be very vibrant.
- Watercolor brush - a soft round watercolor brush will work well. I am using a number 6. If you are working larger it will be easier to use a brush that is a little larger as well.
- Pencil - An H or Hb pencil is best.
- Water - A cup should do but if you will be doing a lot of painting and don’t want to change the water as often, use a small bucket. After using for painting I recommend not using a cup or bowl for food or drink again because heavy metals in the paint could leave traces. Disposable plastic cups also work well.
Instructions
Sketch the Pumpkin
- Sketch in the pumpkin, very lightly in pencil. If you sketch lightly enough you will probably not see your pencil lines after you paint over them.
- Just remember though, after you paint over the pencil you will not be able to erase the lines.
- Draw an oval shape for the center rib of the pumpkin. On both sides of the oval add in crescent shapes with rounded tops and bottoms.
- You could leave your pumpkin with three different rib sections or you could add several more. Sketch in an irregular stem at the top.
Paint the Pumpkin
- Add a few drops of water to each color that you plan to use, this will help them begin to soften up.
- Mix yellow ocher and cadmium and paint each rib section of the pumpkin separately. Try to leave a little sliver of white paper between each section so the colors do not start to bleed together.
- If the sections do start to bleed together, don’t worry. Simply let your paint dry completely before making on to the next color.
- Leave a roundish spot of white toward the top of the center rib for a highlight.
- Next, mix cadmium red light with yellow ocher. Add the color to each section separately, concentrating on the outside part of each rib and the bottom of the pumpkin.
- Rinse your brush and wipe the excess water on a paper towel.
- Then go back into the color that you just added and in small areas where the colors meet, lift the paint off just a little but and blend the colors together at the same time.
- Repeat the lifting the blending until you are happy with the effect.
- Mix together burnt Sienna brown with cadmium red and paint into each section. Add this color mostly toward the bottom and up the edges just a little bit.
- This color is beginning to sculpt out the shadows. Rinse the brush and lift and blend the edges of the color just a bit.
- Mix burnt umber brown with black and add just around the bottom part of the pumpkin and on the outside edge of each rib.
- If you’d like you can lift and blend with your brush. Alternately, lifting and blending might not be necessary if there is enough water and paint on the paper. It may blend together on its own as it dries.
Paint the Stem and Leaves
- Mix viridian green, cadmium yellow and black and paint only the center part of the stem.
- Then, add a bit more water to your brush to lighten he value and paint in several roughly circle-shaped leaves. If you like, paint in a vine that connects the leaves as well.
- Add a little bit more black to the green mixture and then paint in the right side of the stem. Use the same dark green to paint a bit of shadow on the back side of each leaf.
- Rinse your brush and then use a little bit of the yellow mixture the paint a highlight toward the front of each leaf.
- Paint the right side of the stem with the yellow mixture and gently blend it together with the green.
- Lastly, use very, very watered down black paint to add a shadow below the pumpkin. Make sure not to touch the bottom of the pumpkin, or the paint will run together.
- Rinse your brush and blend out the shadow toward the bottom of the page.
Notes
For More Practice
- Paint in your pumpkin with different colors and then corresponding shading. Be creative! Your pumpkin could be green, blue or even purple.
- Paint a pumpkin in a different background. Try it in a pumpkin patch, a grassy yard, wooden planks, or a draped tablecloth.
- Sketch and paint a real pumpkin from life. Concentrate on drawing what you see, not just what you think you see.
- Practice sketching a pumpkin and then shading it in using pencil value or cross hatching shading.
What to Do with Your Sketch
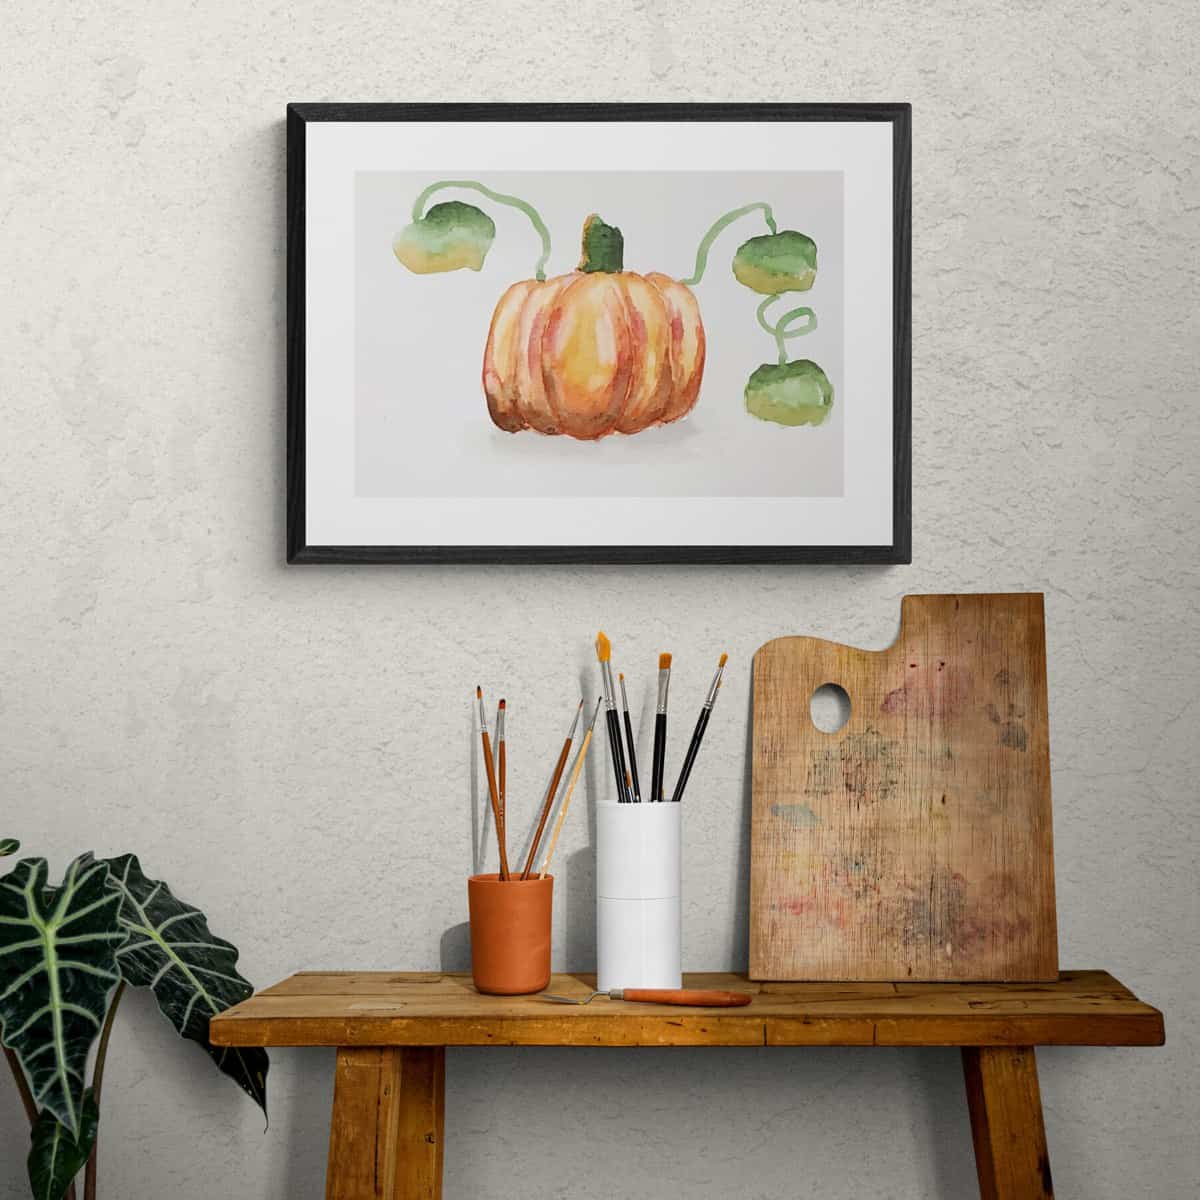
You can frame and decorate your home with your watercolor pumpkin art. A hand-made painting is the perfect decor for the fall season, Halloween, harvest or Thanksgiving.
You could also leave it in your sketchbook to create a portfolio of your completed drawings, sketches, and art projects.
Frequently Asked Questions
Lightly sketch the pumpkin in pencil. Then paint in each rib section separately starting with lighter colors. Add darker colors toward the bottom of the pumpkin and around the edges of each rib. Paint in the stem, add a few leaves and a twisty vine.
Draw an oval shape for the center rib of the pumpkin. On both sides of the oval add in crescent shapes with rounded tops and bottoms.
You could leave your pumpkin with three different rib sections or you could add several more. Sketch in a stem at the top.
You also might like
- How to Draw Fall Leaves
- Sketch an Easy Thanksgiving Turkey
- How to Draw a Skull Tutorial
- Simple Ocean Drawing Tutorial
- Best Artists Drawing Pencils and How to Use Them
Please leave your art related questions, comments, and ratings below!
Also, don’t forget to subscribe to my YouTube Channel.

Mina says
I love this watercolor pumpkin art lesson! It was easy to do and my painting turned out great.