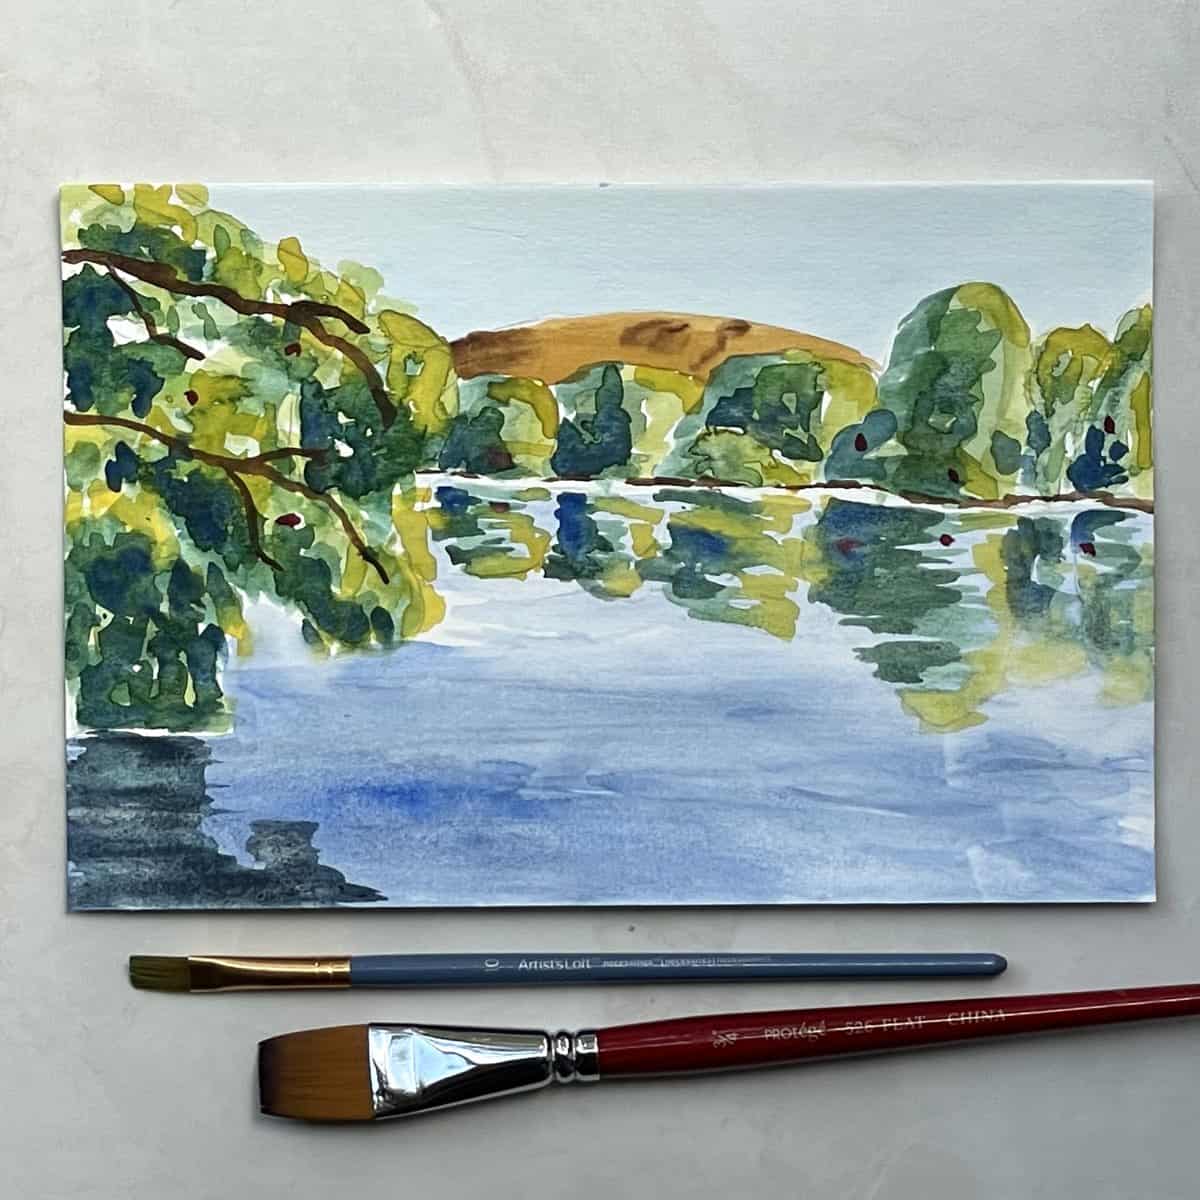
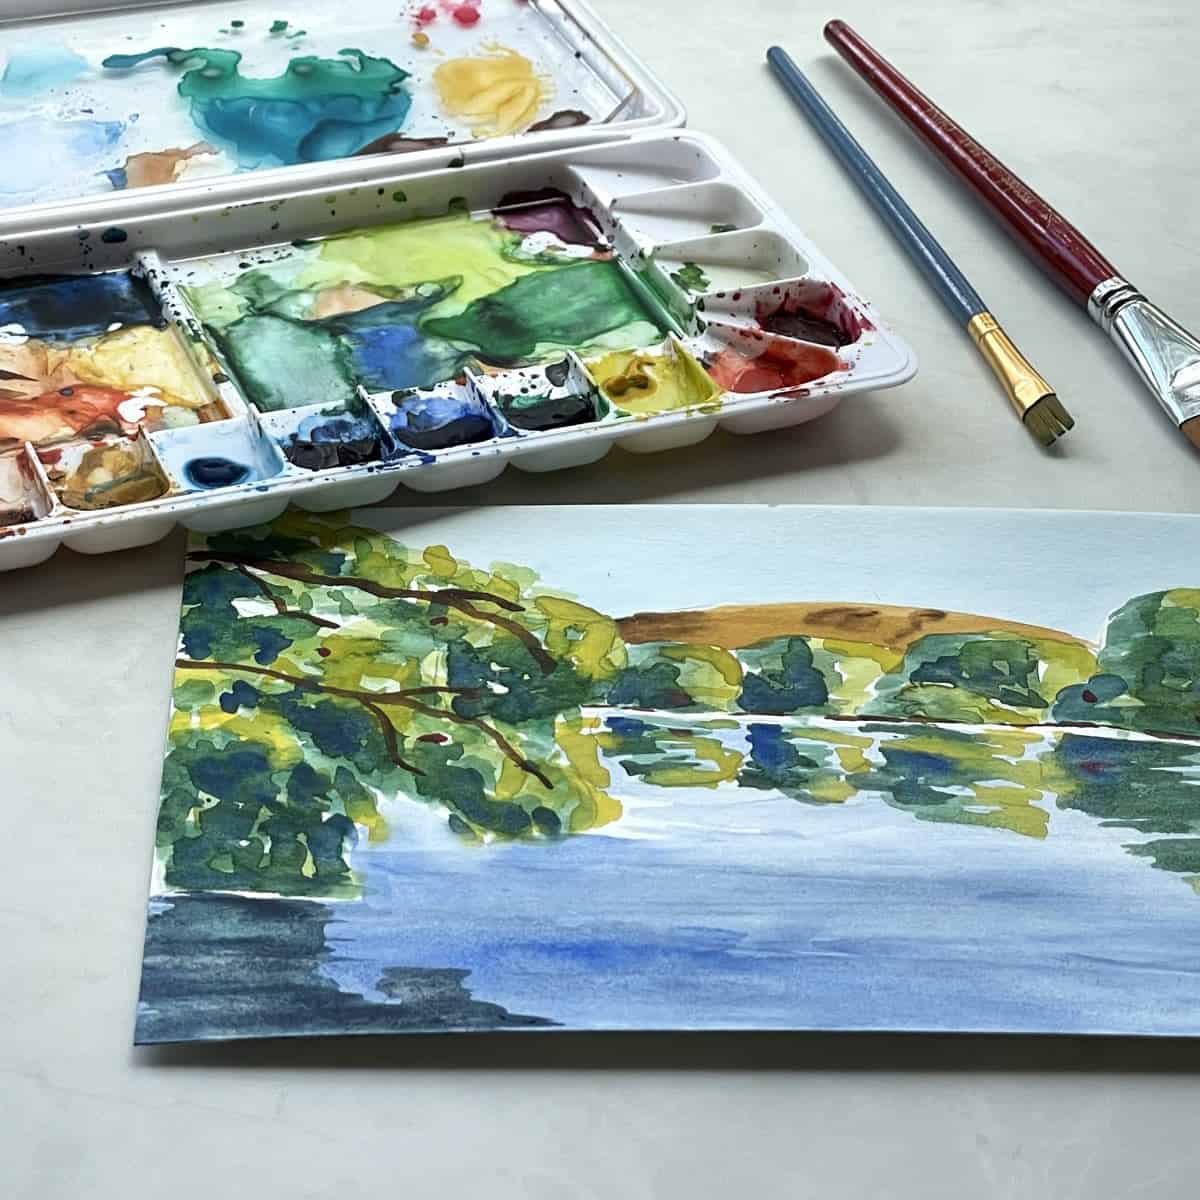
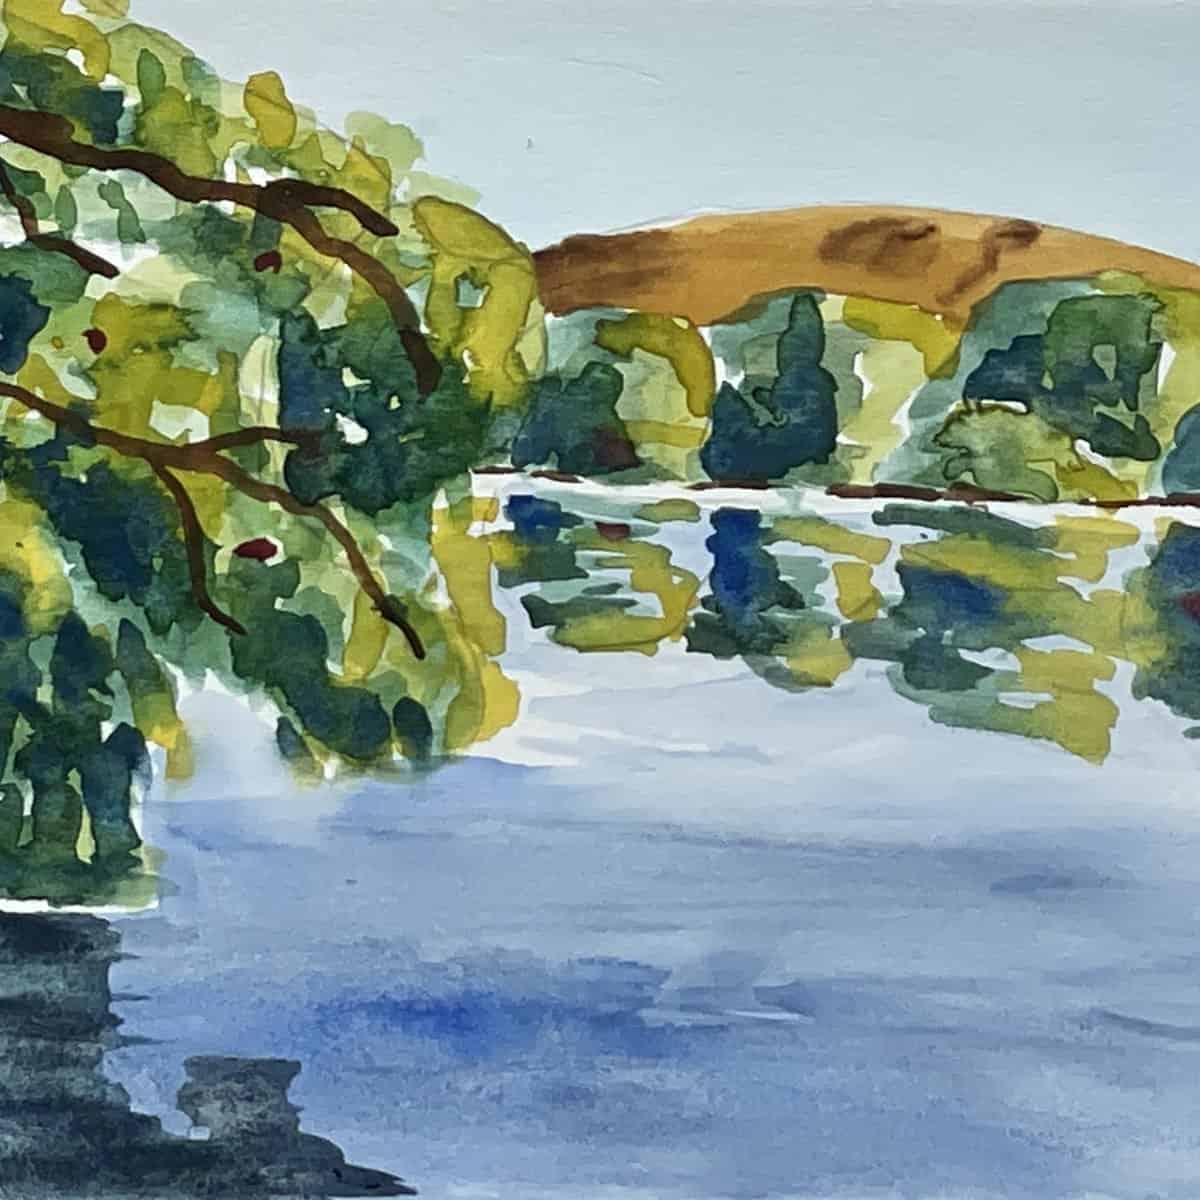
Learn how to paint an easy watercolor lake scene step-by-step in this online art lesson. Complete with trees, and reflections on water this painting video tutorial for beginners is simple and fun to create.
Focusing on basic watercolor skills and techniques, this art class walks you through all the steps to paint a relaxing lake-scape scene. Discover a simple way of painting trees in the distance and closer up in the foreground.
Jump to:
Keep the painting strokes loose and easy, allowing for an impressionistic style. Creating a beautiful lake landscape has never been easier.
There is no need to paint every leaf, branch, and ripple on the water. Instead, think about the way light and texture appears in nature and the way that shapes compose what we see.
Materials
- Watercolor paper - I am using 140 lb. Strathmore Vision cold press watercolor paper cut down into a 6 x 9-inch piece.
- Watercolor paint - tube watercolor paint on a pallet or a box kit of watercolor paints. Don’t worry if you don’t have the same colors, you can use whatever you have on hand. I use:
- Cerulean Blue
- Yellow Ocher
- Viridian green
- Black
- Cadmium Yellow
- Ultramarine blue
- Burnt umber
- Burnt Sienna
- Alizarin Crimson
- Paint brushes - I am using #4 round, 3/4 inch flat
- Water
- Paper towels
How to Watercolor a Lake Scene Video
Transcript
Read TranscriptArt Lesson
- Sketch
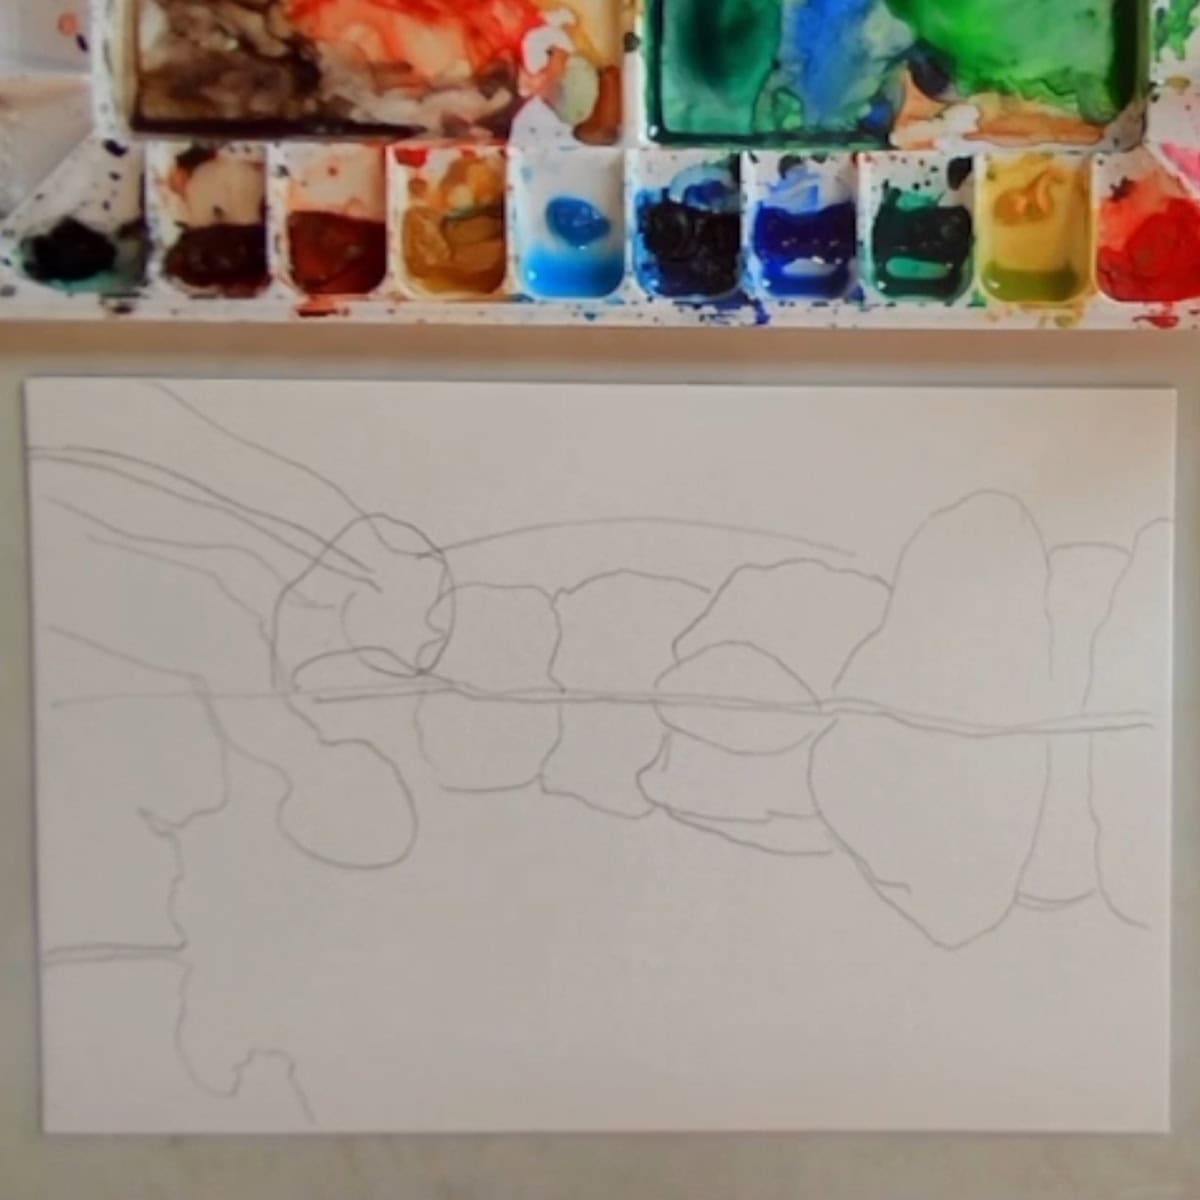
- Sketch the lake scene very lightly. Make sure the lines are light enough they will not show through the paint. Don’t add a lot of detail, focus on drawing the basic shapes.
2. Paint the sky and hill
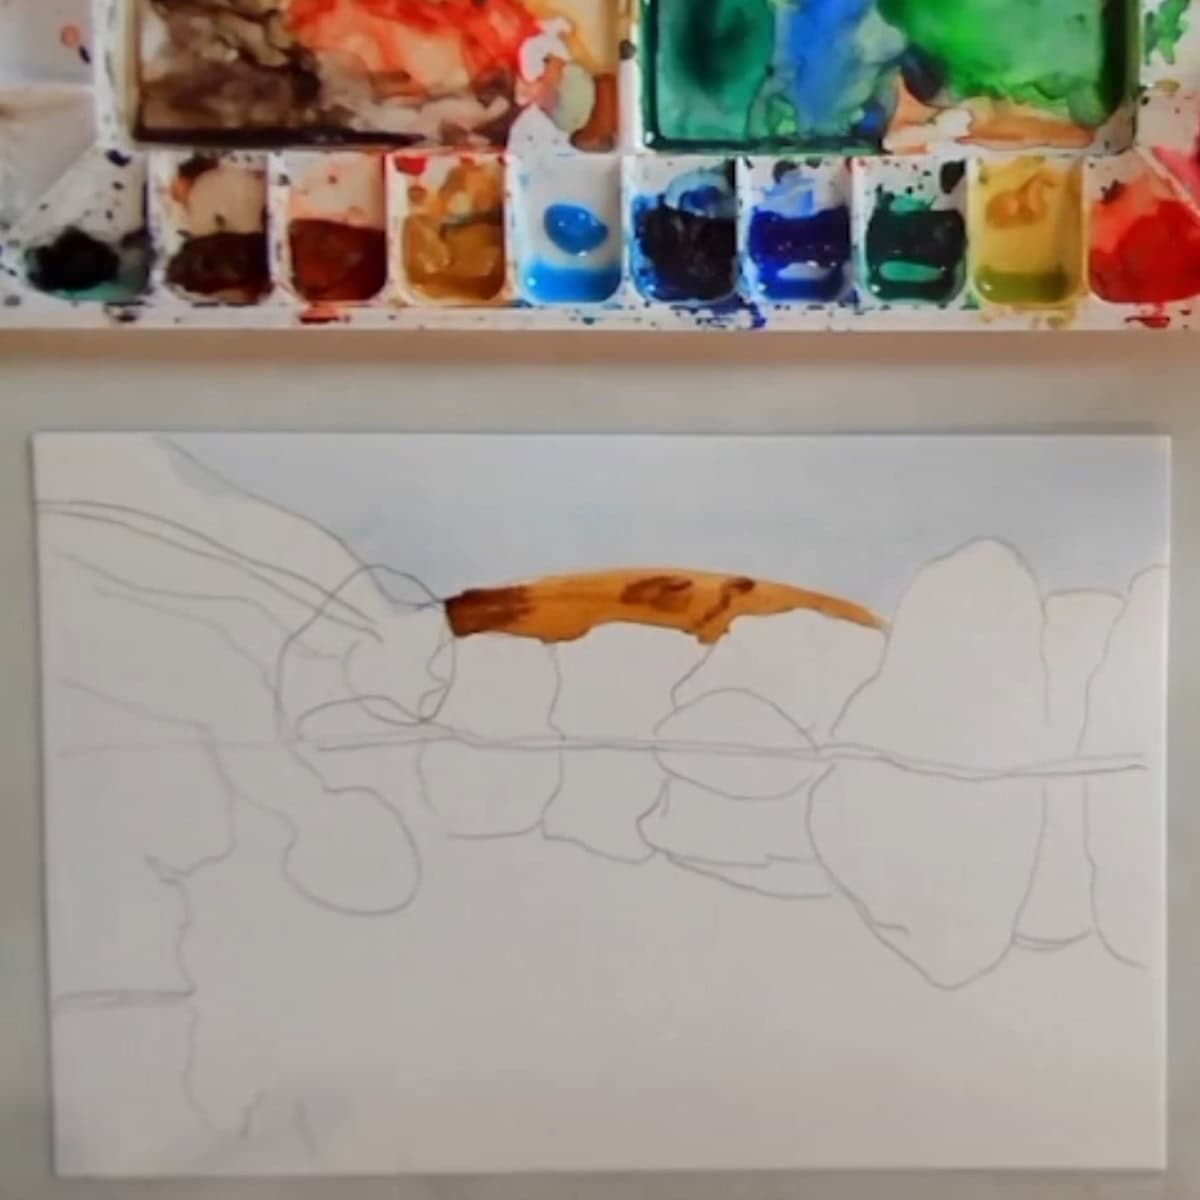
- Paint the sky with cerulean blue. It is ok if you overlap into the trees a tiny bit. Let the sky dry slightly before painting the hill otherwise, the colors may bleed into each other.
- Use yellow ocher paint to color the hill in the distance. Use burnt umber to add a few darker details in this area.
3. Add greens and yellows to the trees
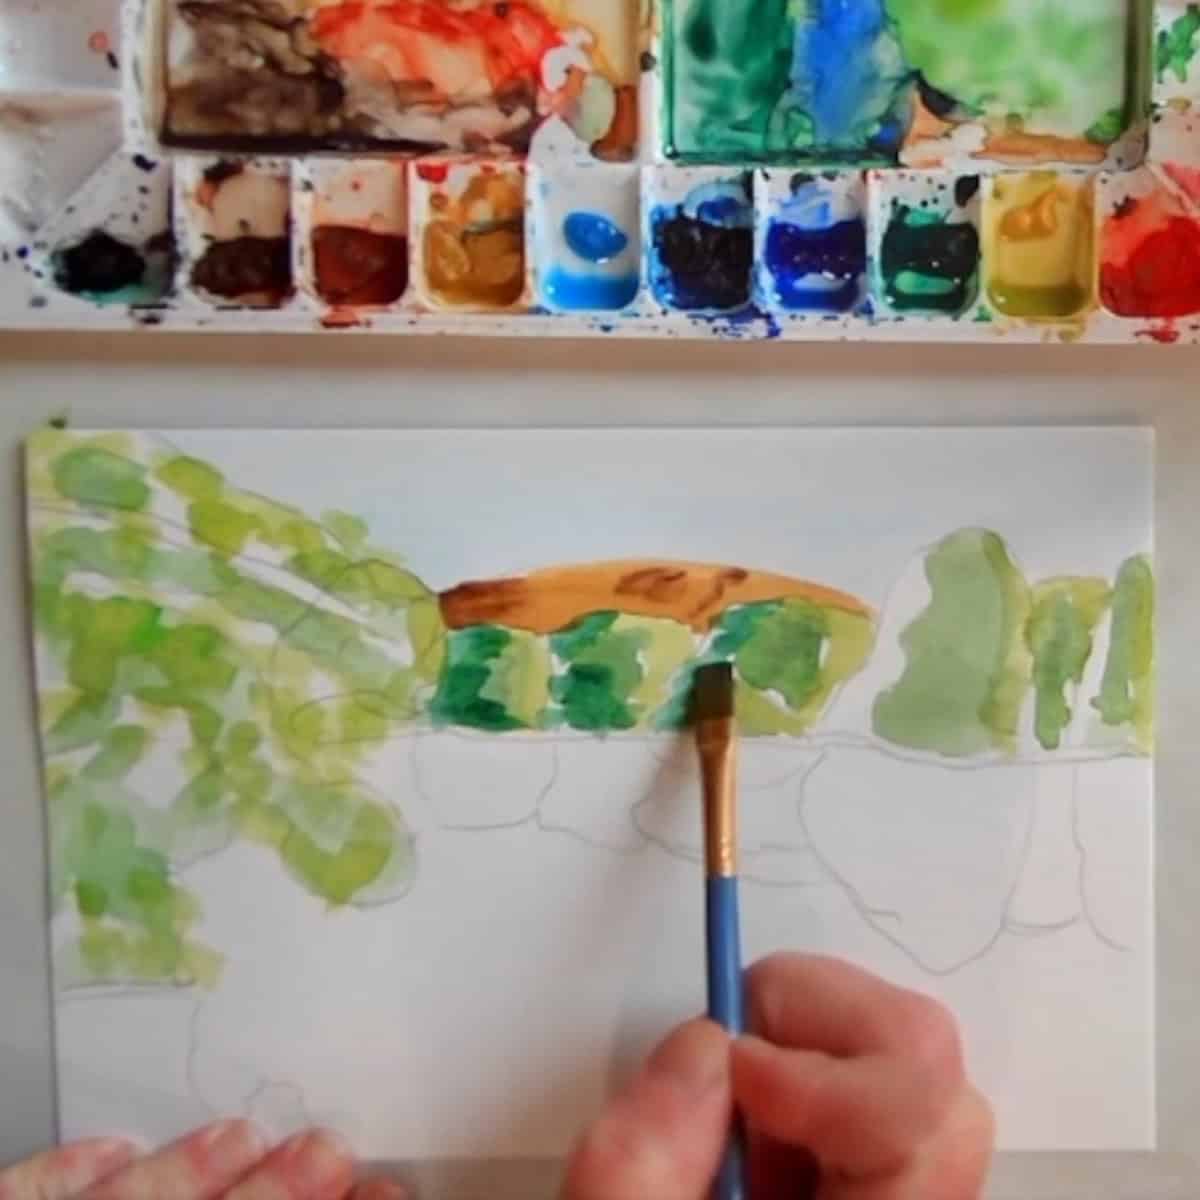
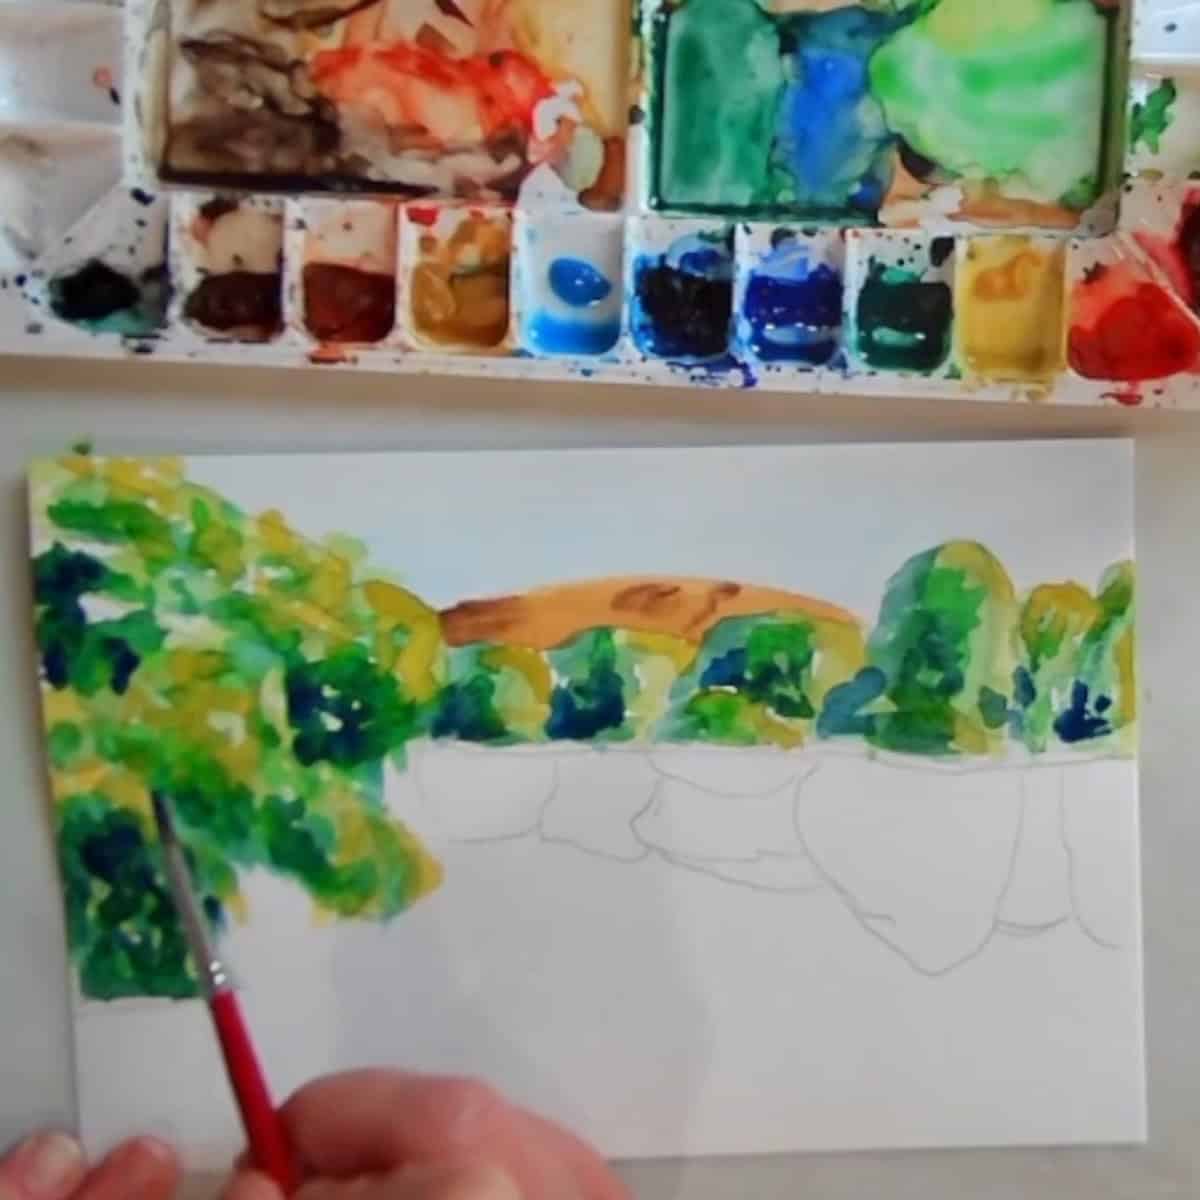
- Mix viridian green, yellow, and a small amount of black and paint it in the middle-toned area of the trees. Remember to paint the tree in the foreground.
- Paint a light yellowish green into the light areas of the trees where the sunlight is hitting. This is mainly on the top and right side of the trees.
- Mix a small amount of black and green. Use this color to paint in the darker areas of the trees. The shadows are mainly on the left and bottom of the shapes.
- Repeat adding another layer of paint and texture to the trees in each of the three areas using middle green, yellow, and dark green.
- Paint ultramarine blue into some shadows.
4. Paint the water
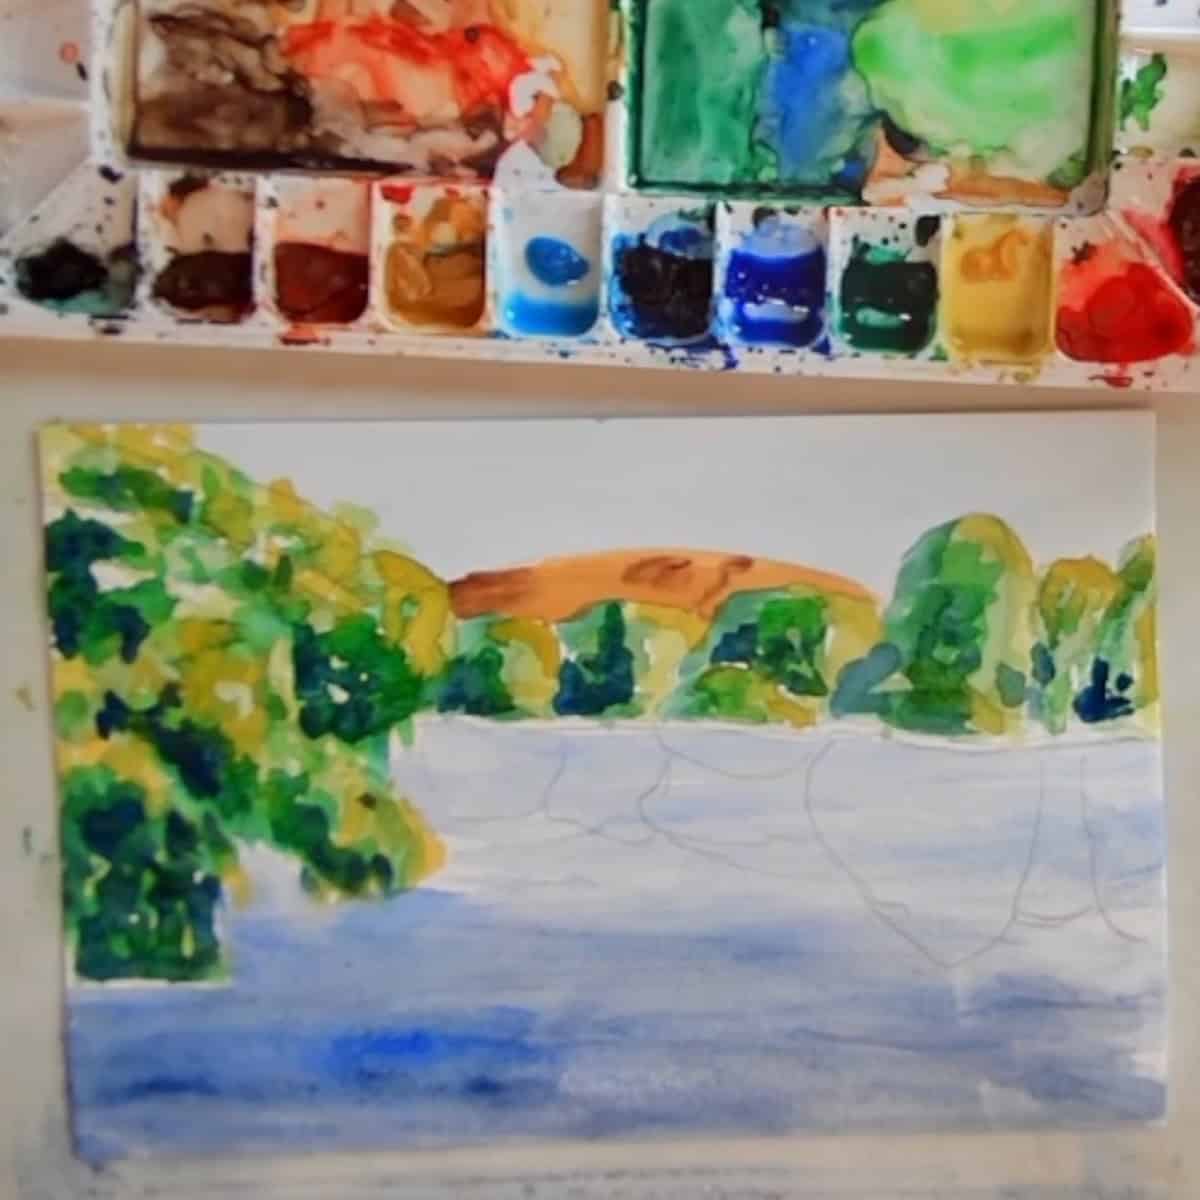
- Use ultramarine blue to paint the water. Leave a thin white line between the edge of the trees and the lake. Add more paint to the water in the foreground and less pigment as it recedes into the distance.
- Leave a few slivers of white in the water to indicate ripples. Dab the paint on for some added texture and movement in the water.
- Use a clean brush to lift off some of the color, if desired. This will add a few more white horizontal lines for ripples.
5. Add in the reflections
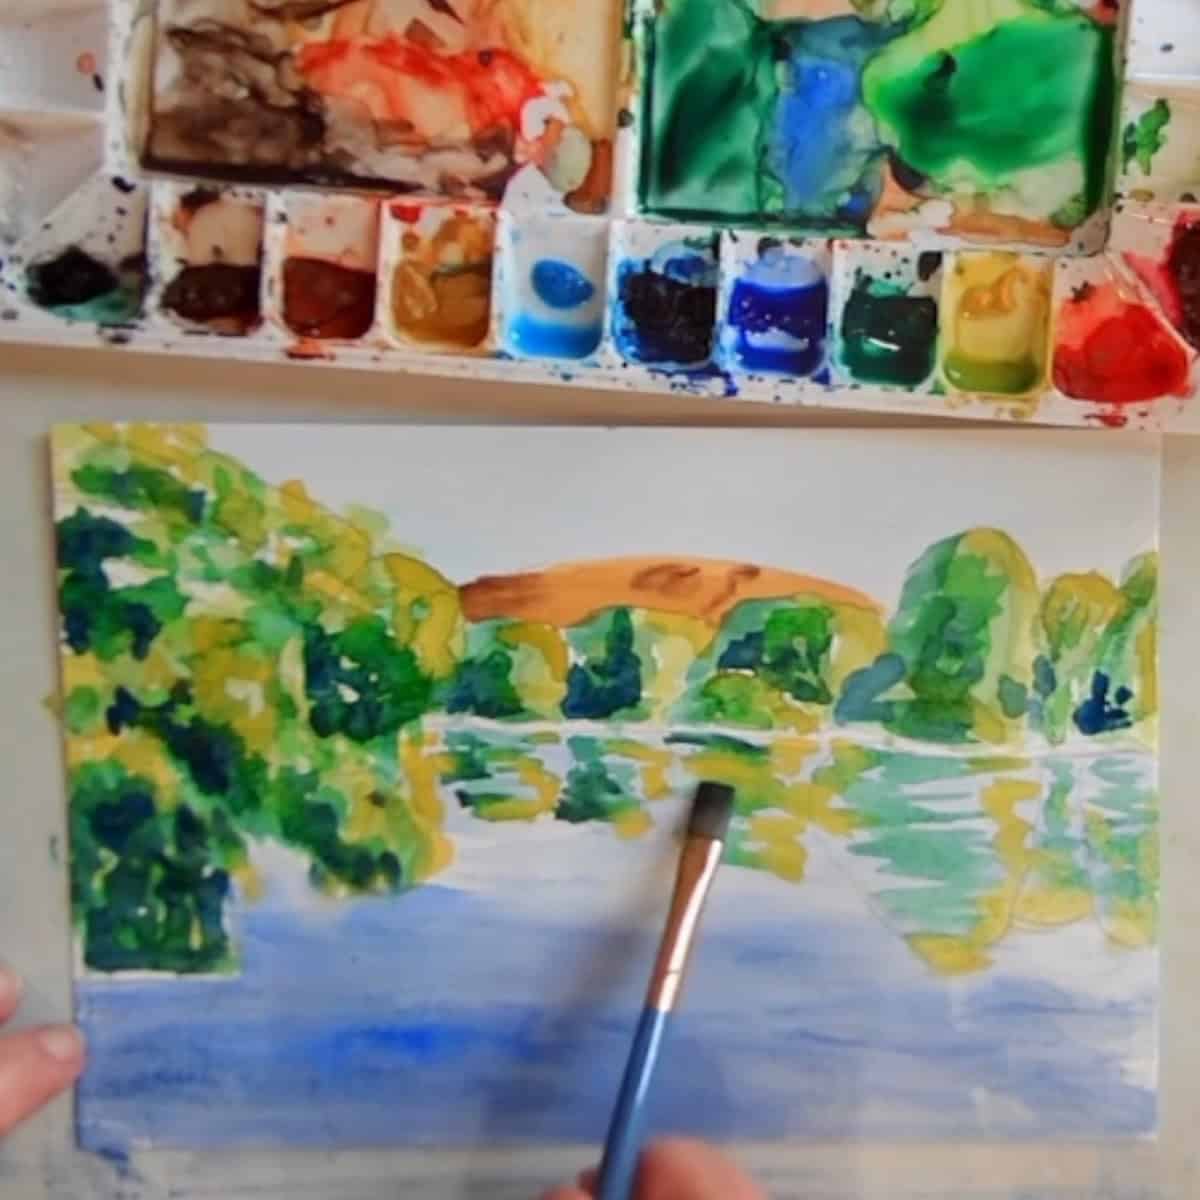
- Paint a mirror image of the trees above, leaving horizontal strips of water showing through. Add in the reflections while the blue paint of the water is still damp.
- Use the middle-tone green in the center of the reflections, yellow on the right, and the green-black mix on the left.
- Dab some ultramarine blue into the shadows where it appears above.
- Paint a mixture of black, blue, and green in the water directly below the tree in the foreground, leaving some strips of water peaking through.
6. Paint the final details
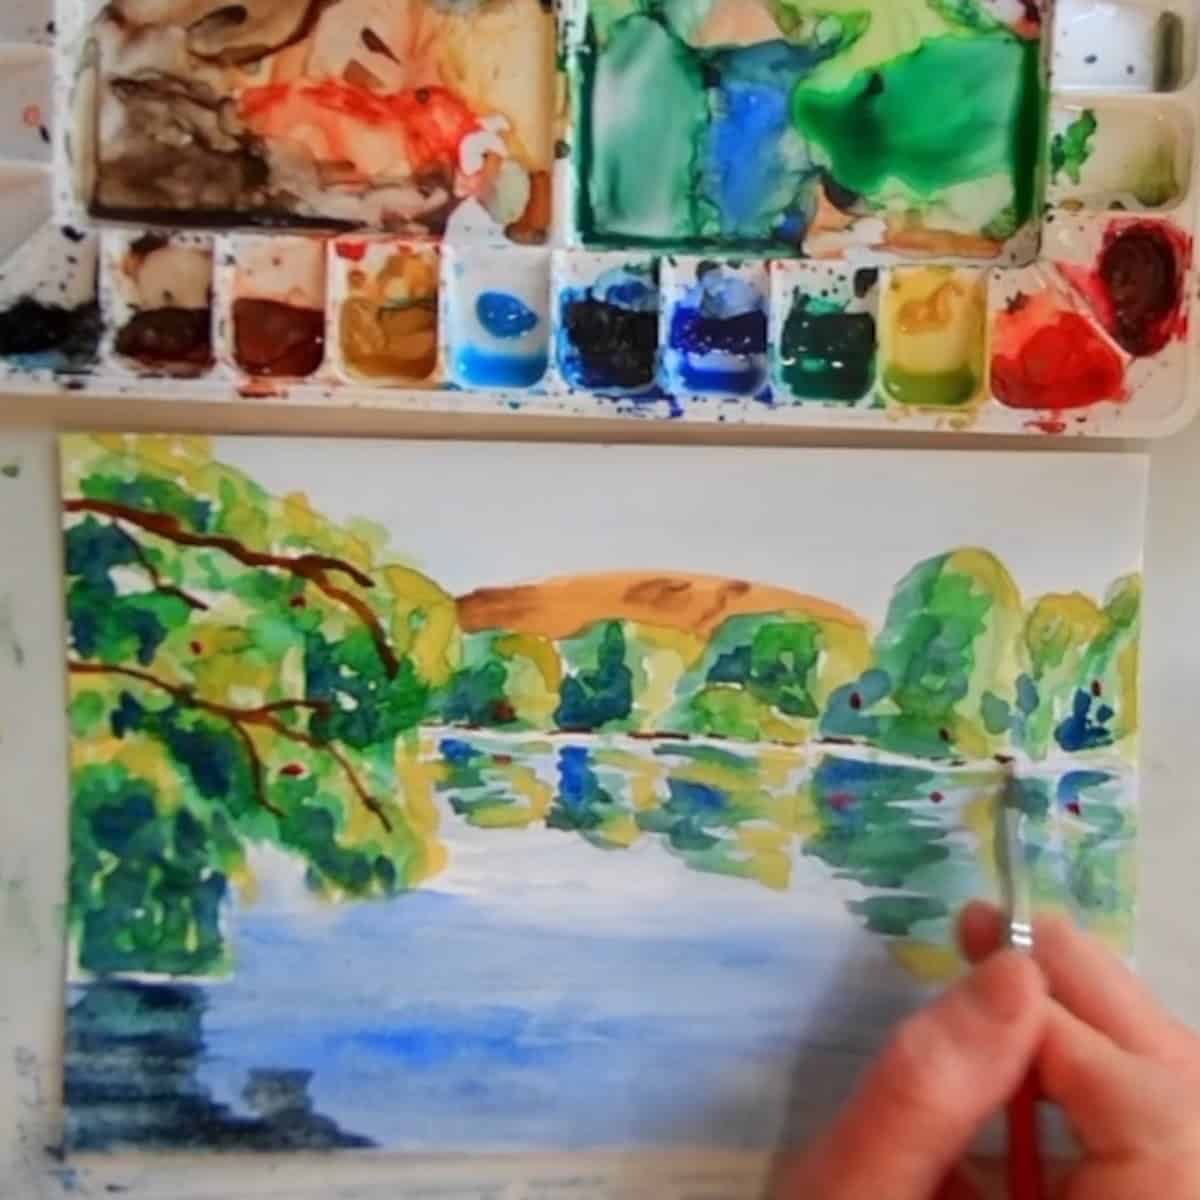
- Use Alizarin Crimson, or red to add just a few dabs of color in the trees and reflections.
- Paint the tree branch in the foreground using burnt Sienna or brown.
- Add a thin broken line at the base of the trees to indicate the ground using burnt Sienna. Leave the white line between the brown line and the beginning of the water.
Tips and tricks
- Use a 2B pencil or other hard light pencil to create the sketch and make the lines as light as possible.
- Keep your strokes nice and loose. Relax your hand and arm when painting.
- Avoid painting the reflections in a solid shape. Instead use horizontal strokes leaving strips of water in between.
- To add a sense of depth in the painting make the colors in the foreground brighter and darker. Allow the colors in the distance to be lighter.
Paint an Easy Watercolor Lake Scene Step-by-step
Equipment
- Watercolor paper I am using 140 lb. Strathmore Vision cold press watercolor paper cut down into a 6 x 9-inch piece.
- Watercolor paint - tube watercolor paint on a pallet or a box kit of watercolor paints. Don’t worry if you don’t have the same colors, you can use whatever you have on hand. I use: Cerulean Blue, Yellow Ocher, Viridian green, Black, Cadmium Yellow, Ultramarine blue, Burnt umber, Burnt Sienna , Alizarin Crimson
- Paint brushes I am using #4 round, 3/4 inch flat
- Water
- Paper towels
Instructions
Sketch
- Sketch the lake scene very lightly. Make sure the lines are light enough they will not show through the paint. Don’t add a lot of detail, focus on drawing the basic shapes.
Paint the sky and hill
- Paint the sky with cerulean blue. It is ok if you overlap into the trees a tiny bit. Let the sky dry slightly before painting the hill otherwise, the colors may bleed into each other.
- Use yellow ocher paint to color the hill in the distance. Use burnt umber to add a few darker details in this area.
Add greens and yellows in the trees
- Mix viridian green, yellow, and a small amount of black and paint it in the middle-toned area of the trees. Remember to paint the tree in the foreground.
- Paint a light yellowish green into the light areas of the trees where the sunlight is hitting. This is mainly on the top and right side of the trees.
- Mix a small amount of black and green. Use this color to paint in the darker areas of the trees. The shadows are mainly on the left and bottom of the shapes.
- Repeat adding another layer of paint and texture to the trees in each of the three areas using middle green, yellow, and dark green.
- Paint ultramarine blue into some shadows.
Paint the water
- Use ultramarine blue to paint the water. Leave a thin white line between the edge of the trees and the lake. Add more paint to the water in the foreground and less pigment as it recedes into the distance.
- Leave a few slivers of white in the water to indicate ripples. Dab the paint on for some added texture and movement in the water.
- Use a clean brush to lift off some of the color, if desired. This will add a few more white horizontal lines for ripples.
Add the reflections
- Paint a mirror image of the trees above, leaving horizontal strips of water showing through. Add in the reflections while the blue paint of the water is still damp.
- Use the middle-tone green in the center of the reflections, yellow on the right, and the green-black mix on the left.
- Dab some ultramarine blue into the shadows where it appears above.
- Paint a mixture of black, blue, and green in the water directly below the tree in the foreground, leaving some strips of water peaking through.
Paint the final details
- Use Alizarin Crimson, or red to add just a few dabs of color in the trees and reflections.
- Paint the tree branch in the foreground using burnt Sienna or brown.
- Add a thin broken line at the base of the trees to indicate the ground using burnt Sienna. Leave the white line between the brown line and the beginning of the water.
Notes
Lesson Downloads
For More Practice
- Practice painting only trees.
- Paint the scene from a different picture of a lake, your own photo, or one from a magazine or the internet.
- Imagine this landscape during a different season. What would be different in the winter or fall? Try painting fall-colored leaves or bare winter branches.
- For fun, paint the same image in a different style such as cubism, minimalism, or surrealism.
What to Do with Your Painting
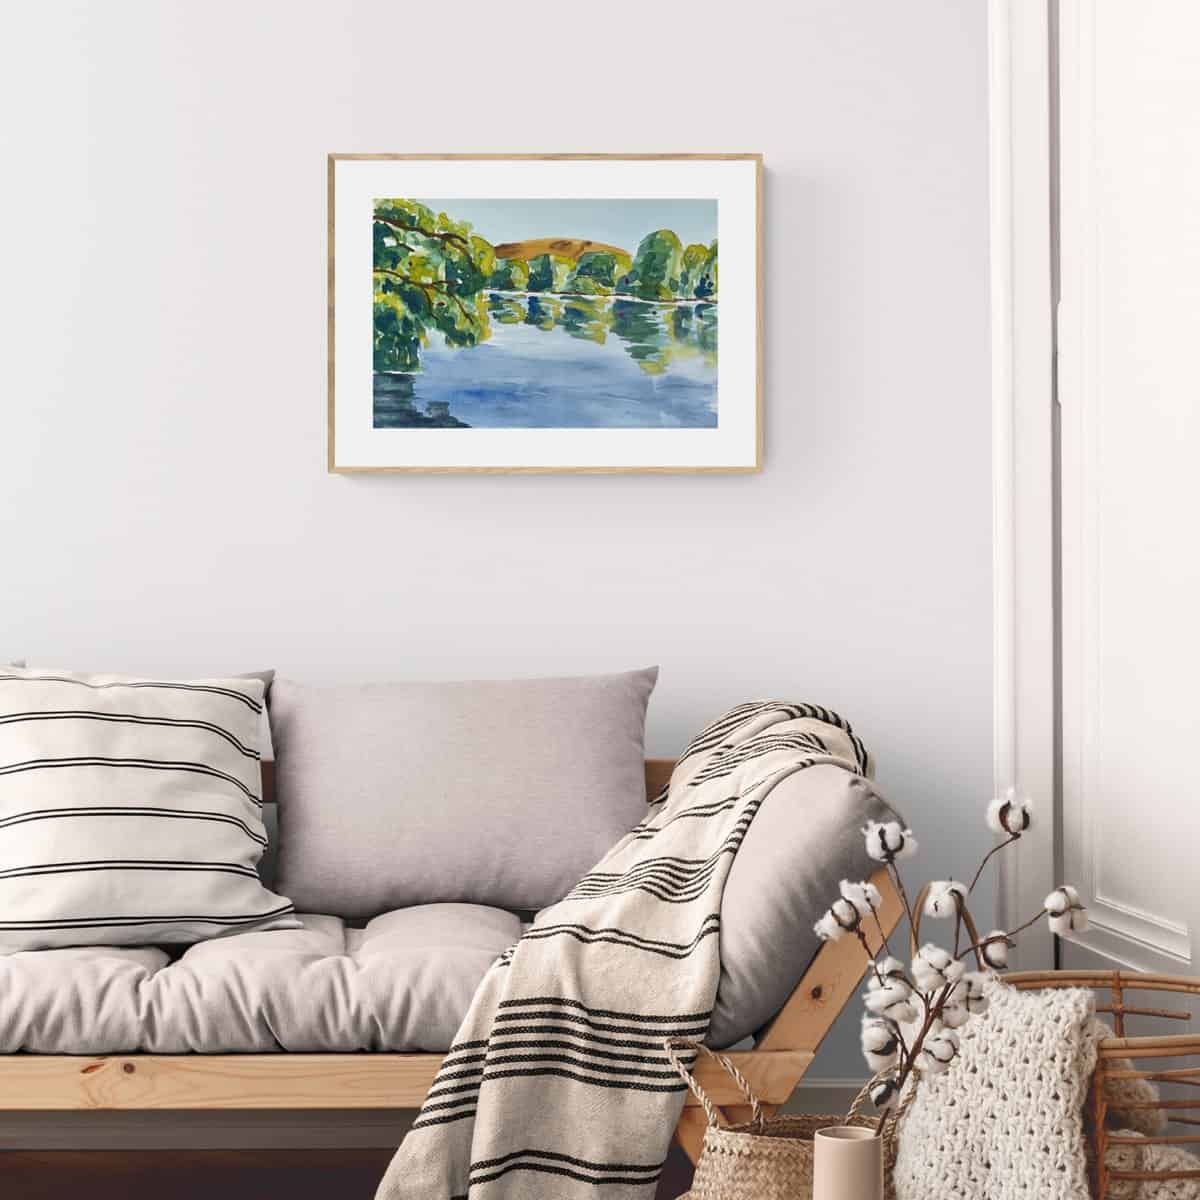
This is a great painting to frame and display on your wall. It would also make a wonderful gift, perfect for any holiday or special occasion.
Alternatively, add this beautiful lake-scape painting to your portfolio. It is a good idea to save completed paintings, drawings, and sketches to track your progress.
Frequently Asked Questions
First, lightly sketch the lake scene you will paint. Leave a thin white line between the land and the edge of the water. Paint middle tones or light colors first and dark colors and shadows last.
Paint in the color of the water and paint reflections on the surface while it is still damp. Leave some horizontal strips of paper in the water for ripples.
With watercolors, paint from light to dark. Start with the highlights and middle tones, then gradually get darker, slowly building up the layers of color and texture.
When using watercolor you can sketch out your painting before adding paint. Sketch as lightly as possible so the pencil does not show through the paint when completed. Pencil lines cannot be erased after they are painted over.
You also might like
- Paint a Simple Mountain Landscape for Beginners
- How to Paint Trees Reflected on Water
- Paint Mountains Using 8 Easy Techniques
- Watercolor Paint a Beach Sunset
- Learn How to Draw the Ocean
Please leave your questions, comments, and ratings below!





Leave a Reply