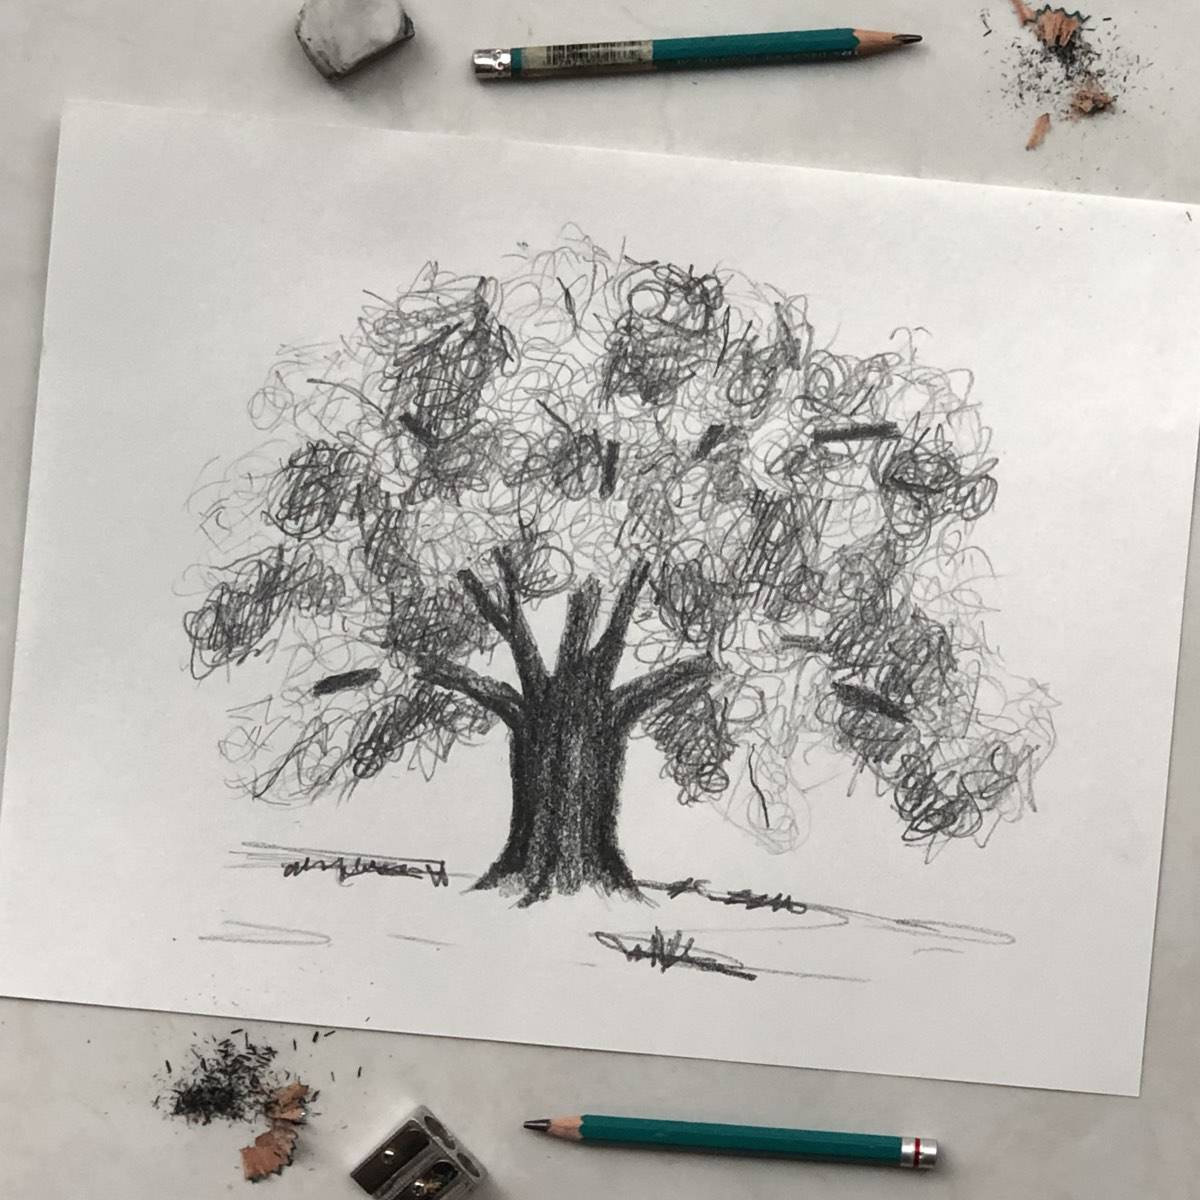
Learn how to sketch an easy oak tree pencil drawing. In this online step-by-step tutorial art class video, you can follow along and create your own drawing of a tree with leaves.
Sketching a tree with an online art school has never been simpler. This beginning art lesson breaks down the process into easy steps to help you learn how to draw better.
Jump to:
Drawing a tree with leaves can be challenging but it is great practice and will help you become a better artist. Whether your goal is to make a botanical drawing, a realistic tree, or something easy and simple this is the perfect art lesson to begin with.
Sketching an oak tree is also a fun way to practice looking at an object in life and drawing what you see. Learning to draw trees well can improve your art skills and expand your expertise.
Materials
- Pencils (one hard for light sketching and one soft for shading)
- Paper - 70 pound / 115 gsm. drawing paper 9 x 12 inches (or use whatever you have on hand)
- White Vinyl Eraser
Art Lesson
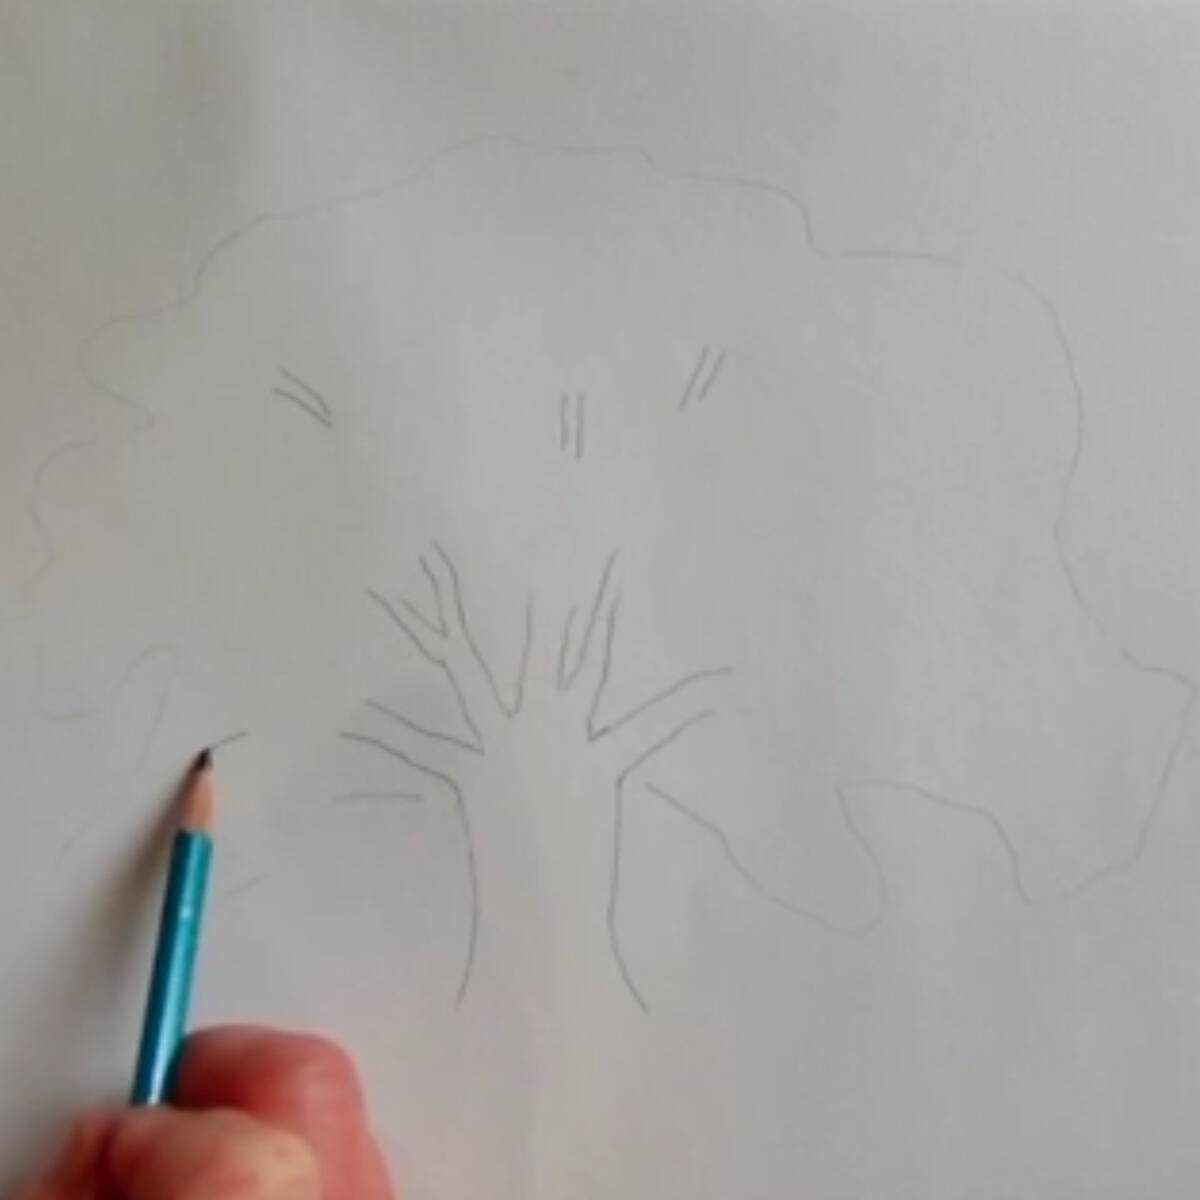
- With the hard pencil lightly sketch in the trunk and the beginning of the main branches.
- Outline the outside of the leaves of the tree.
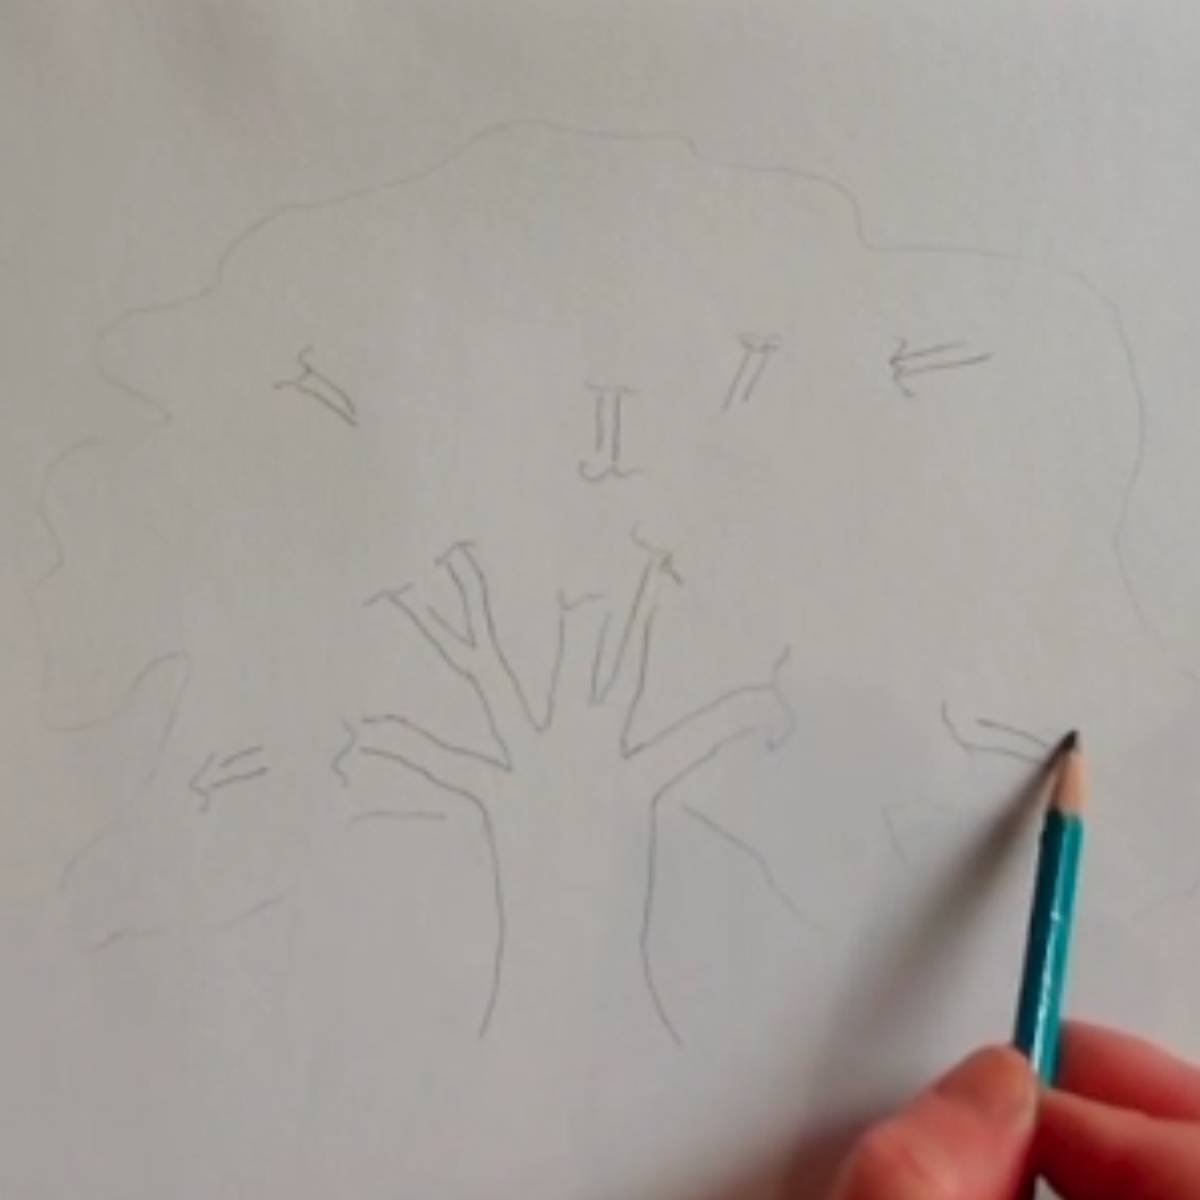
- Draw “V” shapes where you want to separate the trunk or add branches.
- Add more branches peeking out of the tree leaves.
- Loosely draw in leaves above and below the branches. This is where the leaves cover the branches.
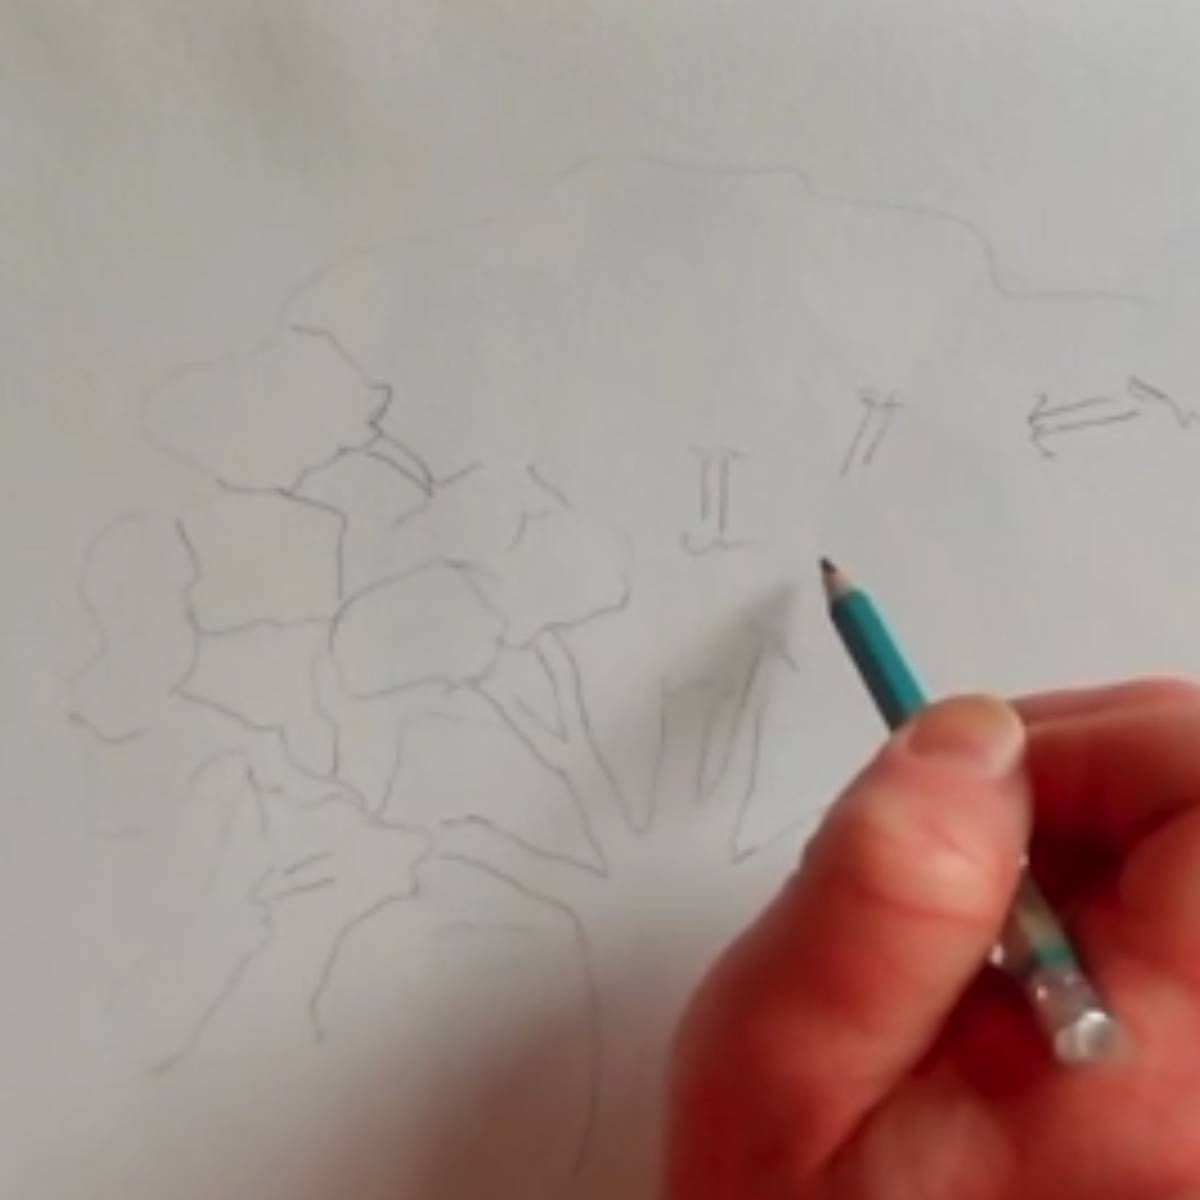
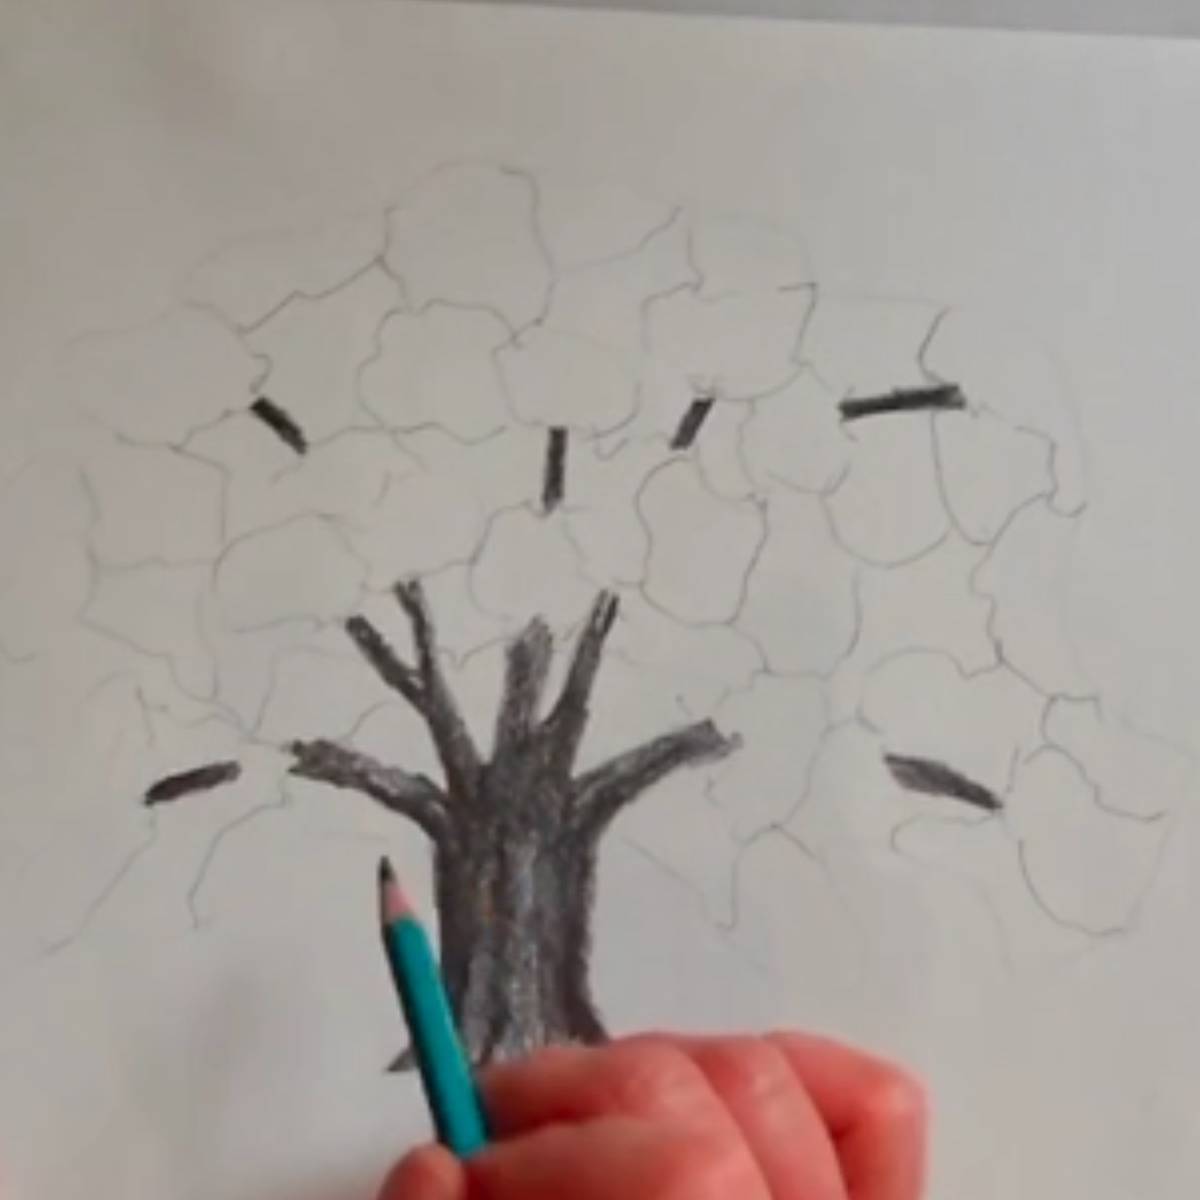
- Trees are layered with different bunches or areas of leaves that receive different amounts of light. To shade this tree, start by dividing the layers into separate areas. To do this, it helps to look at a real tree or a photo of a tree. Break it up with lighter areas where the sun is hitting it and darker areas where the leaves are in more shadow. Follow the leaf lines that you drew above and below the branches as well.
- Shade the branches and trunk. Turn the paper, if you need to. (See the lesson in drawing a cylinder for more details about how a similarly shaped object is shaded in.)
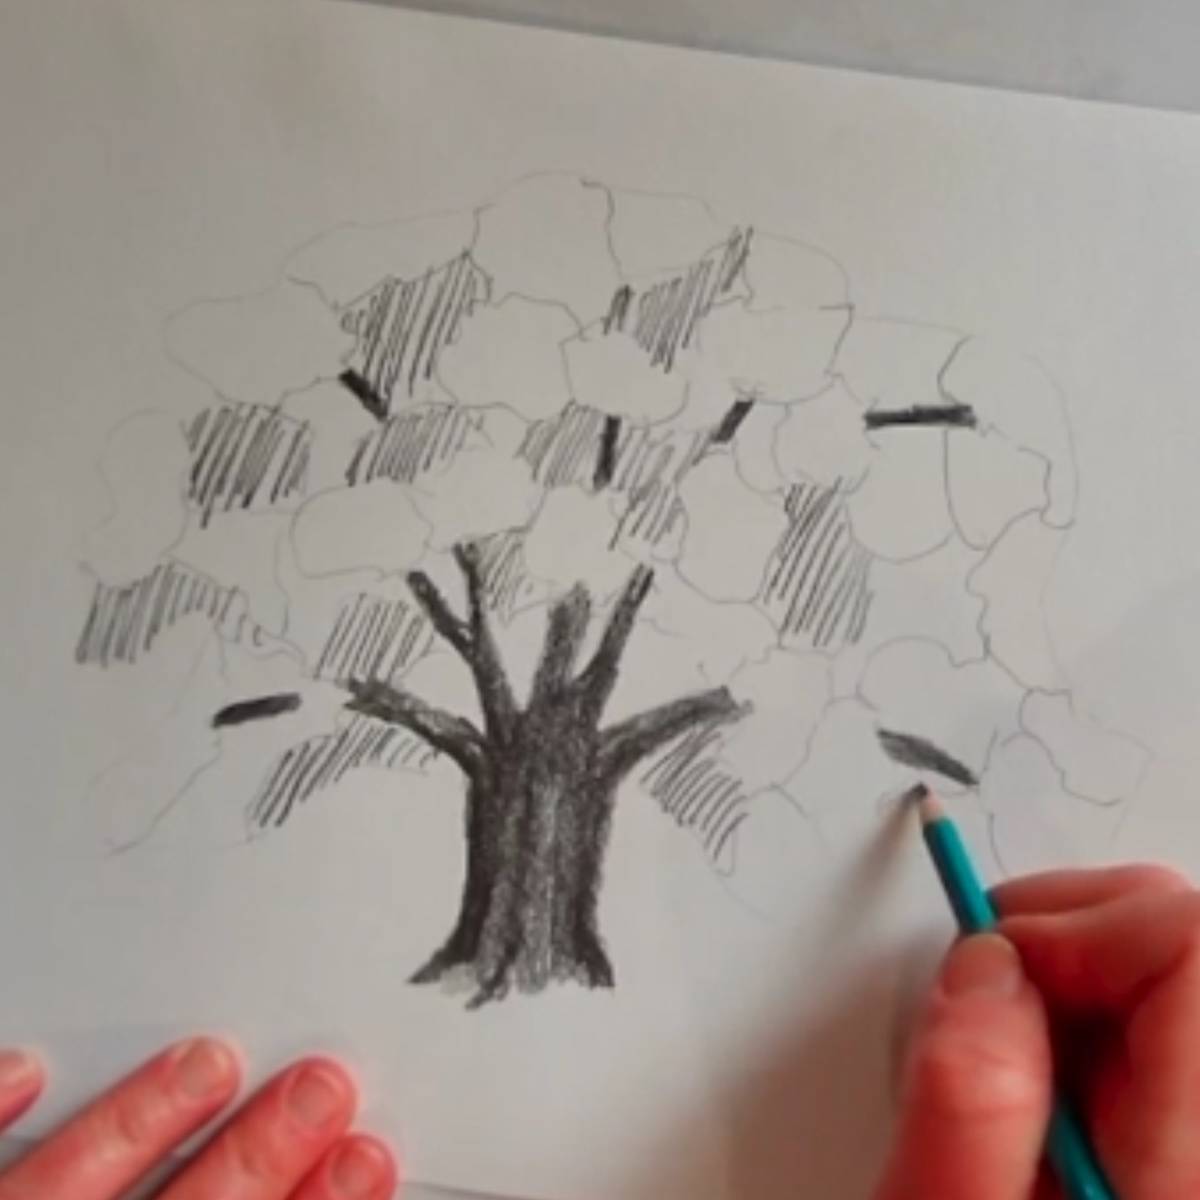
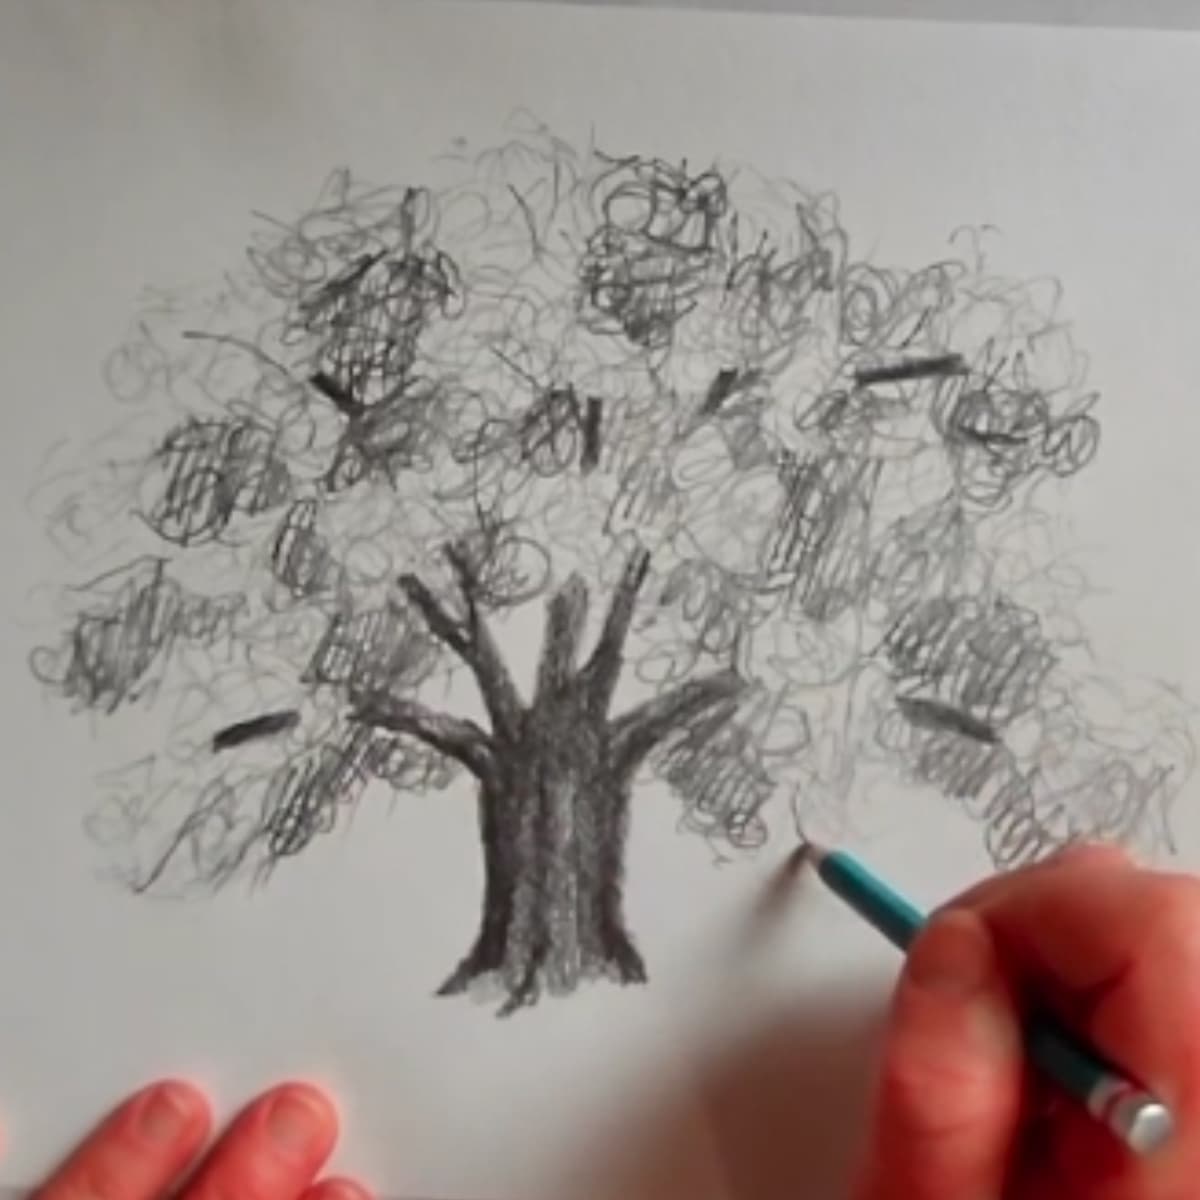
- Use hatching to shade in the darkest layered areas. (See the lesson in Lines in Art to learn more about hatching and scribble hatching that are used to shade in the tree leaves.)
- Scribble hatch over the top of the darkest areas to create leaf texture and more value.
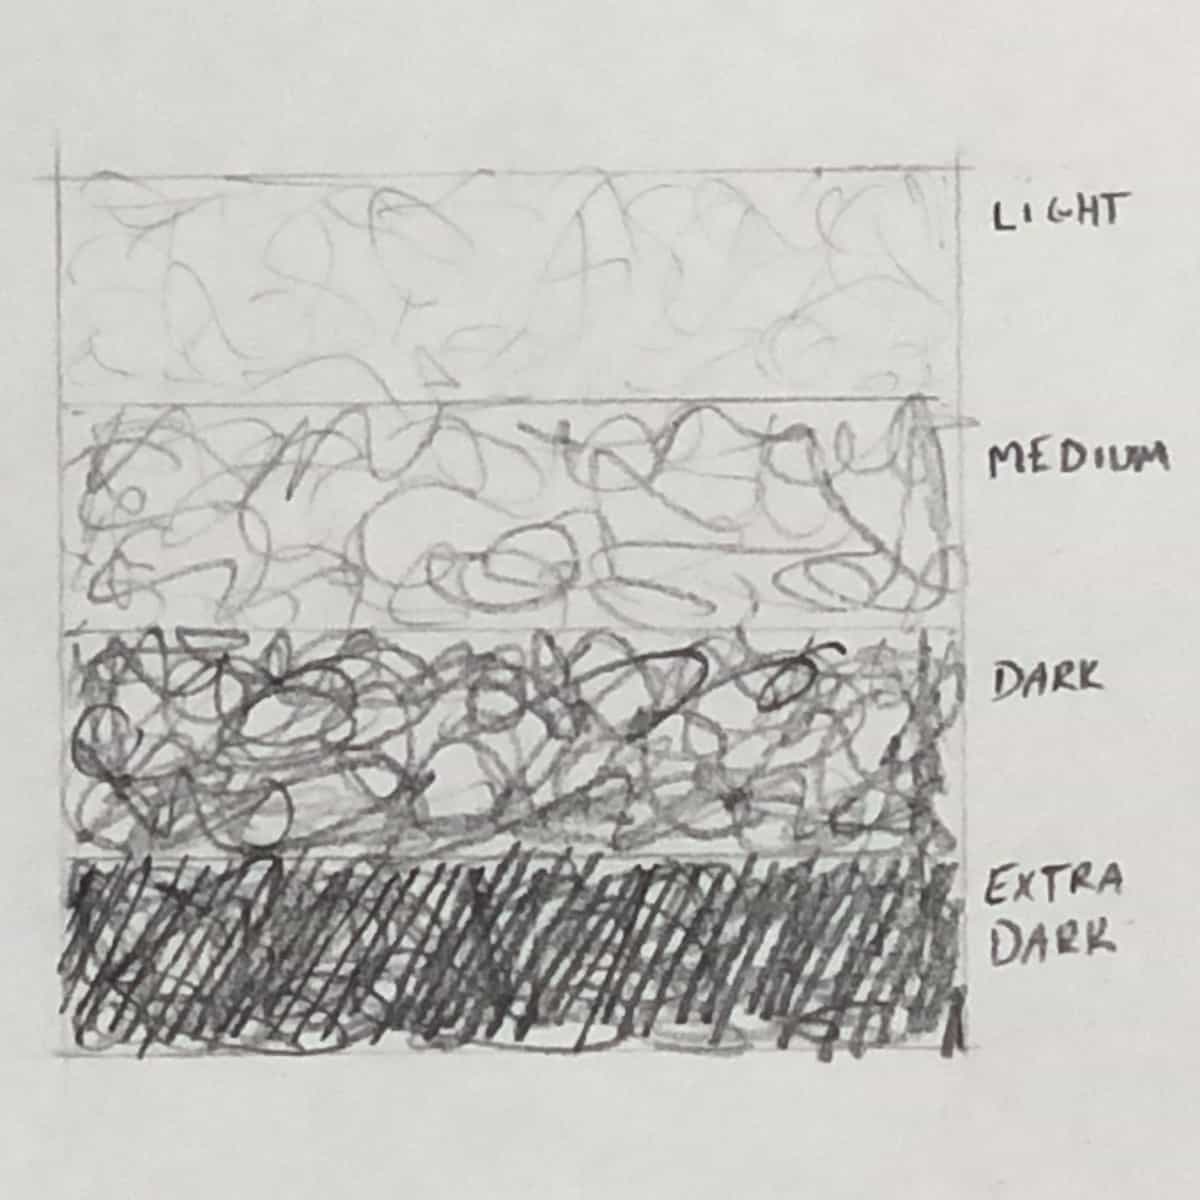
- Scribble hatch in the other layered areas leaving lighter areas lighter and other areas medium value. Try to alternate the areas between light, medium, dark, and extra-dark values. Avoid making your scribble hatching too regular and patterned.
- Add a horizon line and some loosely scribbled grass.
- Erase any lines you don’t need and make final changes to your drawing.
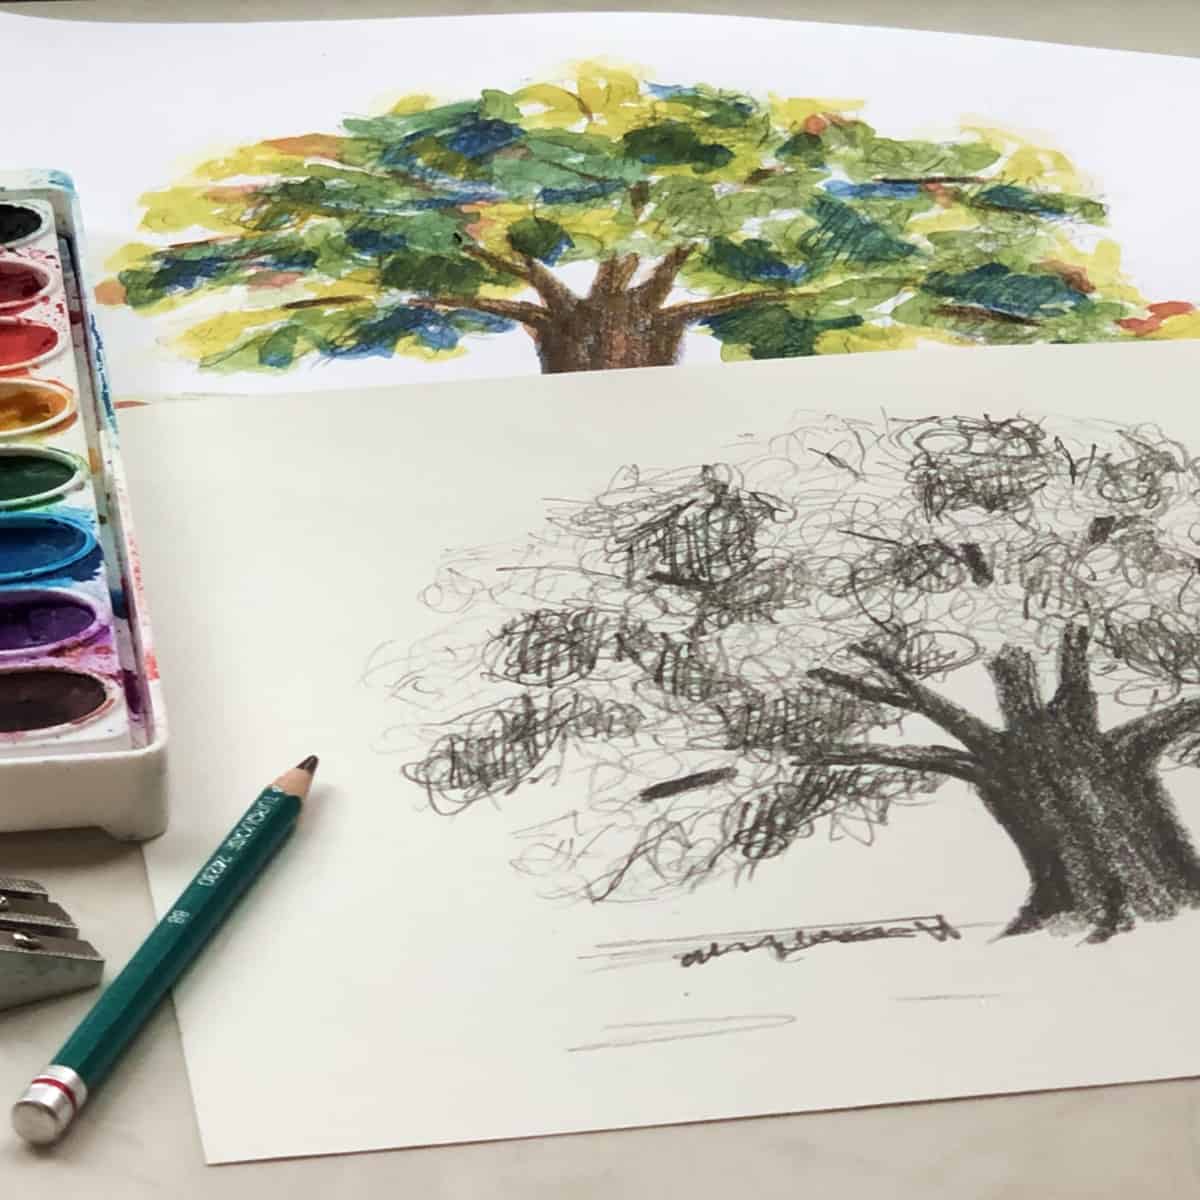
This diagram shows the wide range of values that can be used when shading a simple tree with leaves. It can take some time to get a nice range of light and darks so be patient with yourself.
Variations
Make your tree taller and skinnier, or shorter and rounder. Look at a real tree for inspiration.
Draw your tree with colored pencils or markers to add a splash of color.
Sketch a background behind your tree, you could add sky, clouds, other trees, fields, or even figures.
Tips and tricks
- Use a hard pencil for the sketch and a softer pencil for shading.
- Avoid rubbing your hand over your drawing while you sketch because it might smudge your work.
- Turn your paper as needed to help with the shading.
- Try to keep your lines loose and sketchy.
- Avoid making your scribble hatching too regular and patterned.
Video Tutorial
Instructions
Oak Tree Sketch Easy Pencil Drawing
Equipment
- Pencils (one hard for light sketching and one soft for shading)
- Paper - 70 pound / 115 gsm. drawing paper 9 x 12 inches (or use whatever you have on hand)
- White Vinyl Eraser
Instructions
- With the hard pencil lightly sketch in the trunk and the beginning of the main branches.
- Outline the outside of the leaves of the tree.
- Draw “V” shapes where you want to separate the trunk or add branches.
- Add more branches peeking out of the tree leaves.
- Loosely draw in leaves above and below the branches. This is where the leaves cover the branches.
- Trees are layered with different bunches or areas of leaves that receive different amounts of light. To shade this tree, start by dividing the layers into separate areas. To do this, it helps to look at a real tree or a photo of a tree. Break it up with lighter areas where the sun is hitting it and darker areas where the leaves are in more shadow. Follow the leaf lines that you drew above and below the branches as well.
- Shade the branches and trunk. Turn the paper, if you need to.
- Use hatching to shade in the darkest layered areas.
- Scribble hatch over the top of the darkest areas to create leaf texture and more value.
- Scribble hatch in the other layered areas leaving lighter areas lighter and other areas medium value. Try to alternate the areas between light, medium, dark, and extra-dark values. Avoid making your scribble hatching too regular and patterned.
- Add a horizon line and some loosely scribbled grass.
- Erase any lines you don’t need and make final changes to your drawing.
Notes
Avoid rubbing your hand over your drawing while you sketch because it might smudge your work.
Turn your paper as needed to help with the shading.
Try to keep your lines loose and sketchy.
Avoid making your scribble hatching too regular and patterned.
For More Practice
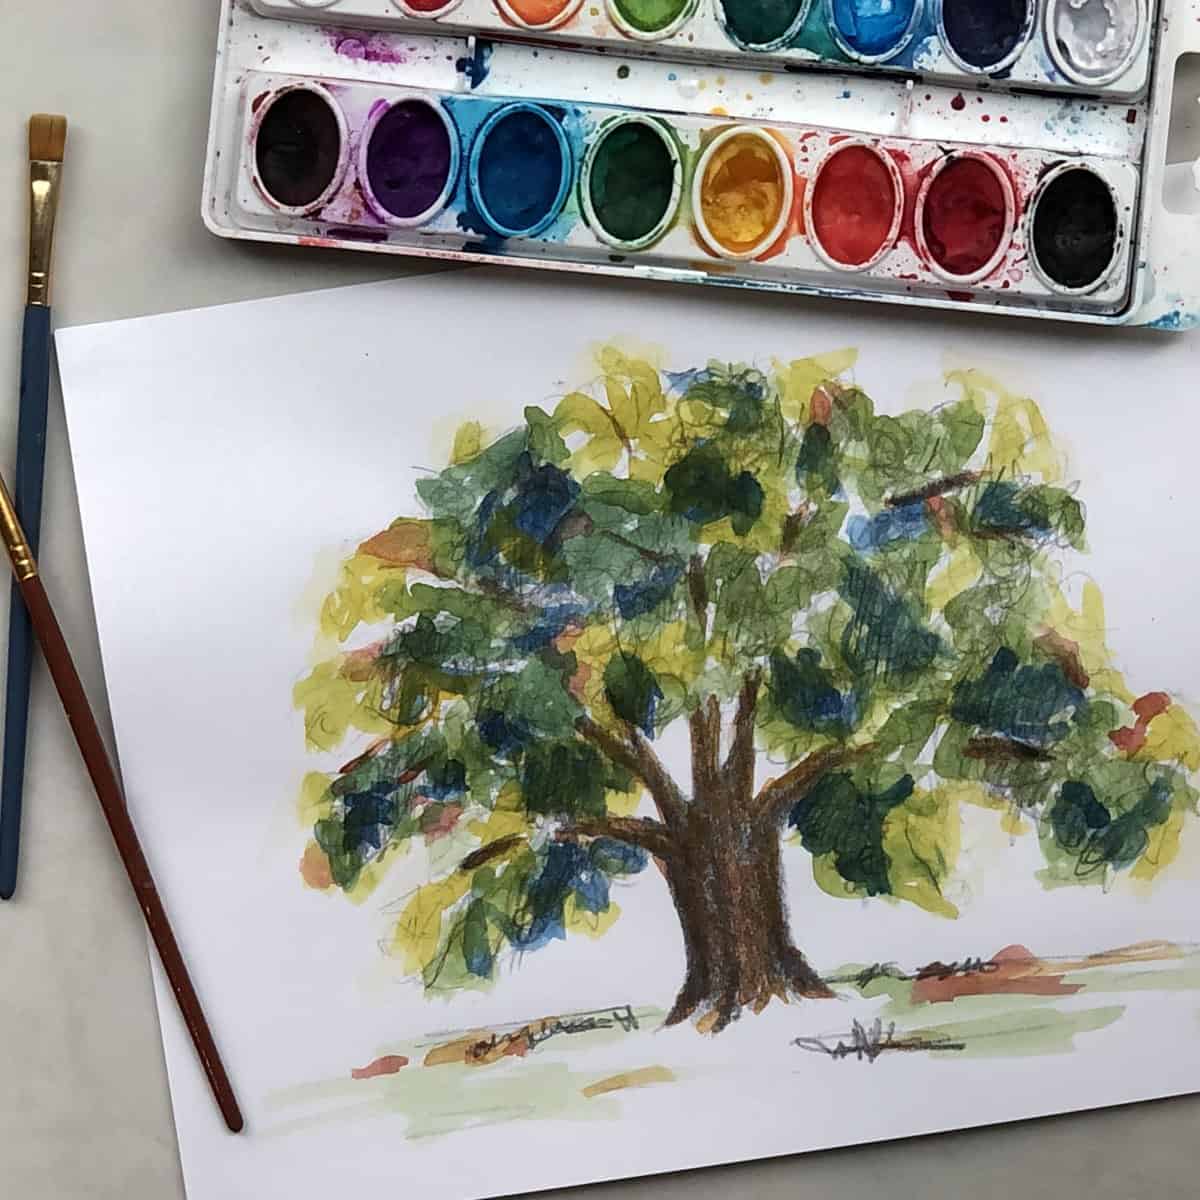
- Draw a tree lightly and then paint it with watercolor paints.
- Try drawing a tree with charcoal or pen and ink.
- Look at a tree in real life and practice sketching it.
- Draw several trees together. Overlap them for an extra challenge.
What to do with Your Sketch
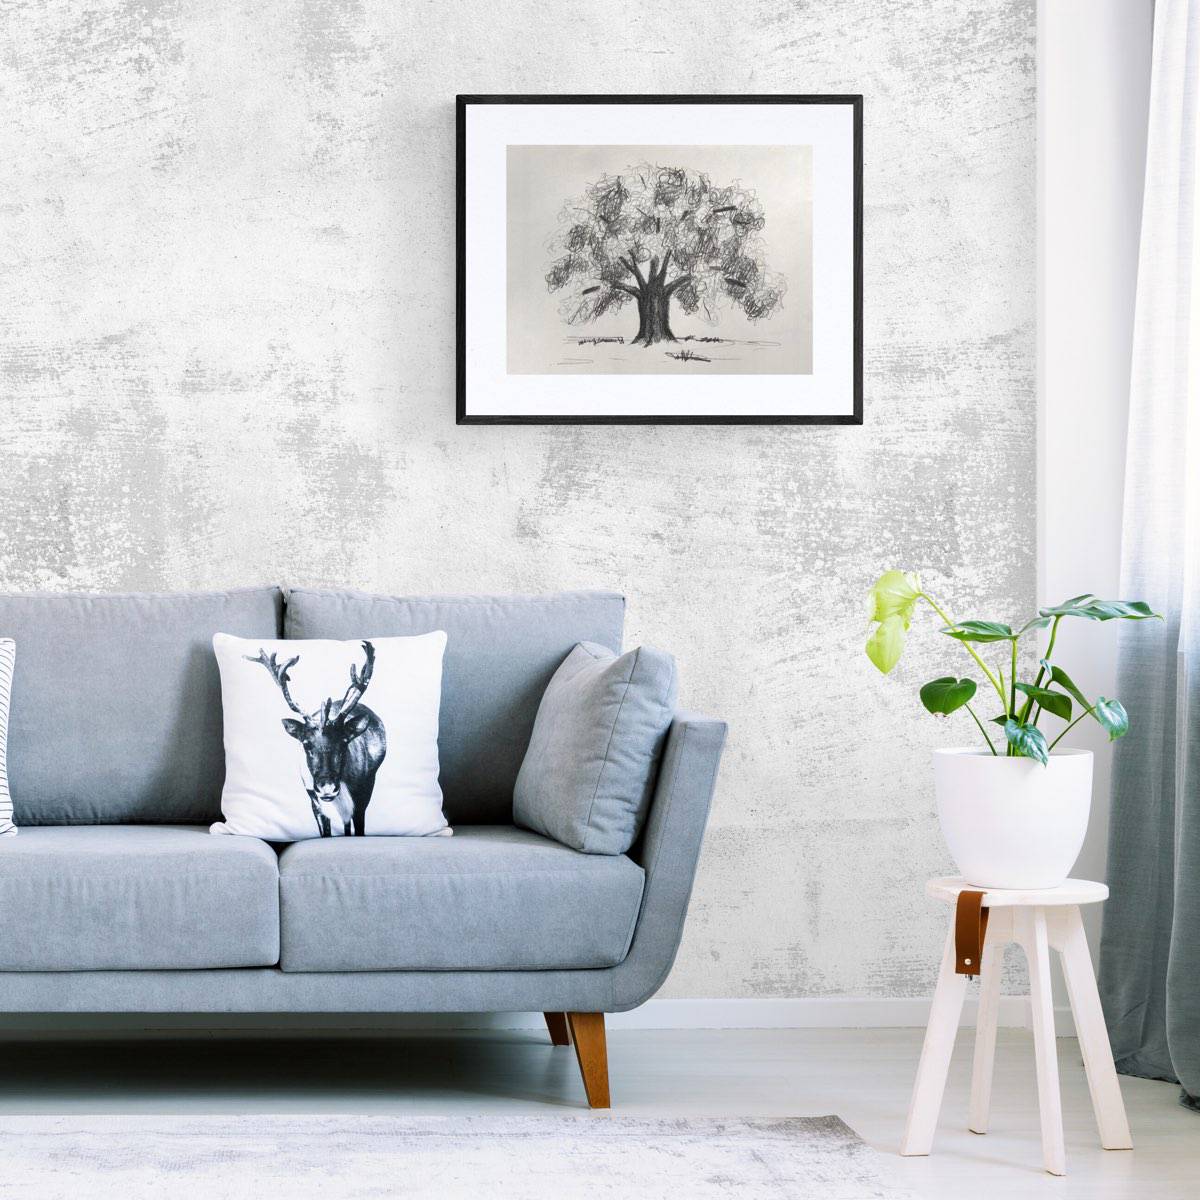
Frame your drawing and decorate your home with your oak tree drawing. A hand-made drawing is a beautiful addition to any room.
Your sketch would make a wonderful homemade gift for a special occasion such as Christmas, Hanukkah, or a birthday. Hand-drawn art makes a wonderful and thoughtful present.
You could also leave it in your sketchbook to create a portfolio of your completed drawings, sketches, and art projects.
Frequently Asked Questions
Sketch in the trunk and the beginning of the main branches. Outline the outside tree. Divide the layers of darker and lighter into separate areas. Shade the branches and trunk.
Use hatching to shade in the darkest layered leafy areas. Scribble hatch over the top of the darkest areas to create leaf texture and more value.
To draw a tree with leaves loosely draw in leaves above and below the branches.
Trees are layered with different bunches or areas of leaves that receive different amounts of light. Break it up with lighter areas where the sun is hitting it and darker areas where the leaves are in more shadow.
Hatch over the top of the darkest areas to create a darker value. Scribble hatch in the other layered areas leaving lighter areas lighter and other areas medium value.
With a hard pencil, lightly sketch in the trunk and the beginning of the main branches. Outline the outside of the leaves of the tree.
Draw “V” shapes where you want to separate the trunk or add branches. Add more branches peeking out of the tree leaves.
You also might like
- Types of Lines in Art
- Draw Fall Leaves Easy Tutorial
- How to Paint Tree Reflections
- How to Draw a Cylinder
- Drawing a Pear
- Sketch a Simple Ocean Scape Step-by-step
Please leave your questions, comments, and ratings below!



Lauren says
My tree turned out great. Much appreciated tutorial.